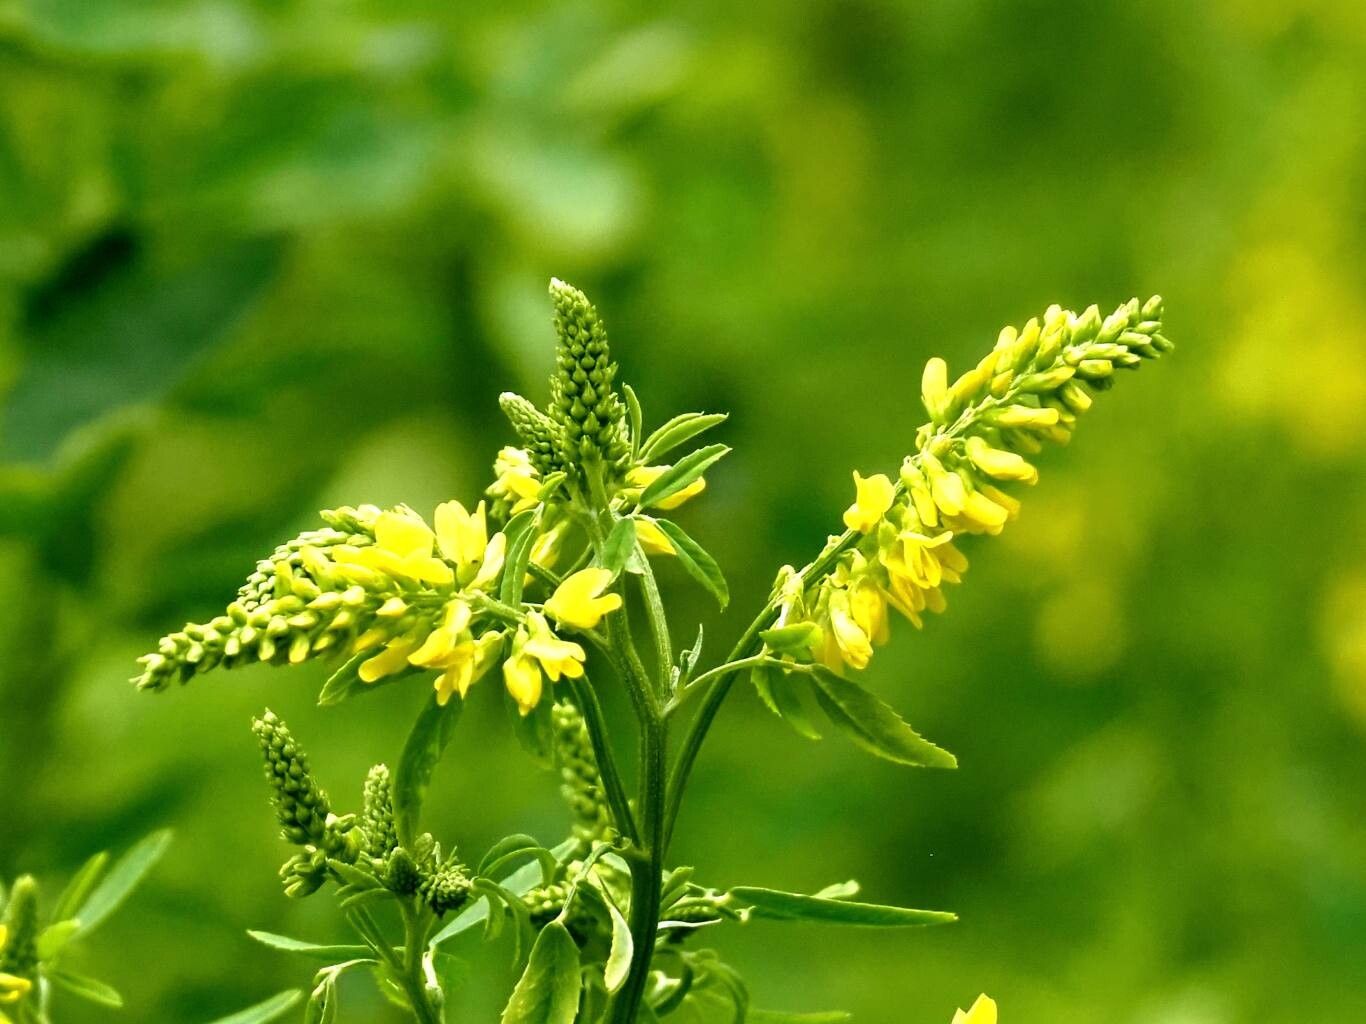
Hey there, fellow garden enthusiasts! If you’ve ever admired the cheerful yellow blooms of yellow sweet clover, Melilotus officinalis, you’re in for a treat. This hardy native brings such a lovely splash of color and a gentle, sweet fragrance to any space. Plus, it’s a magnet for pollinators, which is always a win in my book. I find propagating it incredibly rewarding – there’s a special kind of satisfaction in coaxing new life from a plant you already love. And for those of you just starting out? Good news! Sweet clover is generally quite forgiving, making it a great plant to practice your propagation skills on.
The Best Time to Start
For happy, healthy new sweet clover plants, spring is your golden ticket. This is when the plant is actively growing and has plenty of energy to put into developing roots. Aim to start your propagation efforts once the danger of frost has passed and the soil has begun to warm up. You can also have success with cuttings taken in early summer, but spring usually gives you the best head start.
Supplies You’ll Need
Here’s what you’ll want to have on hand before you dive in:
- Sharp pruning shears or a clean, sharp knife: For making clean cuts.
- Small pots or containers: Seed starting trays or 4-inch pots work well. Make sure they have drainage holes!
- Well-draining potting mix: A mix formulated for seedlings or cuttings is ideal. You can also create your own by blending equal parts peat moss or coco coir with perlite or coarse sand.
- Rooting hormone (optional but recommended): A powder or gel can give your cuttings an extra boost.
- Watering can or spray bottle: For gentle watering.
- Plastic bags or a propagation dome: To create a humid environment.
- Labels: To keep track of your efforts!
Propagation Methods
Sweet clover is pretty straightforward, and I’ve found success with both stem cuttings and starting from seeds. Since you’re asking about propagating an existing plant, let’s focus on cuttings.
From Stem Cuttings
- Take Your Cuttings: Head out to your healthy sweet clover plant on a cool morning. Look for non-flowering, semi-hardwood stems. These are stems that are no longer floppy and green but aren’t fully woody either. Use your sharp pruning shears to take cuttings that are about 4-6 inches long. Try to make your cuts just below a leaf node (where a leaf meets the stem).
- Prepare the Cuttings: Gently remove the leaves from the bottom half of each cutting. You want to expose a few nodes where roots can form. If your cuttings are a bit long, you can cut them in half.
- Dip in Rooting Hormone (Optional): If you’re using rooting hormone, dip the cut end of each stem into the powder or gel. Tap off any excess.
- Plant Your Cuttings: Fill your pots with your well-draining potting mix. Make a small hole in the center of each pot with a pencil or your finger. Insert the cut end of the sweet clover cutting into the hole, ensuring at least two nodes are buried. Gently firm the soil around the stem.
- Create a Humid Environment: Water the soil lightly until it’s evenly moist but not waterlogged. Pop your pots into plastic bags, sealing them loosely to create a mini-greenhouse, or place them under a propagation dome. This keeps the humidity high, which is crucial for cuttings while they develop roots.
- Find a Bright Spot: Place your pots in a location that receives bright, indirect light. Avoid direct sun, as this can scorch the delicate cuttings.
The “Secret Sauce” (Pro Tips)
Here are a couple of things I’ve learned over the years that really make a difference:
- Don’t let the leaves touch the water (if water propagating): While I’m focusing on soil propagation here, if you decide to try water rooting your cuttings sometime, make sure none of the leaves are submerged. Any leaves below the water line will rot and can take down your entire cutting.
- Bottom Heat is Your Friend: If you have a seedling heat mat, placing your pots on it can significantly speed up root development. The gentle warmth encourages root growth without drying out the leaves.
Aftercare & Troubleshooting
Once roots have formed (this can take anywhere from 2-6 weeks, depending on the conditions), the leaves on your sweet clover cuttings should look perkier and you might even see some new growth. You can gently tug on a cutting to feel for resistance – that’s a sign of roots!
Continue to keep the soil consistently moist but not soggy. As the roots get stronger, you can gradually transition your new plants to more ventilation by opening the plastic bags a little each day. Once they’re looking robust, you can transplant them into slightly larger pots or their permanent garden spot after the last frost has passed.
If your cuttings start to turn yellow and crispy, it might mean they’re drying out too much, or they’re getting too much direct sun. If they turn mushy and brown at the base, that’s usually a sign of rot, often due to overwatering or poor drainage. Don’t be discouraged if some don’t make it – it’s all part of the learning process!
A Little Encouragement
There you have it! Propagating Melilotus officinalis is a wonderful way to multiply your enjoyment of this cheerful plant. Be patient with your little green charges, watch them closely, and celebrate every bit of progress. Happy propagating, and may your gardens be ever vibrant!
Resource:
https://identify.plantnet.org/k-world-flora/species/Melilotus%20officinalis%20(L.)%20Lam./data