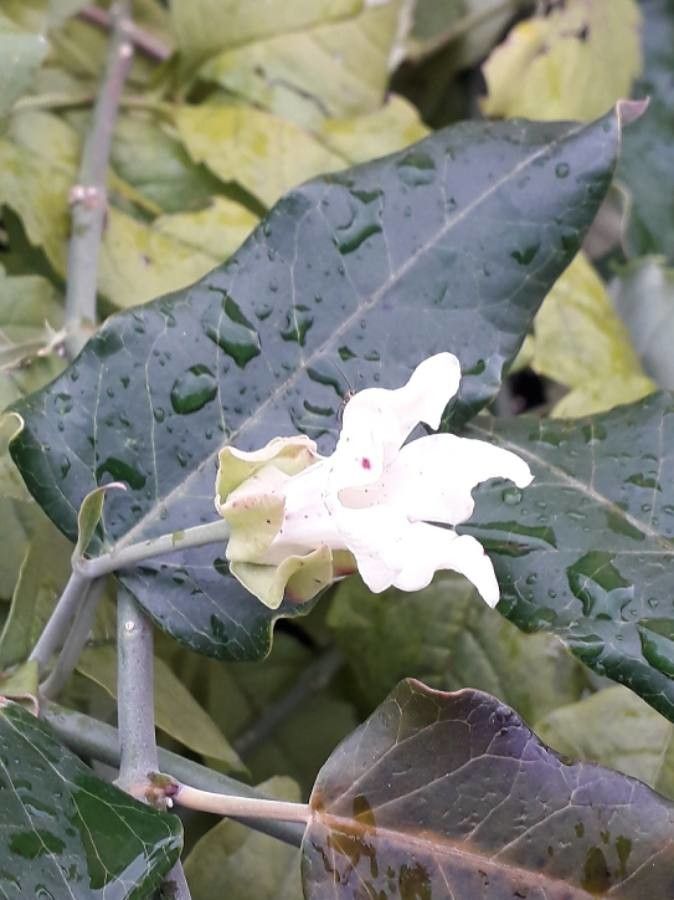
Well hello there, fellow plant lover! It’s so lovely to have you join me today. If you’re like me, you’ve probably fallen head over heels for the charming Araujia sericifera. Isn’t it just a delight with those gorgeous, star-shaped white flowers and that delicate fragrance? And the best part? Getting to share that beauty by propagating it yourself.
Now, I won’t lie to you, Araujia sericifera isn’t the absolute easiest plant for a complete beginner to propagate, but with a few gentle pointers, you’ll be surprised at how rewarding it can be. Think of it as a friendly challenge, a chance to really get your hands dirty and learn a new skill.
The Best Time to Start
For the highest chances of success, I find that late spring to early summer is absolutely your golden window. This is when the plant is in a vigorous growing phase, meaning it’s full of energy and more eager to sprout new roots. You’re looking for stems that are semi-hardwood – not the brand new, soft, floppy growth, but not the old woody stems from last year either. They should be firm enough to snap cleanly with your fingernail, but still have a bit of flexibility.
Supplies You’ll Need
Gathering your tools beforehand makes the whole process much smoother. Here’s what I usually have on hand:
- Sharp pruning shears or a clean knife: For making clean cuts, which is crucial for healthy root development.
- Rooting hormone: While not always strictly necessary, it can significantly boost your success rate, especially for trickier cuttings. I prefer a powder form.
- Well-draining potting mix: A good sterile seed-starting mix or a blend of equal parts perlite and peat moss works wonders. You want something that won’t hold too much moisture.
- Small pots or trays: Clean containers are key to preventing disease. Four-inch pots or propagation trays are perfect.
- Plastic bags or a propagator: To create a humid environment for your cuttings.
- A spray bottle with water: For misting.
- Labels: To keep track of your efforts!
Propagation Methods
Let’s get down to business! Araujia sericifera can be quite happy to propagate from stem cuttings. This is my go-to method, and I think you’ll find it quite effective.
- Take Your Cuttings: On a nice, sunny morning (when the plant is fully hydrated), use your sharp pruning shears to take cuttings that are about 4-6 inches long. Make your cut just below a leaf node (where a leaf attaches to the stem). This is where the magic of root formation often begins.
- Prepare the Cuttings: Immediately after taking your cuttings, remove the lower leaves. You want to strip off about half to two-thirds of the leaves from the bottom of the stem. If the remaining leaves are very large, you can even trim them in half to reduce water loss through transpiration.
- Apply Rooting Hormone: Dip the cut end of each stem into your rooting hormone, tapping off any excess. This helps to stimulate root growth.
- Plant Your Cuttings: Fill your clean pots or trays with your well-draining potting mix. Make a small hole in the center of the mix with your finger or a pencil. Gently insert the prepared cutting into the hole, ensuring the rooting hormone stays on the cut end. Firm the soil gently around the base of the cutting.
- Create a Humid Environment: Water the soil lightly. Then, cover the pots with a clear plastic bag or place them in a propagator. This creates a mini-greenhouse effect, keeping the humidity high, which is vital for cuttings that can’t yet absorb much water from the soil.
The “Secret Sauce” (Pro Tips)
Here are a few tried-and-true tricks that have helped me over the years:
- Watch the Sap! Araujia sericifera produces a milky white sap when cut. This sap can be irritating to skin and can also seal the wound, hindering root growth. I like to rinse the cut end under cool water for a few seconds immediately after taking the cutting and before dipping it in rooting hormone. This washes away the excess sap.
- Don’t Drown Your Cuttings: While humidity is key, soggy soil is a death sentence. Make sure your potting mix is light and airy, and avoid overwatering. Stick your finger into the soil; if it feels moist an inch down, hold off on watering.
- Introduce Some Warmth: If you have the option, placing your pots on a heat mat designed for seedlings can make a world of difference. A little bit of bottom heat encourages root development much faster than ambient room temperature alone.
Aftercare & Troubleshooting
Once your cuttings are planted, find a bright spot for them, but avoid direct, harsh sunlight, which can scorch the leaves. Keep the humidity high by misting regularly and ensuring your plastic cover stays in place.
You’ll know your cuttings are successfully rooting when you see new leaf growth. This can take anywhere from 4-8 weeks, sometimes longer. Gently tug on a cutting; if you feel resistance, that’s a good sign roots have formed.
The most common issue you’ll encounter is rot. This usually happens due to overly wet conditions. If you notice your cutting turning black and mushy, or if it simply falls over despite not being watered for a while, it’s likely succumbed to rot. Don’t be discouraged if this happens; it’s a learning curve! Start again, ensuring better drainage and less water.
A Gentle Encouragement
Propagating Araujia sericifera is a journey, and like any good garden project, it requires patience and a little bit of faith. Don’t be disheartened by any initial setbacks. Each experience teaches you something new. Take your time, enjoy the process of nurturing these little bits of life, and soon you’ll have more of these beautiful plants to share and enjoy. Happy propagating!
Resource:
https://identify.plantnet.org/k-world-flora/species/Araujia%20sericifera%20Brot./data