Oh, hello there! Pull up a chair and let’s talk about one of my absolute favorite plants: the majestic Agave americana. I’ve spent two decades getting to know these spiky beauties, and let me tell you, there’s a special kind of joy in coaxing a new life from an established plant.
Why Propagate Agave Americana?
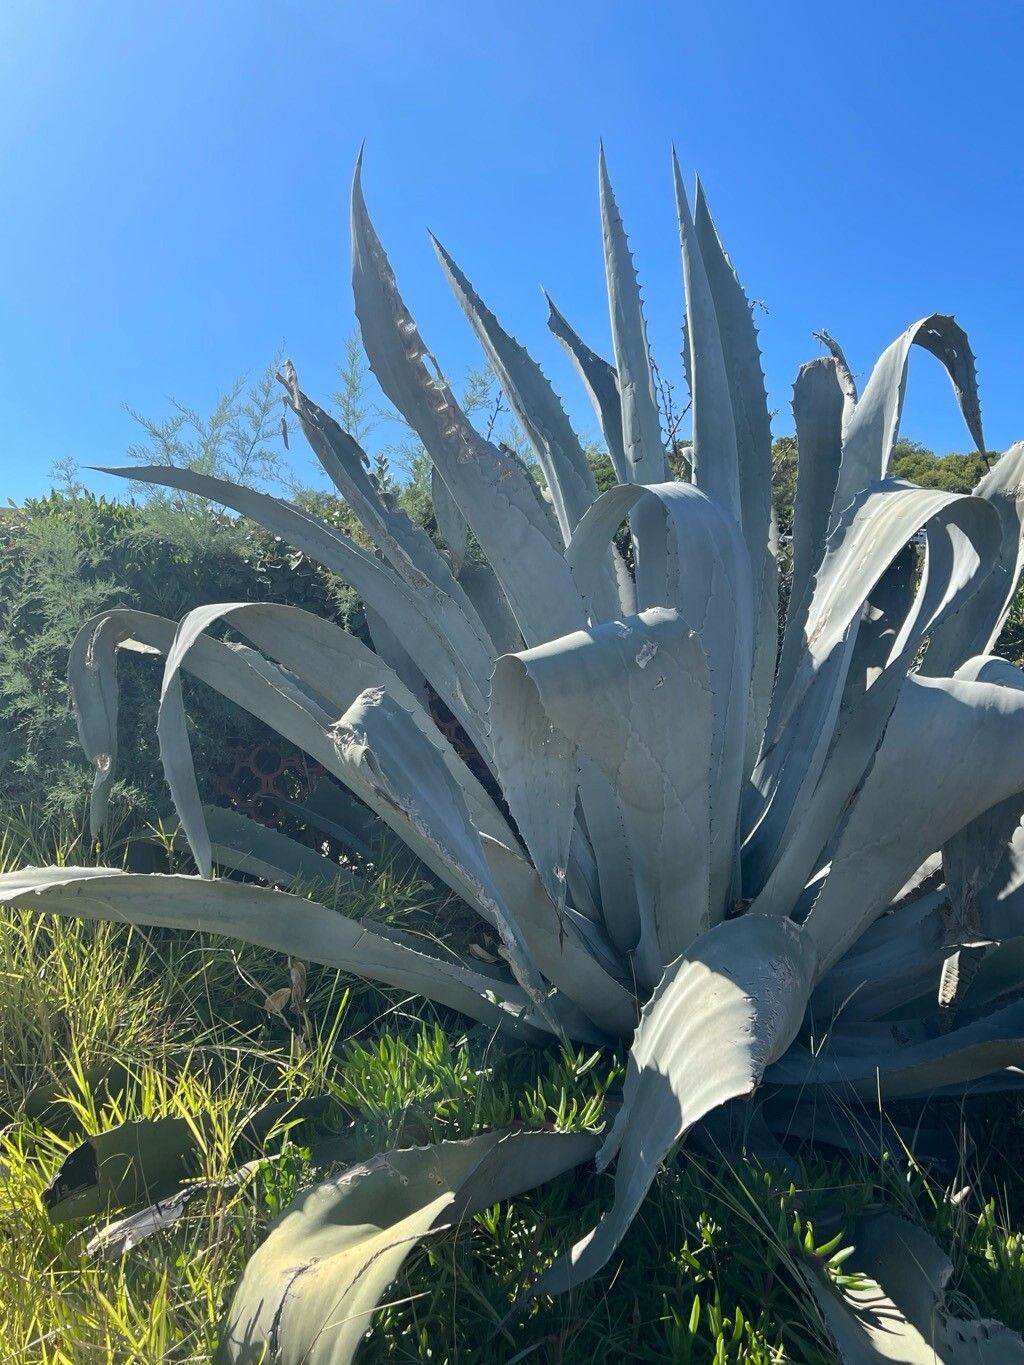
There’s something so undeniably dramatic about an Agave americana. Those sharp, architectural leaves, the sheer presence they command – it’s no wonder they’re so popular. And the best part? You can easily share that beauty! Propagating them is a fantastic way to expand your own collection, make gifts for fellow plant lovers, or simply feel that wonderful sense of accomplishment that comes from nurturing new life. For beginners, it’s a wonderfully rewarding entry into the world of succulent propagation.
When is the Best Time to Start?
Generally, you’ll find the most success with Agave americana propagation during its active growing season. This usually means late spring through summer. The warmer temperatures and longer daylight hours give them the energy they need to establish roots quickly. You can also propagate in early fall, but be mindful of cooler nights.
What You’ll Need for Success
Gathering your tools beforehand makes the whole process much smoother. Here’s what I always have on hand:
- Sharp, Clean Pruning Shears or a Knife: Sanitation is key to preventing disease.
- A Well-Draining Potting Mix: I often use a cactus or succulent mix, or I’ll blend my own with equal parts potting soil, perlite, and coarse sand.
- Rooting Hormone (Optional but Recommended): This really gives your cuttings a good head start.
- Small Pots or Containers: Terracotta pots are fantastic because they allow for good airflow.
- Gloved Hands: Those spines are no joke!
- A Spray Bottle: For gentle watering.
Let’s Get Propagating!
The most common and successful ways to propagate Agave americana involve using the pups (or offsets) that grow at the base of the mother plant.
Method 1: Division of Pups
This is my go-to method, and it’s straightforward.
- Assess Your Plant: Look for those baby agaves – the pups – emerging from the soil around the base of your mature plant. They should be a decent size, perhaps at least a few inches tall.
- Gently Excavate: Carefully dig around the base of the pup, using your hands or a small trowel. You want to expose where it connects to the mother plant.
- Separate the Pup: Once you can see the connection, use your sharp pruning shears or knife to cleanly cut the pup away from the mother plant. Try to get as much of its own root system as possible.
- Callous Over: This is a CRUCIAL step, especially with agaves. Lay the pup on its side in a dry, well-ventilated spot, out of direct sun, for several days to a week (or even longer). You want the cut end to form a dry scab or callus. This prevents rot when you plant it.
- Plant It Up: Once calloused, you can pot the pup. You can either dip the calloused end in rooting hormone before planting or skip that step. Plant it in your well-draining soil mix, just deep enough to stand upright. Don’t water it immediately. Wait about a week.
Method 2: Water Propagation (for Small Pups)
While less common for larger pups, you can try this for tiny offsets.
- Separate and Callous: Follow steps 1-4 from the division method. The callous step is still important.
- Submerge the Base: Place the calloused pup in a container with just enough water so that the very bottom of the cut stem is submerged. Make sure no leaves are touching the water.
- Change Water Regularly: Change the water every few days to keep it fresh and prevent bacterial growth.
- Patience is Key: Roots will eventually emerge from the cut end. Once you have a good inch or two of roots, you can then plant it in soil as described in step 5 of the division method.
My “Secret Sauce” – Insider Tips
Everyone has their tricks, right? Here are a few things I’ve learned that have made a big difference for me:
- Don’t Rush the Drying: Seriously, about that callous! I’ve seen people impatient and plant their pups too soon, only to have them rot. Give it time. A dry scab is your best friend. I sometimes let mine dry for a full 10 days if it’s humid.
- Bottom Heat is Your Friend: If you have a propagation mat or can place your pots on a warm surface (like near a boiler or on top of a router, carefully!), it can significantly speed up root development. Warm soil encourages roots to grow.
- Let Them Be (Mostly): Once potted, resist the urge to constantly fuss. Wait for signs of new growth before you get too excited. Sometimes they take months to show they’re happy.
Aftercare and What to Watch For
Once your pup has developed roots, you can begin to water it more regularly, but still practice that good old “drench and dry” method – water thoroughly, then let the soil dry out completely between waterings. Keep it in bright, indirect light.
The most common issue you’ll encounter is rot. If your pup looks mushy, turns black, or develops soft spots, it’s likely rot. If caught early, you might be able to cut away the rotted parts and re-callous the healthy bits. Rot is often caused by overwatering or planting without allowing the cutting to callus properly. If it’s beyond saving, don’t be discouraged! Agaves are tough, and you can always try again.
Happy Gardening!
So there you have it! Propagating Agave americana is a journey worth taking. Be patient, trust the process, and enjoy watching those little pups grow into their own magnificent forms. Happy gardening, my friend!
Resource:
https://identify.plantnet.org/k-world-flora/species/Agave%20americana%20L./data