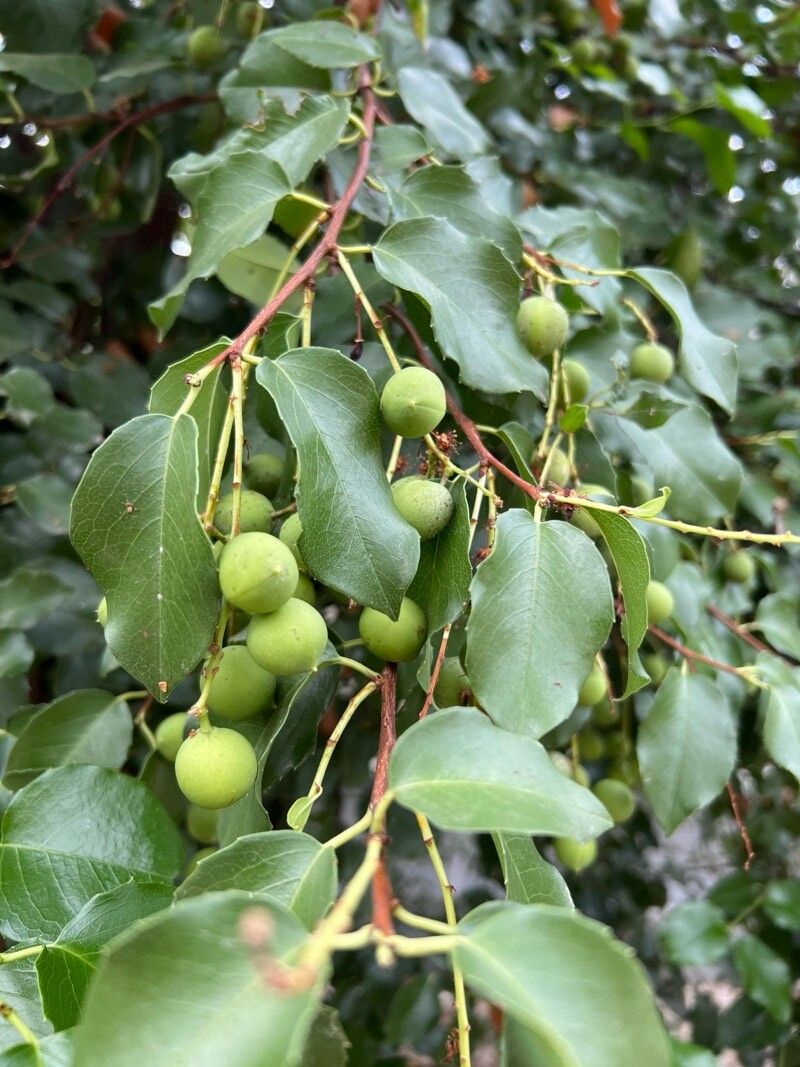
Oh, hello there, fellow garden enthusiast! Today, I want to talk about a plant I absolutely adore: Prunus ilicifolia, also known as our California Hollyleaf Cherry. If you’ve ever admired its glossy, holly-like leaves, its vibrant green all year round, and the promise of beautiful clusters of berries, you’re not alone. This is a fantastic native plant for many of us, and there’s something incredibly satisfying about growing your own!
When it comes to propagation, I’ll be honest, it’s not always a “stick it in the ground and forget it” kind of deal, but with a little attention and the right approach, you can absolutely have success. It’s a rewarding venture, especially when you see that first tiny root emerge.
The Best Time to Start
For Prunus ilicifolia, I find the late spring to early summer is your sweet spot. This is when the plant is actively growing, which means it has plenty of energy to put into developing roots. Look for stems that are semi-hardwood – they’ve lost that really soft, flexible new growth but haven’t become totally woody yet. Think of a pencil in terms of thickness.
Supplies You’ll Need
Gathering your tools before you start makes the whole process smoother. Here’s what I always have on hand:
- Sharp pruning shears or a clean knife: For making clean cuts, which is super important.
- Rooting hormone: A powder or gel will help encourage root development.
- Small pots or a propagation tray: With drainage holes, of course!
- Seed-starting mix or a well-draining potting mix: I like a blend of perlite and peat moss or coco coir.
- A clear plastic bag or propagator lid: To create a humid environment.
- Watering can with a fine rose: For gentle watering.
- Labels and a marker: To keep track of what you’ve planted and when!
Propagation Methods
The most reliable method for me with Prunus ilicifolia is by stem cuttings. It gives you a great chance to clone a parent plant you admire.
- Take Your Cuttings: In late spring or early summer, select healthy, non-flowering stems. Using your sharp shears, take cuttings about 4-6 inches long. Make the cut just below a leaf node (where a leaf joins the stem).
- Prepare the Cuttings: Gently remove the leaves from the bottom half of each cutting. This prevents them from rotting when you insert them into the soil or water.
- Apply Rooting Hormone: Dip the cut end of each stem into your rooting hormone, tapping off any excess.
- Plant Your Cuttings: Fill your pots or tray with your prepared soil mix. Make a hole in the center with your finger or a pencil. Carefully insert the cutting, ensuring the part where you removed the leaves is below the soil surface. Gently firm the soil around the cutting.
- Water Gently: Water thoroughly but gently so you don’t dislodge the cuttings.
(Alternative – Water Propagation): For a simpler start, you can try water propagation. Follow steps 1-3 above, then place the prepared cuttings in a glass of water, making sure no leaves are submerged.
The “Secret Sauce” (Pro Tips)
Here are a couple of things I’ve learned over the years that really make a difference:
- Don’t Overcrowd: Give your cuttings a little breathing room. If they’re packed too tightly, it can encourage fungal issues. Think about giving each cutting its own space to grow.
- Bottom Heat is Your Friend: If you have a heat mat designed for seedlings, pop your tray on top of it. This gently warms the soil, which encourages root formation much faster than just ambient room temperature. It’s a game-changer for many woody cuttings.
Aftercare & Troubleshooting
Once your cuttings are planted, the key is to maintain a consistent, humid environment. Cover the pots or tray with a clear plastic bag or a propagator lid. Place them in a bright spot, but avoid direct, harsh sunlight, which can scorch them. Mist the inside of the bag or lid occasionally if you see condensation disappearing.
You’ll know they’re rooting when you see new leaf growth. This can take anywhere from 4-8 weeks, sometimes longer. You can also give a very gentle tug on a cutting; if you feel resistance, roots are forming!
The most common problem you might encounter is rot. If a cutting turns black and mushy, it’s usually a sign of too much moisture or lack of air circulation. If you see signs of rot, remove the affected cutting immediately and improve air circulation around the others.
A Encouraging Closing
Growing Prunus ilicifolia from cuttings is a journey, and like any good journey, it’s best enjoyed with a bit of patience. Don’t get discouraged if every single cutting doesn’t make it. Celebrate the victories, learn from any setbacks, and most importantly, enjoy the process of nurturing new life. Happy gardening!
Resource: