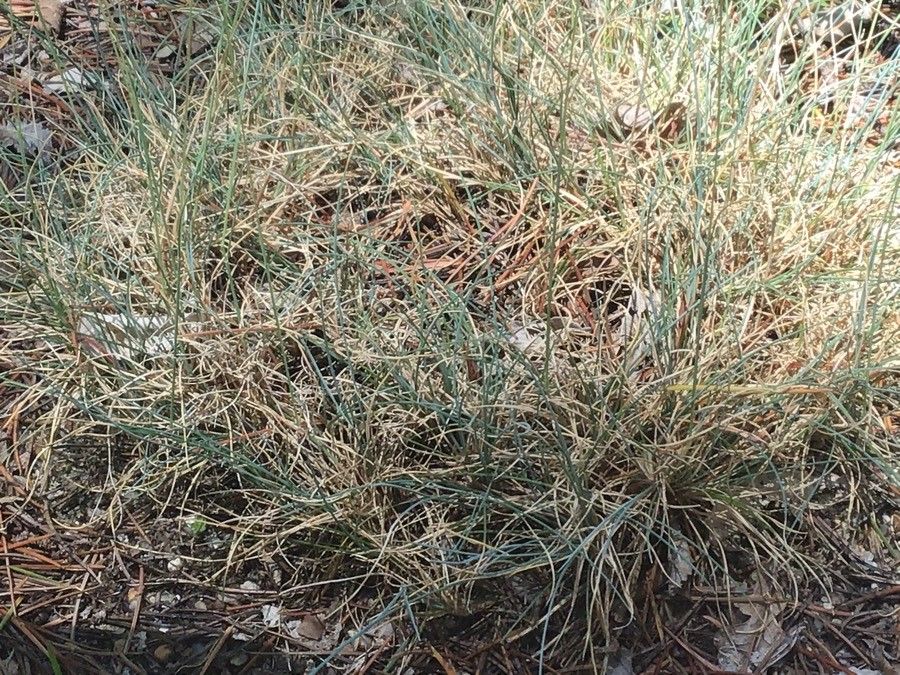
Hello fellow garden enthusiasts! Today, we’re diving into the world of Festuca brigantina, also known as the striking blue fescue. If you’re drawn to those dazzling, silvery-blue architectural mounds that add such serious pizzazz to any landscape, you’re in for a treat. Propagating Festuca brigantina is absolutely doable and incredibly rewarding. It’s a fantastic way to fill out your garden beds, create new focal points, or even share these beauties with friends. For beginners, I’d say it leans more towards the moderately easy side, especially if you’re willing to be a little patient.
The Best Time to Start
My absolute favorite time to propagate Festuca brigantina is in early spring. Think late March or April, just as the plant is waking up from its winter slumber and pushing out new growth. The soil temperatures are starting to warm up, and the longer days give new divisions or cuttings the best chance to establish quickly before the heat of summer sets in. Fall can also work, but spring gives you that crucial head start.
Supplies You’ll Need
Gathering your tools beforehand makes the whole process smoother. Here’s what I usually have on hand:
- Sharp pruning shears or a clean knife: For making clean cuts.
- Well-draining potting mix: A mix specifically for succulents or cacti is great, or you can amend regular potting mix with perlite or coarse sand.
- Small pots or trays: With drainage holes, of course!
- Rooting hormone (optional but recommended): Especially for cuttings.
- Watering can or spray bottle: To keep things consistently moist but not soggy.
- Labels: To keep track of what you’ve planted and when!
- A small spade or trowel: For dividing clumps.
Propagation Methods
For Festuca brigantina, division is by far the easiest and most reliable method, especially for getting started. Cuttings can be a bit more finicky.
Method 1: Division (My Go-To!)
This is essentially splitting a mature plant into smaller, viable sections.
- Prepare the Mother Plant: Water your Festuca brigantina thoroughly a day or two before you plan to divide it. This helps to hydrate the plant, making it less stressed when you work with it.
- Gently Loosen: Carefully dig around the base of the plant, lifting the entire clump out of the soil. You can also do this while the plant is still in the ground by gently pulling sections apart.
- Separate the Divisions: This is where your hands or a small trowel come in handy. Gently pull the root ball apart into smaller sections. Look for clusters that have both roots and foliage. If a section feels stubbornly attached, use your sharp knife or pruning shears to make a clean cut through the roots and foliage. Aim for divisions that are roughly 3-4 inches across, with a decent cluster of roots and several healthy shoots.
- Replant Immediately: Plant each division into its own pot filled with your well-draining potting mix. Make sure the crown of the plant (where the leaves emerge from the roots) is at soil level.
- Water and Settle: Water each new pot gently but thoroughly. This helps to settle the soil around the roots.
Method 2: Stem Cuttings (A Little More Advanced)
This method is a bit more challenging with fescues, as they don’t always root readily from soft cuttings. I find taking semi-hardwood cuttings in late spring or early summer works best.
- Select Healthy Shoots: Look for new, but not entirely soft, growth on your established plant. You want shoots that are sturdy but still flexible.
- Take the Cutting: Using your sharp knife or shears, cut a section of the shoot about 4-6 inches long. Make the cut just below a leaf node. Remove any lower leaves, leaving only the top few.
- Apply Rooting Hormone: Dip the cut end into rooting hormone powder or gel. Tap off any excess.
- Plant the Cutting: Fill a small pot with your well-draining mix. Make a hole with a pencil or your finger and insert the cutting, ensuring the leaf nodes are buried. Gently firm the soil around it.
- Create a Humid Environment: It’s crucial to keep the humidity high for cuttings. You can do this by placing a clear plastic bag over the pot, making sure the leaves don’t touch the plastic. Poke a few small holes in the bag for air circulation.
- Placement: Place the pot in a bright location but out of direct, harsh sunlight.
The “Secret Sauce” (Pro Tips)
Here are a couple of things I’ve learned over the years that really make a difference:
- For Divisions: Don’t Be Afraid to Be Ruthless! Sometimes, a clump might look a bit sad after division, but trust me, those smaller, well-rooted divisions will bounce back vigorously. It’s better to have several smaller, healthy plants than one struggling lumpy mess.
- For Cuttings: Bottom Heat is Your Friend. If you’re attempting cuttings, using a seedling heat mat can dramatically increase your success rate. Fescues appreciate a bit of warmth from below to encourage root development. Just set it to a low setting, enough to keep the soil consistently warm.
Aftercare & Troubleshooting
Once your new Festuca brigantina divisions or cuttings have taken hold (you’ll see signs of new growth!), it’s time to nurture them.
- Watering: Keep the soil consistently moist but not waterlogged. As they grow, gradually let the soil dry out a bit more between waterings, similar to your mature plants.
- Light: Continue to keep them in bright, indirect light. Gradually introduce them to more sunlight as they become stronger.
- Transplanting: Once the divisions have established a good root system and are showing new growth, you can transplant them into larger pots or directly into their garden beds. For cuttings, wait until you can gently tug on the plant and feel resistance – that means roots have formed.
The most common issue you’ll encounter is rot, often caused by overwatering or poor drainage. If you see leaves turning yellow or mushy at the base, or if your cuttings just shrivel up, it’s a sign that things are too wet. Make sure your soil drains exceptionally well and adjust your watering schedule.
A Encouraging Closing
Propagating plants, especially something as beautiful as Festuca brigantina, is a magical process. It’s a chance to witness life begin anew, right in your own hands. Be patient with your new babies, give them good care, and don’t be discouraged if not every attempt is a slam dunk. The joy of watching those delicate blue threads unfurl and grow is absolutely worth the effort. Happy propagating!
Resource: