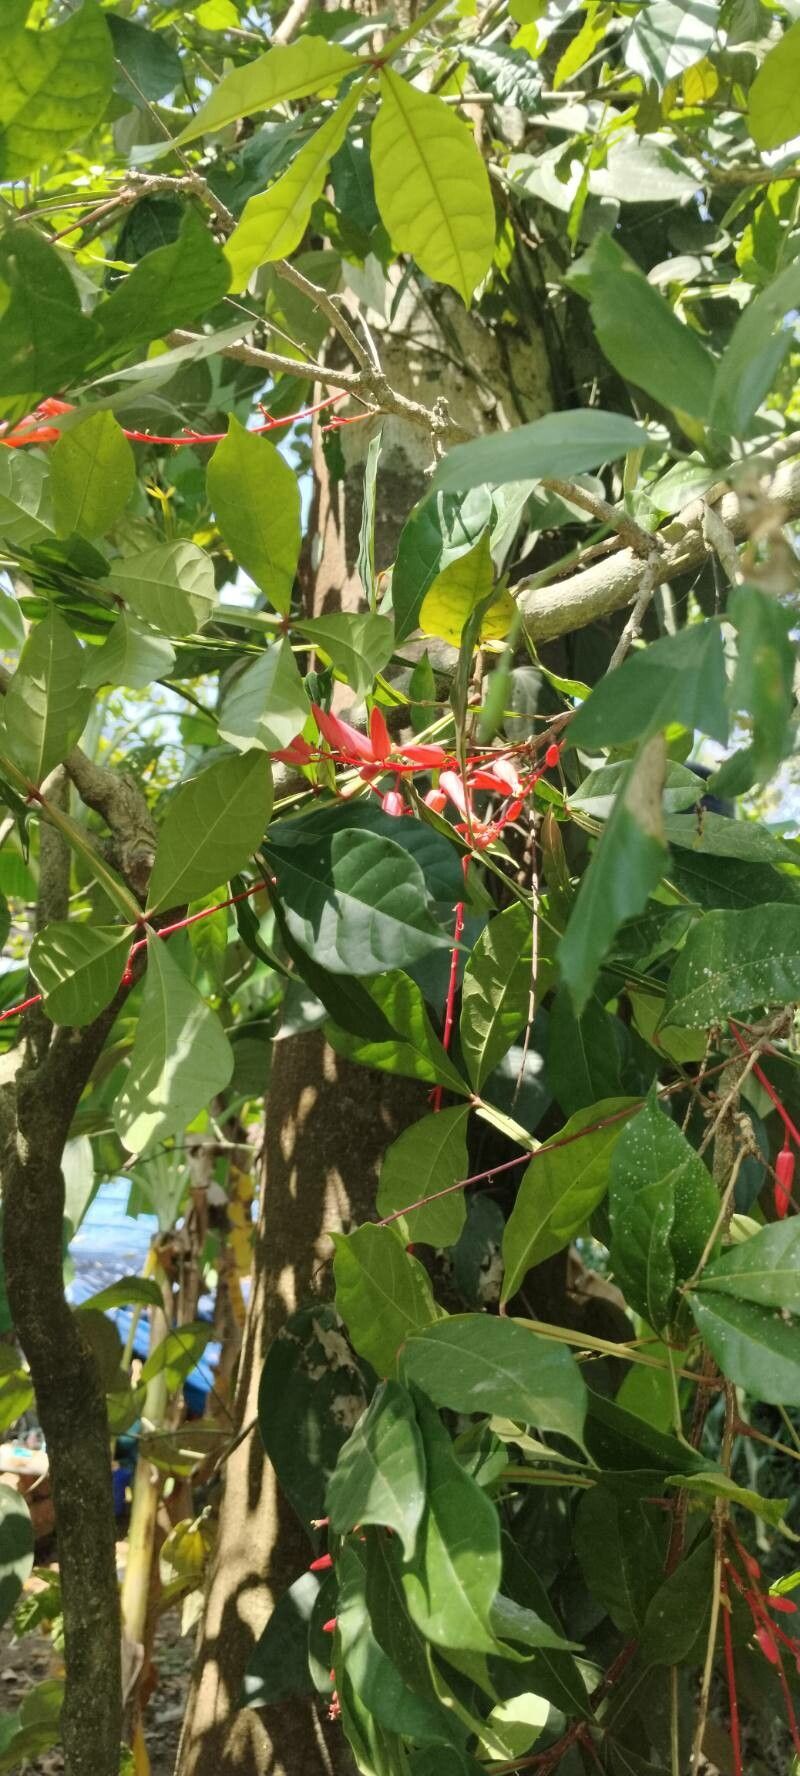
Oh, hello there! Pull up a chair, wouldn’t you? Let’s chat about propagating Quassia amara. This lovely plant, with its striking bright red flowers and beautiful foliage, is a real gem to have in the garden. And the best part? You can easily multiply it yourself! It’s a wonderfully rewarding process, and honestly, while it has a few quirks, I’d say it’s a moderately easy plant to propagate, even if you’re just starting out. It just needs a little bit of understanding and patience.
The Best Time to Start
For the highest chance of success with Quassia amara, I find that late spring to early summer is your sweet spot. This is when the plant is actively growing and has plenty of energy to put into developing new roots. You want to be taking cuttings from healthy, vigorous growth that isn’t flowering. Think of it like this: you’re asking a plant to focus its energy on making roots, not on producing seeds or flowers right now.
Supplies You’ll Need
Gathering your supplies beforehand makes the whole process smoother. You won’t need anything too fancy. Here’s what I always have on hand:
- Sharp, clean pruning shears or a sharp knife: Essential for making clean cuts that heal well.
- A good quality potting mix: I like a blend that’s well-draining. A mix of potting soil, perlite, and a bit of coco coir works wonders for cuttings.
- Rooting hormone (optional, but recommended): This really gives your cuttings a boost, encouraging faster and stronger root development. Look for one formulated for stem cuttings.
- Small pots or trays: Clean ones, of course! Small cells or 3-4 inch pots are perfect.
- Plastic bags or clear plastic domes: To create a humid environment for your cuttings.
- Watering can or spray bottle: For gentle watering.
Propagation Methods
I’ve had the most luck with stem cuttings for Quassia amara. It’s a reliable way to get good results.
Stem Cuttings:
- Select your stems: Look for healthy, non-flowering shoots that are about 4-6 inches long. They should be firm but still have some flexibility – not brittle old wood, but not completely floppy either.
- Make the cut: Using your sharp shears or knife, make a clean cut just below a leaf node (where a leaf attaches to the stem). This is where the plant is most likely to form roots.
- Prepare the cutting: Gently remove the lower leaves, leaving just a few at the top. This prevents them from rotting when placed in the soil. You can also pinch off any flower buds that might be present.
- Apply rooting hormone (if using): Dip the cut end of the stem into the rooting hormone, tapping off any excess.
- Plant the cuttings: Fill your small pots or trays with your prepared potting mix. Make a hole with a pencil or your finger, then carefully insert the cutting, ensuring the leaf nodes are below the soil surface. Gently firm the soil around the cutting.
- Water gently: Water thoroughly but gently, so you don’t dislodge the cuttings. You want the soil to be moist, not soggy.
- Create humidity: Cover the pots with a plastic bag or clear dome. This traps moisture and creates a mini-greenhouse effect, which is crucial for cuttings to root. Make sure the plastic doesn’t touch the leaves if possible. You can use a skewer or two to prop it up.
- Place them: Put your pots in a bright spot out of direct sunlight. A warm location is beneficial.
The “Secret Sauce” (Pro Tips)
Here are a couple of things I’ve learned over the years that can really make a difference:
- Bottom Heat is Your Friend: If you have a heat mat designed for seedlings, using it under your pots will dramatically speed up root formation. Quassia amara loves a bit of warmth to get those roots going.
- Don’t Drown Them: While humidity is important, you don’t want your cuttings sitting in soggy soil. Good drainage is paramount. If you see water pooling in the bottom of the pot, it’s a sign your mix might be too heavy or you’re watering too much. Allowing the top layer of soil to dry out slightly between waterings is okay.
Aftercare & Troubleshooting
Once you start seeing new growth emerging from the top of your cutting, that’s a great sign! It means roots are forming. You can give your cutting a gentle tug; if there’s resistance, roots are developing.
Continue to keep the soil consistently moist and the humidity high for the first few weeks. Once you see a good amount of new growth, you can gradually acclimate the new plants to lower humidity by opening the plastic bag or dome a little bit each day.
The most common issue I see is rot. This usually happens if the cuttings are kept too wet or the humidity is too high without any air circulation. If you see a stem turning black or mushy, it’s best to remove it before it affects others. Good air circulation is key, so occasionally lifting the plastic bag to let some air in can help prevent this.
A Encouraging Closing
Propagating plants is a journey, and each cutting is a little experiment. Don’t be discouraged if not every single one makes it. That’s completely normal! Celebrate the successes, learn from any setbacks, and most importantly, enjoy the process of nurturing new life. Before you know it, you’ll have a whole new family of beautiful Quassia amara plants to share or to fill your garden with. Happy propagating!
Resource:
https://identify.plantnet.org/k-world-flora/species/Quassia%20amara%20L./data