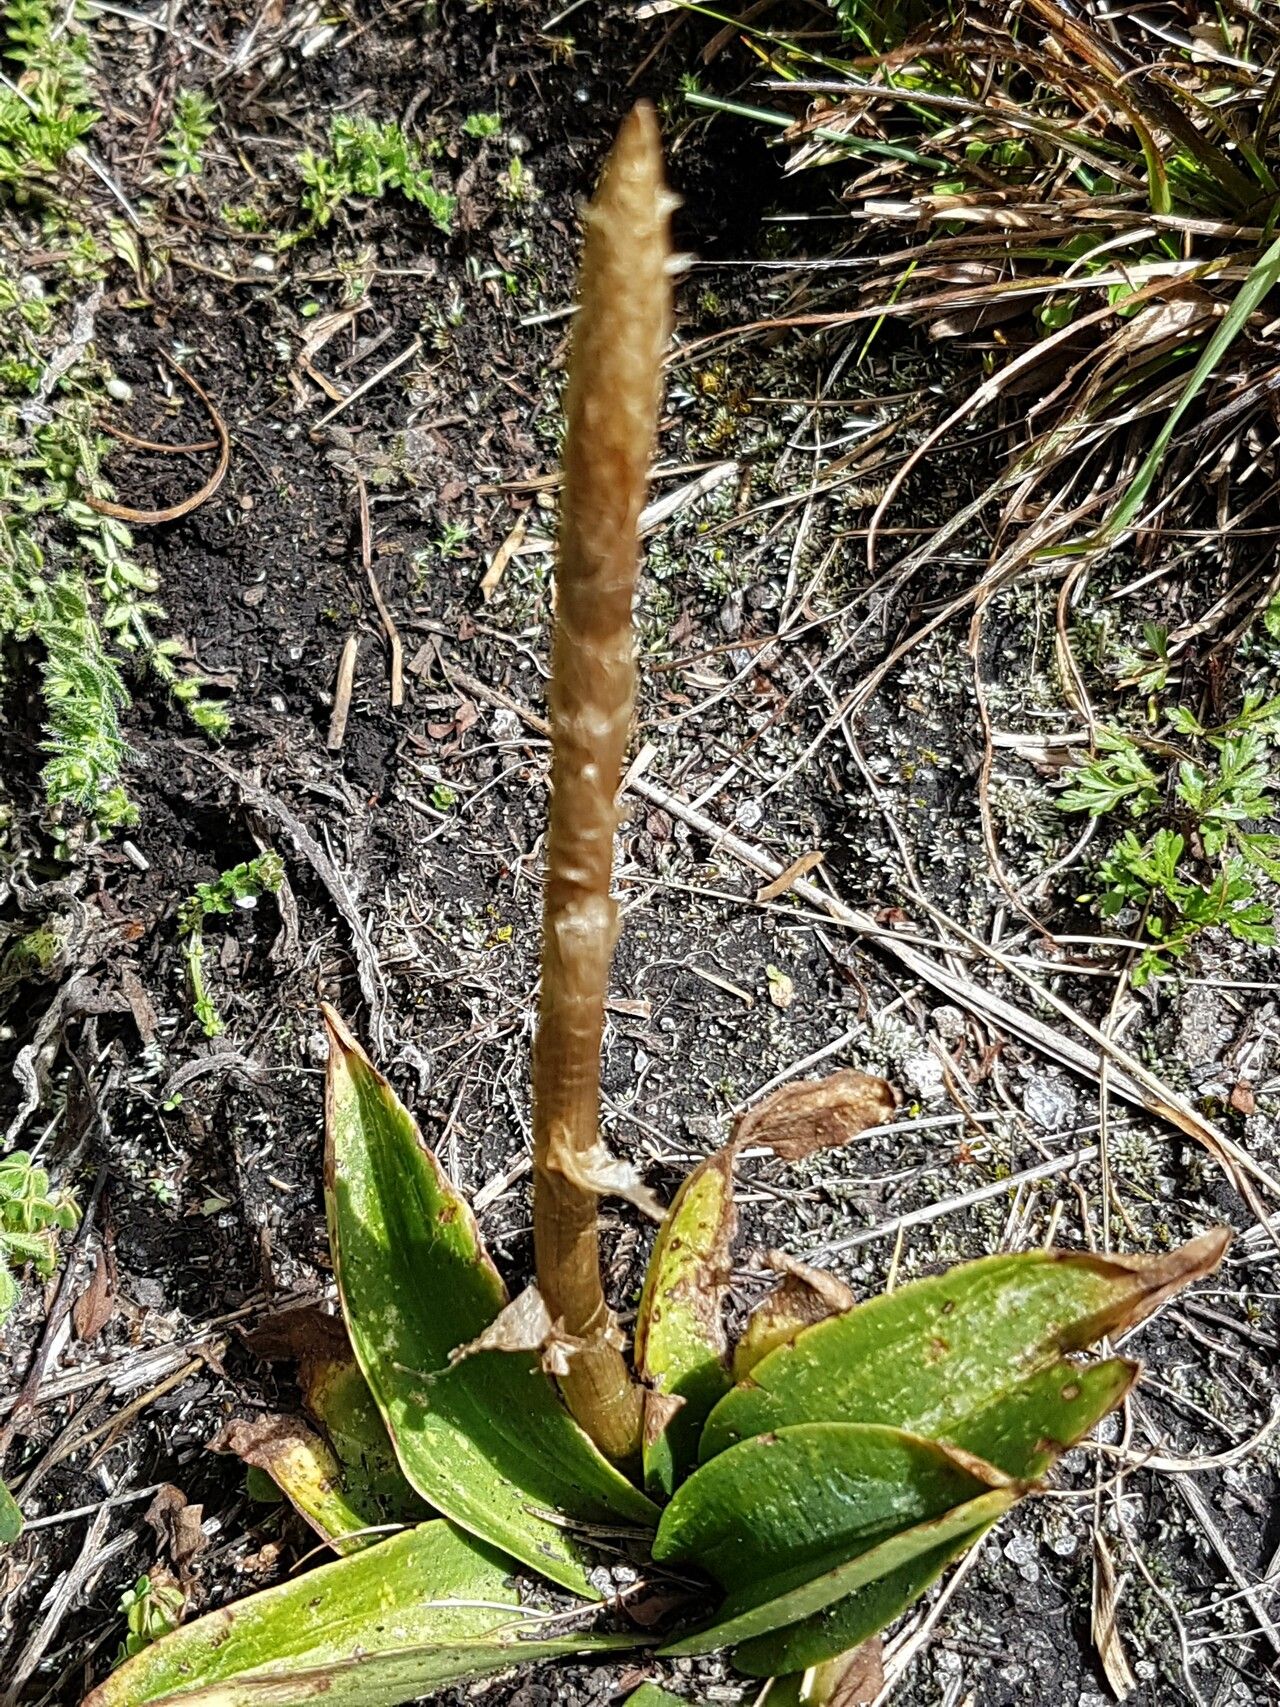
Well hello there, fellow plant lover! I’m so glad you’ve dropped by. Today, we’re diving into the fascinating world of Ophioglossum crotalophoroides, also known as the Rattlesnake Fern. If you’ve ever spotted this unique beauty with its snake-tongue-like fronds, you know it’s a true gem for any shade garden or terrarium.
Why Propagate This Fern?
There’s something so special about creating new life from a plant you already cherish. Propagating the Rattlesnake Fern isn’t just about having more of these captivating specimens; it’s about connecting with nature on a deeper level. It rewards patience and keen observation, and honestly, watching a tiny new fern unfurl is pure magic. Now, if you’re a beginner, I’ll be upfront: this isn’t always the easiest plant to multiply, but with a little care and the right approach, you can absolutely be successful.
When to Get Your Hands Dirty
The absolute best time to think about propagating Ophioglossum crotalophoroides is during its active growing season. For most of us, this means late spring through mid-summer. You want to work with a plant that’s full of energy and ready to put down new roots. Avoid trying to propagate when the plant is dormant or stressed.
Your Propagation Toolkit
Here’s what you’ll want to have handy:
- Sharp Pruning Shears or a Clean Knife: For making clean cuts.
- Sterile Potting Mix: A mix that drains well is key. I like to combine equal parts peat moss, perlite, and coco coir. You can also add a good amount of orchid bark for extra aeration.
- Small Pots or Trays: With drainage holes, of course!
- Plastic Bags or a Propagator Lid: To create a humid environment.
- Spray Bottle: For misting.
- Rooting Hormone (Optional): While some ferns don’t need it, it can give you a little boost.
- Soft Brush: For handling delicate parts.
Bringing New Rattlesnake Ferns to Life
While Ophioglossum crotalophoroides can be a bit tricky, the most reliable method I’ve found is through division of mature plants. Stem cuttings aren’t typically effective for this particular fern.
Propagation by Division:
- Prepare Your Parent Plant: Gently remove the mature Rattlesnake Fern from its pot. If it’s in the ground, carefully excavate around it.
- Inspect the Rhizome: You’re looking for the rhizome, which is the creeping underground stem. On a healthy, mature plant, you’ll often see natural divisions where new fronds are emerging from different points along this rhizome.
- Make the Cut: Using your clean, sharp shears or knife, carefully divide the rhizome. Aim to create sections that each have at least one healthy frond and a good portion of the rhizome with some small roots attached. It’s okay if a few tiny roots break; just try to minimize damage.
- Potting Up: Fill your small pots with your prepared, sterile potting mix. Plant each division so that the top of the rhizome is just at or slightly below the soil surface, with the fronds pointing upwards.
- Water Gently: Water everything in gently but thoroughly. You want the soil to be moist but not waterlogged.
My “Secret Sauce” Tips
Here are a couple of things I’ve learned over the years that can make a real difference:
- Don’t Drown the Roots: When you water after dividing, be gentle. The goal is moist soil, not a muddy swamp. Overwatering at this stage is the quickest way to invite rot.
- Embrace the Humidity Dome: This is crucial! Cover your pots with a clear plastic bag or a propagator lid. This maintains high humidity, which is what baby ferns absolutely crave. Just make sure the fronds aren’t constantly pressed against the plastic, or you might encourage fungal issues. I often prop up the bag with a twig or two.
- Patience is Your Best Friend: Rattlesnake Ferns are not fast growers when it comes to propagation. You’re looking for signs of new growth, which might take several weeks, or even a couple of months. Resist the urge to constantly check or disturb them.
Aftercare and What to Watch For
Once your divisions are tucked into their new homes under their humidity domes, the real waiting game begins.
- Keep it Humid and Bright (but shaded): Continue to keep the soil consistently moist and the humidity high. Place the pots in a bright spot that receives indirect light only. Direct sun will scorch those delicate new fronds.
- Signs of Life: You’re looking for new frond initiation – a tiny coiled frond (a fiddlehead) starting to unfurl. This is your signal that roots are forming!
- Troubleshooting: The most common problem you’ll encounter is rot. If a frond turns yellow and mushy, or the rhizome base looks black and slimy, it’s likely rot. This usually means it’s too wet or not enough air circulation. Unfortunately, if rot sets in, it’s often hard to save that division. If you see signs of wilting or browning leaves without mushiness, it might be a sign of the soil drying out a bit too much.
The Joy of Growing
Propagating Ophioglossum crotalophoroides is a journey that requires a dash of patience and a whole lot of love. Don’t get discouraged if your first attempt isn’t a roaring success. Every gardener learns through trial and error, and that’s part of the fun! Just keep observing, adjust your approach, and celebrate every tiny bit of progress. Happy growing, and may your Rattlesnake Ferns thrive!
Resource:
https://identify.plantnet.org/k-world-flora/species/Ophioglossum%20crotalophoroides%20Walter/data