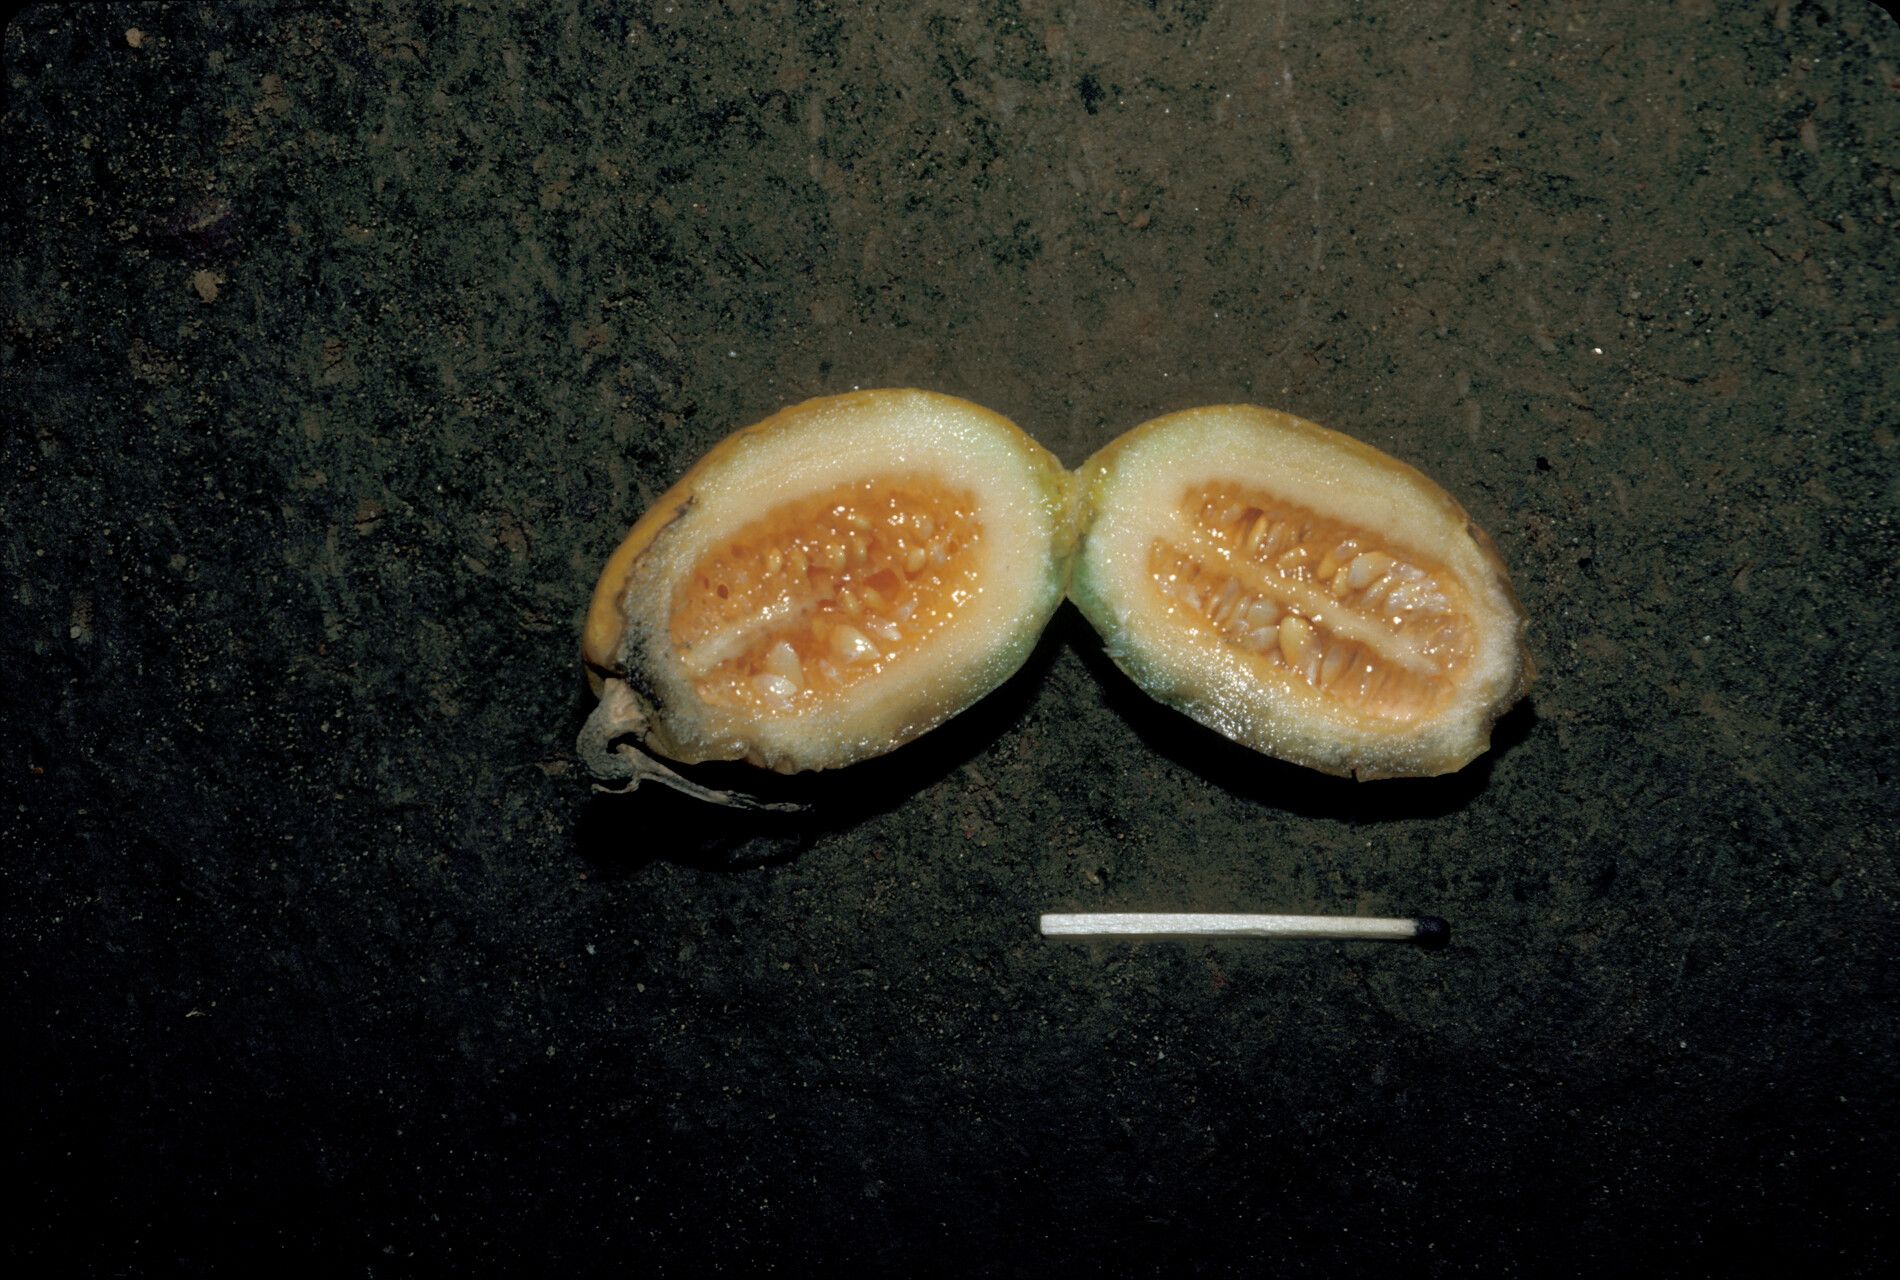
Hello fellow plant enthusiasts! Today, I’m so excited to talk about a real gem in the plant world: Ceratosanthes palmata. If you’ve ever seen this beauty with its lush, palm-like leaves, you’ve probably been captivated. It has this wonderful tropical vibe, bringing a touch of the exotic right into our homes. And the best part? You can create more of these stunning plants yourself!
Propagating Ceratosanthes palmata can feel a little daunting at first, but I promise you, with a few key steps, it’s entirely achievable. It’s a rewarding process that allows you to fill your home, share with friends, or even expand your collection without breaking the bank. For beginners, I’d say it’s moderately easy – a good one to try once you’ve got a little rooting experience under your belt.
The Best Time to Start
When it comes to getting those new roots growing, timing is everything. I’ve found the late spring to early summer is absolutely your golden window. This is when the plant is actively growing and has plenty of energy to put into developing new roots. You want to take cuttings when the plant is showing vigorous new growth, not when it’s stressed or dormant.
Supplies You’ll Need
Before we get our hands dirty, let’s gather our gear:
- Sharp Pruning Shears or Knife: Cleanliness is key to prevent disease.
- Potting Mix: A well-draining, airy mix is crucial. I like a blend of equal parts perlite, peat moss, and compost.
- Small Pots or Propagation Trays: Whatever suits your space and the size of your cuttings.
- Rooting Hormone (Optional but Recommended): This can give your cuttings a little boost. Gel or powder works fine.
- Clear Plastic Bag or Dome: To create a humid environment.
- Watering Can with a Fine Rose: For gentle watering.
- Small Sticks or Skewers: To support the plastic bag.
Propagation Methods
For Ceratosanthes palmata, my go-to method is stem cuttings. It’s straightforward and usually yields great results.
Stem Cuttings:
- Select a Healthy Stem: Look for a healthy, non-flowering stem that’s at least 6 inches long. You want one that’s firm but not woody.
- Make the Cut: Using your sterilized shears or knife, make a clean cut just below a leaf node. A leaf node is where a leaf attaches to the stem – this is where roots will emerge. You can typically get two or three cuttings from a single healthy stem.
- Prepare the Cutting: Gently remove the lower leaves. You want to expose a few inches of stem where roots can form. You can leave the top leaves intact, but if they are very large, you can cut them in half to reduce water loss.
- Apply Rooting Hormone: If you’re using rooting hormone, dip the cut end of the stem into it, tapping off any excess.
- Plant the Cutting: Fill your small pots with your prepared potting mix. Make a hole in the center with your finger or a pencil. Insert the cutting into the hole, ensuring the nodes where you removed the leaves are below the soil line. Gently firm the soil around the stem.
- Water Gently: Water the soil thoroughly but gently, allowing excess water to drain away.
The “Secret Sauce” (Pro Tips)
Now for a few little tricks I’ve learned over the years:
- Bottom Heat is Your Friend: Ceratosanthes palmata loves warmth, especially when rooting. Placing your pots on a heating mat can dramatically speed up root development. It’s like giving your cuttings a cozy little spa treatment.
- Don’t Overwater! It’s tempting to keep the soil constantly moist, but soggy soil is the enemy. You want the soil to be consistently damp, not wet. Let the top inch of soil dry out slightly between waterings. This is crucial to prevent rot.
- Know Your Nodes: Remember, roots emerge from the nodes. When you’re planting your cutting, make sure at least one or two of those bare nodes are submerged in the soil. That’s where the magic happens!
Aftercare & Troubleshooting
Once your cuttings are planted, it’s time for a little tender loving care.
Creating Humidity: Cover the pots with a clear plastic bag or a propagation dome. This traps moisture and creates the humid environment that cuttings crave. You can use a skewer or stick to prop up the bag so it doesn’t touch the leaves. Place them in a bright spot out of direct sunlight.
Checking for Roots: It can take anywhere from 4 to 8 weeks for roots to establish. You can gently tug on a cutting – if you feel resistance, roots are forming! You can also look for new leaf growth, which is a good sign.
Common Pitfalls: The biggest issue you’ll likely encounter is rot. If you see your cutting turning mushy or black, it’s a sign of too much moisture and not enough airflow. If this happens, sadly, it’s usually best to discard it and start again, focusing on that “damp, not wet” rule. Yellowing leaves can sometimes indicate too much direct sun or inconsistent watering.
A Little Patience, A Lot of Joy
Propagating Ceratosanthes palmata is a journey, and like any good gardening endeavor, it requires a dash of patience. Don’t get discouraged if your first attempt isn’t perfect. Each time you try, you learn a little more. The thrill of seeing those first tiny roots emerge and then watching your new plant flourish is incredibly satisfying. So go ahead, grab your shears, and happy propagating! I can’t wait to hear about your successes.
Resource:
https://identify.plantnet.org/k-world-flora/species/Ceratosanthes%20palmata%20(L.)%20Urb./data