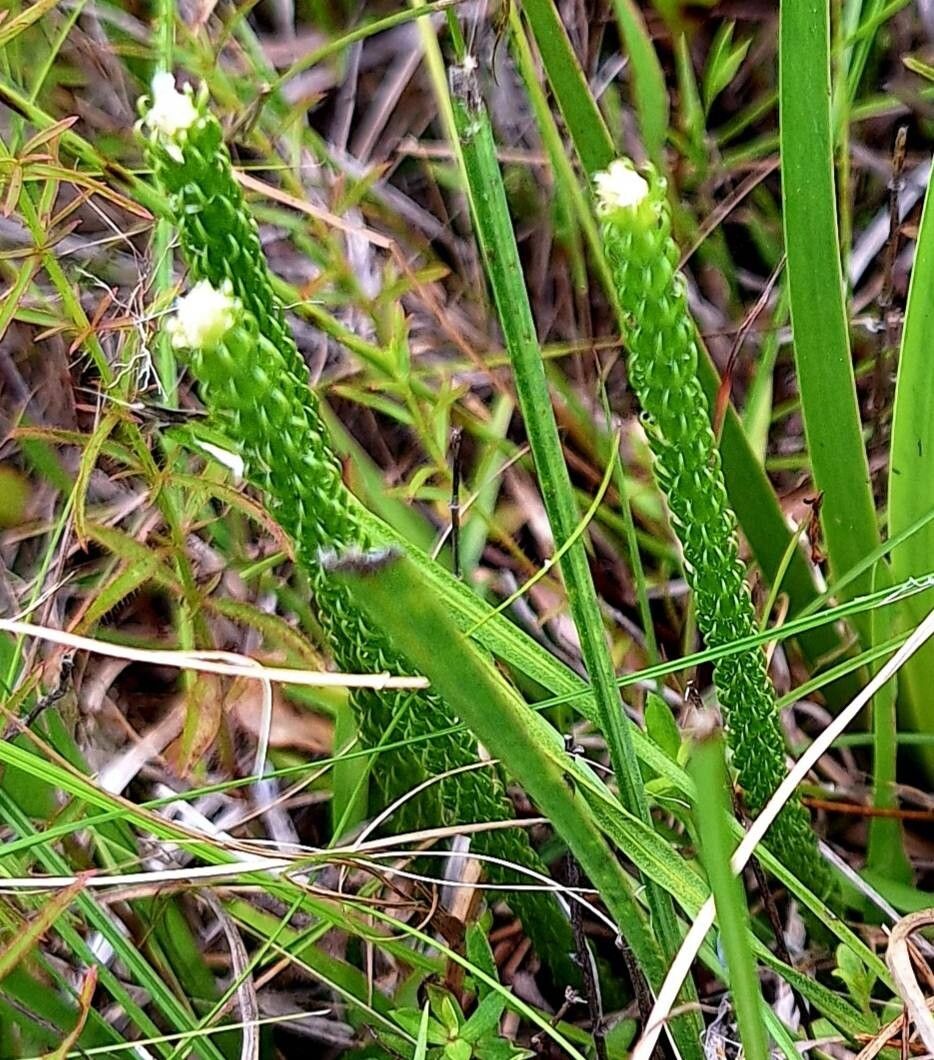
Oh, hello there! It’s so lovely to have you join me in my little corner of the garden world. Today, we’re diving into the wonderful, somewhat whimsical realm of Lycopodiella appressa. If you’ve ever seen these charming little woodlanders gracing a shady spot, you’ve likely fallen for their delicate, almost feathery appearance. They bring a touch of wild magic to any landscape, and the joy of nurturing your own from a tiny piece is truly special.
Now, about Lycopodiella appressa—let’s be honest, it’s not the easiest plant to start from scratch, especially for absolute beginners. There’s a certain finesse involved, a gentle touch that’s key to success. But don’t let that deter you! With a bit of patience and these tips, I’m confident you can bring these beauties into your own garden.
The Best Time to Start
When it comes to Lycopodiella appressa, I find late spring or early summer is generally your sweet spot. This is when the plant is really in its active growing phase, full of vigor. You’ll be able to collect healthy bits that are more likely to root successfully. Think of it as gathering its best energy to share!
Supplies You’ll Need
Before we get our hands dirty, let’s gather our tools. Having everything ready makes the process so much smoother.
- Sharp, clean pruning shears or a sharp knife: For making precise cuts.
- A well-draining potting mix: I like to use a blend of equal parts peat moss, perlite, and a good quality potting soil. It mimics their natural woodland habitat.
- Rooting hormone powder (optional but helpful): For an extra boost in encouraging root development.
- Small pots or trays: Clean ones are a must to prevent disease.
- A spray bottle: For misting and keeping things humid.
- Plastic bags or a propagation dome: To create a humid environment.
- Labels: To keep track of what you’ve propagated!
Propagation Methods
For Lycopodiella appressa, I’ve found division to be the most reliable method. While stem cuttings can work, they can be a bit finicky.
Division: A Gentle Split
This method is like giving your existing plant a little haircut and encouraging it to make friends!
- Prepare your plant: Gently remove your Lycopodiella appressa from its pot. You can do this by tipping the pot and carefully sliding the root ball out.
- Inspect the roots: Gently tease apart the soil from the root ball. You’re looking for natural breaks or divisions within the plant where healthy clumps are already forming.
- Make the cut: Using your clean shears or knife, carefully slice through the root ball to separate a healthy clump. Ensure each new division has a good amount of roots and some leafy growth. Don’t try to make too many tiny divisions; larger, more established clumps have a better chance.
- Potting up: Fill your clean pots with your prepared potting mix. Make a little well in the center of each pot.
- Plant the division: Place each division into its pot, spreading the roots gently. Backfill with soil, firming it lightly around the base.
- Water gently: Water thoroughly but gently. You want to settle the soil around the roots without disturbing them too much.
The “Secret Sauce” (Pro Tips)
Here are a few things I’ve learned over the years that can really make a difference:
- Don’t over-pot: I’ve seen so many people put a small division into a huge pot. It’s better to give them a snug home. They appreciate being a little crowded when they’re young, and it helps them feel secure.
- Mimic the mist: Lycopodiella loves humidity. Once potted, I’ll often place the pots inside a clear plastic bag, leaving it slightly open at the top, or use a propagation dome. This creates that lovely, moist microclimate they crave.
- Patience with potting mix: Don’t be tempted to use a heavy, dense soil. They need airy feet! The peat moss and perlite combination is your friend here.
Aftercare & Troubleshooting
Once your new divisions are happily potted, the real nurturing begins.
- Location, location, location: Place your newly divided plants in a bright, indirect light spot. Avoid direct sun at all costs; it will scorch those delicate leaves.
- Consistent moisture: Keep the soil consistently moist but never waterlogged. This is where that well-draining mix shines. A good check is to feel the top inch of soil. If it’s dry, it’s time for a gentle watering.
- Watch for signs of life: You’ll know they’re settling in when you see new, fresh green growth emerging. This can take a few weeks, so give them time.
Now, what if things don’t go as planned? The most common issue is root rot. This usually happens when the soil is too wet for too long. If you see yellowing leaves that quickly turn mushy, or if the base of the plant feels soft and slimy, it’s likely rot. Unfortunately, it can be tough to save a plant once rot sets in. The best defense is ensuring excellent drainage and a watering schedule that allows the soil to dry slightly between waterings.
A Encouraging Closing
Growing Lycopodiella appressa from division is a journey, not a race. There will be moments of doubt, but trust in the process. Celebrate every tiny bit of new growth, and don’t be afraid to experiment (gently, of course!). The reward of seeing your own little woodland plant flourish is absolutely worth it. Happy gardening!
Resource: