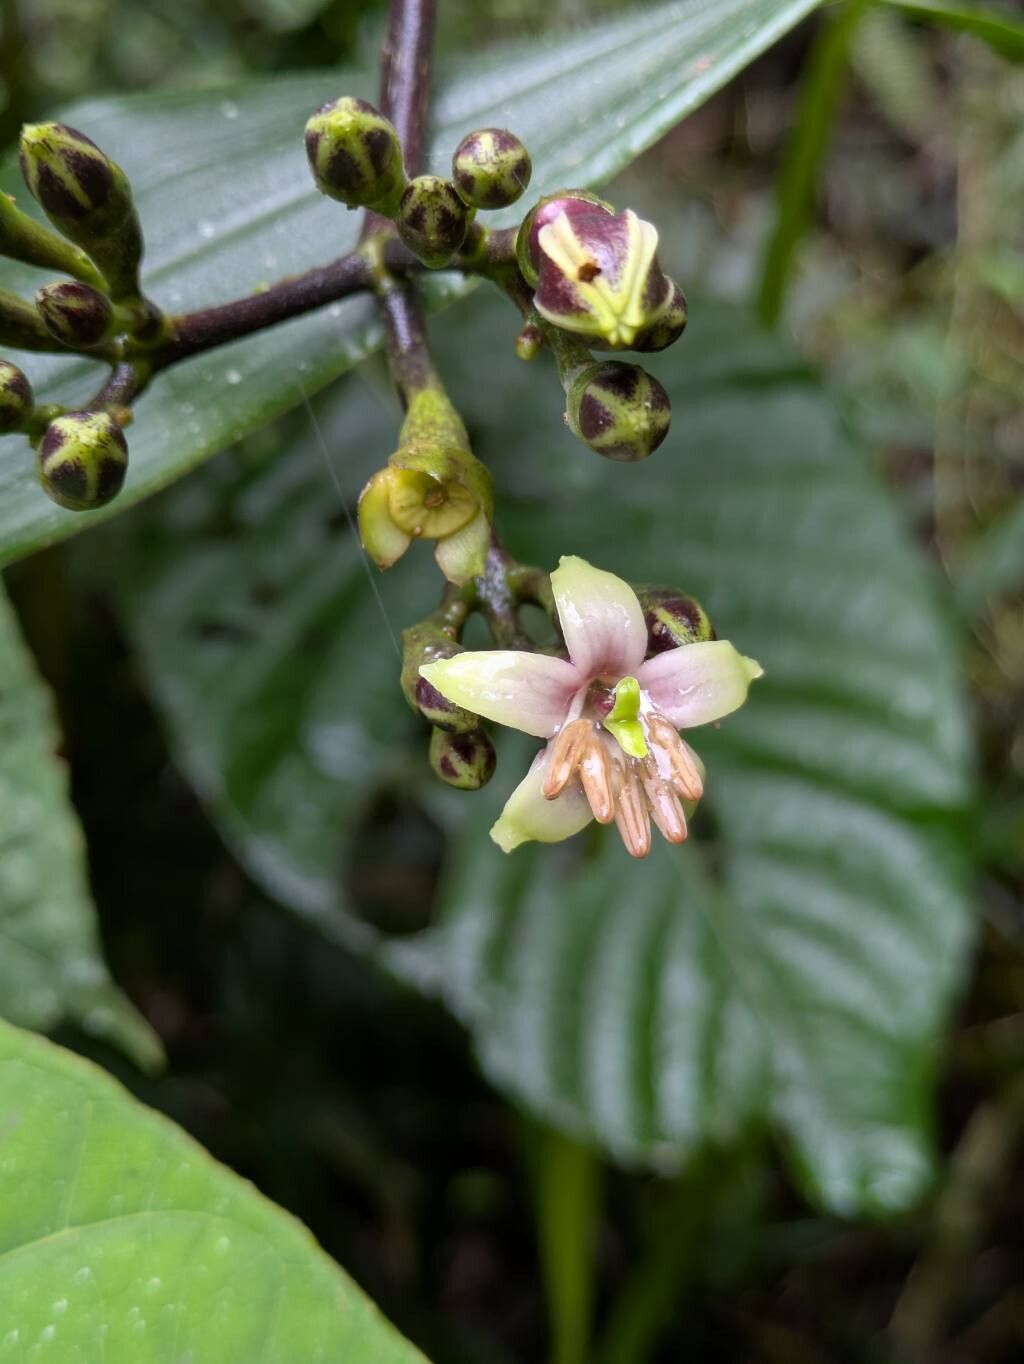
Hello fellow garden enthusiasts! Today, we’re diving into the wonderful world of Condaminea corymbosa, a plant that brings such a vibrant green energy to any space. Its lush foliage and graceful presence are truly something to behold. And let me tell you, propagating your own Condaminea corymbosa is a journey that’s incredibly rewarding. It’s a chance to nurture new life and expand your green collection without spending a dime! For those of you just starting out your plant journey, I’d say Condaminea corymbosa is a friendly companion. It’s not overly fussy, making it a great choice for beginners looking for a little success.
The Best Time to Start
When it comes to getting the best results with Condaminea, I’ve found that spring and early summer are your prime time. This is when the plant is actively growing, its energy is high, and it’s brimming with vigor. It’s like the plant is saying, “Let’s make more of me!” Taking cuttings during this active growth phase gives them the best chance to establish roots quickly and healthily. You can certainly try at other times, but you’ll likely see your success rate tick up significantly when you work with the plant’s natural rhythm.
Supplies You’ll Need
Ready to get your hands dirty? Here’s what you’ll want to have on hand:
- Sharp Pruning Shears or Scissors: Clean cuts are essential for a healthy start.
- Rooting Hormone (Optional but Recommended): This little helper can significantly speed up root formation.
- Well-Draining Potting Mix: A good blend of peat moss, perlite, and a bit of compost works wonders. You can also find specific houseplant or cutting mixes.
- Small Pots or Containers: Clean, small pots with drainage holes are perfect for young plants.
- Watering Can or Spray Bottle: For gentle watering.
- Plastic Bag or Propagator: To create a humid environment for your cuttings.
- A Sunny Spot (Indirect Light): Avoid harsh, direct sun.
Propagation Methods
Let’s get down to business! Condaminea corymbosa is wonderfully versatile, and I’ve had great luck with a couple of methods.
Stem Cuttings: This is my go-to method because it’s so efficient.
- Select a Healthy Stem: Look for a vibrant, disease-free stem that’s at least 4-6 inches long. Avoid stems that are too woody or too soft and flimsy.
- Make the Cut: Using your clean, sharp shears, make a clean cut just below a leaf node. A leaf node is a small bump on the stem where leaves grow from. This is where the roots will emerge.
- Prepare the Cutting: Gently remove the lower leaves from the cutting, leaving just a few at the top. This prevents them from rotting in the soil or water.
- Apply Rooting Hormone (Optional): If you’re using rooting hormone, dip the cut end of the stem into it. Tap off any excess. This step is fantastic for giving your cuttings a boost.
- Plant Your Cutting: Fill your small pot with your prepared, moist potting mix. Make a small hole with your finger or a pencil and insert the cut end of the stem. Gently firm the soil around it.
- Water Gently: Water the soil lightly until it’s evenly moist but not waterlogged.
- Create Humidity: Cover the pot with a clear plastic bag or place it in a propagator. This traps moisture and creates a mini-greenhouse effect, which is crucial for cuttings to root. Make sure the leaves aren’t touching the sides of the bag if possible – a few skewers can help prop it up. Place the pot in a spot with bright, indirect light.
Water Propagation: This method allows you to watch the magic happen!
- Follow steps 1-3 from stem cuttings.
- Place the Cutting in Water: Instead of soil, pop the prepared cutting into a clean glass or jar filled with fresh water. Make sure the leaf nodes where you removed the leaves are submerged.
- Maintain Water Quality: Change the water every few days to keep it fresh and prevent bacterial growth.
- Provide Indirect Light: Just like with soil propagation, place the container in a spot with bright, indirect light.
- Watch for Roots: You’ll start to see tiny white roots emerge from the nodes. Once these roots are an inch or two long, it’s time to move them to soil.
The “Secret Sauce” (Pro Tips)
Here are a couple of things I’ve learned over the years that really make a difference:
- Bottom Heat is Your Friend: If you live in a cooler climate or are propagating during the cooler months, using a heat mat under your pots can seriously speed up root development. It mimics the warmth of spring soil and gives those roots a cozy place to grow.
- Don’t Overwater! This is probably the most common mistake I see. Cuttings are more susceptible to rot than established plants. They need moisture, yes, but soggy soil is a death sentence. Let the top inch of soil dry out slightly between waterings.
Aftercare & Troubleshooting
Once you see signs of new growth – tiny leaves unfurling or a noticeable increase in size – that’s a good indicator that roots have formed.
- Gradual Acclimatization: If you used a plastic bag, slowly start to open it up over a few days. This helps the new plant adjust to lower humidity.
- Continue Indirect Light: Keep it in its bright, indirect light spot.
- Gentle Watering: Continue to water when the top inch of soil feels dry.
- Potting Up: Once the roots are well-established in the small pot, you can transplant your new Condaminea into a slightly larger pot with fresh potting mix.
Now, what if things aren’t going as planned?
- Wilting Cuttings: This can be a sign of insufficient humidity or not enough light. Make sure that plastic bag is doing its job, or that your spot isn’t too dark.
- Rotting Stems: This is usually a sign of overwatering or poor air circulation. Ensure your soil is well-draining and you’re not drowning your cuttings. Sometimes, stems look mushy and black – if you see this, sadly, it’s best to discard them and try again.
A Little Patience Goes a Long Way
And there you have it! Propagating Condaminea corymbosa is a wonderfully accessible way to fill your home with beautiful greenery. Don’t get discouraged if your first attempt isn’t perfect. Gardening is all about learning and experimenting. The most important thing is to enjoy the process of coaxing new life from your existing plants. Happy propagating!
Resource: