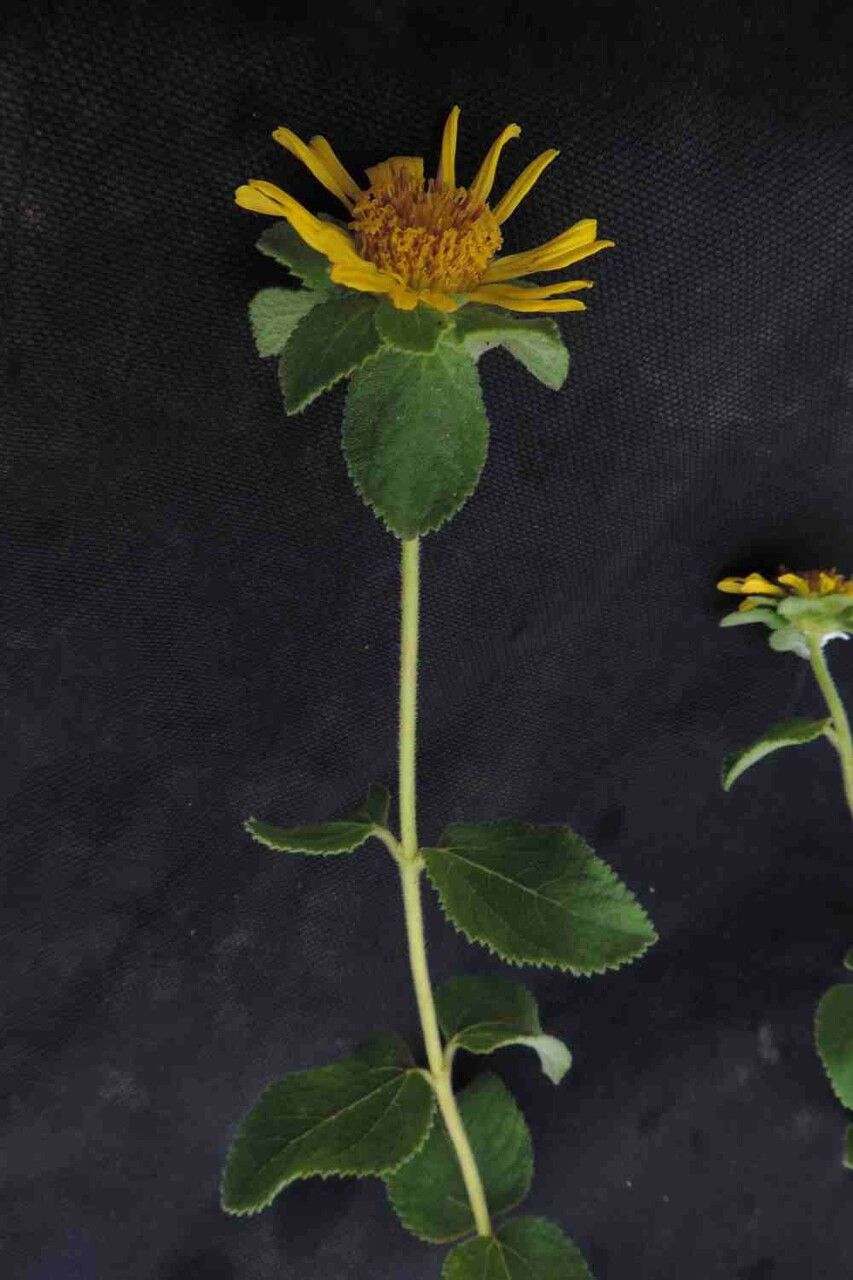
Oh, hello there! Pull up a chair and let’s talk about Aspilia platyphylla. If you’re looking for a plant that brings a touch of wild beauty to your garden, with its cheerful yellow blooms and lovely, almost velvety leaves, you’ve found a winner. I’ve been coaxing new life from my Aspilia for years, and I can tell you, it’s an incredibly rewarding experience. And the best part? It’s a rather forgiving plant, making it a fantastic choice even if you’re just dipping your toes into the wonderful world of propagation.
The Best Time to Start
For Aspilia platyphylla, the sweet spot for propagation is really late spring or early summer. This is when the plant is in its most vigorous growth phase. You’ll have plenty of healthy, new shoots to work with, which are much more likely to root successfully than older, woody stems. Think of it as gathering the freshest ingredients for a delicious recipe – the better the start, the better the outcome!
Supplies You’ll Need
Gathering your tools beforehand makes the whole process so much smoother. Here’s what I typically have on hand:
- Sharp Pruning Shears or a Knife: Cleanliness is key to preventing disease.
- Rooting Hormone (Optional, but Recommended): A little boost can make a big difference for these guys. I like a powder form.
- Small Pots or Seed Trays: Whatever you have that can hold soil and allow for drainage.
- Well-Draining Potting Mix: A mix of regular potting soil with perlite or coarse sand works beautifully. You want it to be light and airy.
- Watering Can with a Fine Rose: To gently water your cuttings.
- Plastic Bags or a Propagator: To create a humid environment.
Propagation Methods
Aspilia platyphylla is wonderfully amenable to propagation by stem cuttings. It’s my go-to method, and I’ve had fantastic success with it.
- Take Your Cuttings: Gently select healthy, non-flowering stems from your established plant. You’re looking for stems that are about 4-6 inches long and have at least two sets of leaves. Using your sharp pruning shears or knife, make a clean cut just below a leaf node (that little bump where a leaf emerges from the stem). This is where the magic happens, where the plant hormones are concentrated and new roots will form.
- Prepare the Cuttings: Carefully remove the lower leaves from the bottom half of each cutting. This prevents them from rotting in the soil. You can leave the top one or two sets of leaves on, as these will help power the cutting as it roots. If you’re using rooting hormone, dip the cut end of the stem into the powder, tapping off any excess.
- Plant Your Cuttings: Fill your pots or trays with your well-draining potting mix. Make a small hole in the center with your finger or a pencil. Gently insert the cut end of the Aspilia cutting into the hole, firming the soil around it to ensure good contact.
- Water Gently: Water thoroughly after planting, allowing the excess to drain away. You want the soil to be moist, not waterlogged.
The “Secret Sauce” (Pro Tips)
Now, for a couple of little tricks I’ve learned over the years. These might seem small, but they can really tip the scales in your favor.
- Don’t Squash the Stem: When you’re planting your cuttings, be gentle. Don’t press the soil down too hard around the stem. You want good contact, sure, but you don’t want to crush the delicate tissues that are trying to form roots. A light firming is all that’s needed.
- Create a Humid Haven: Once your cuttings are planted, I highly recommend creating a humid environment. You can do this by loosely covering the pots with a plastic bag (propped up with stakes so it doesn’t touch the leaves!) or by placing them in a propagator. This “mini-greenhouse” effect really helps prevent the cuttings from drying out before they can establish roots. Check it daily for any signs of mold.
Aftercare & Troubleshooting
Once your cuttings have taken root, you’ll start to see new growth! This is a wonderful sign. Keep the soil consistently moist but not soggy. You can test this by gently pressing your finger into the soil; if it feels dry an inch down, it’s time to water.
The biggest culprit for failure with stem cuttings is rot. If you notice a cutting turning mushy, brown, or black, it’s likely succumbed to rot. This is usually due to overwatering or poor drainage. It’s a bummer, but don’t get discouraged. Go back to your supplies, make sure your soil is well-draining, and be mindful of how much you’re watering. Sometimes, even with the best care, a few cuttings just won’t make it, and that’s perfectly okay. Learn from it and try again!
Happy propagating! Remember, gardening is a journey, and each new plant you nurture is a little victory. Be patient with your Aspilia platyphylla cuttings, give them a little TLC, and you’ll soon be rewarded with more of those lovely blooms. You’ve got this!
Resource:
https://identify.plantnet.org/k-world-flora/species/Aspilia%20platyphylla%20S.F.Blake/data