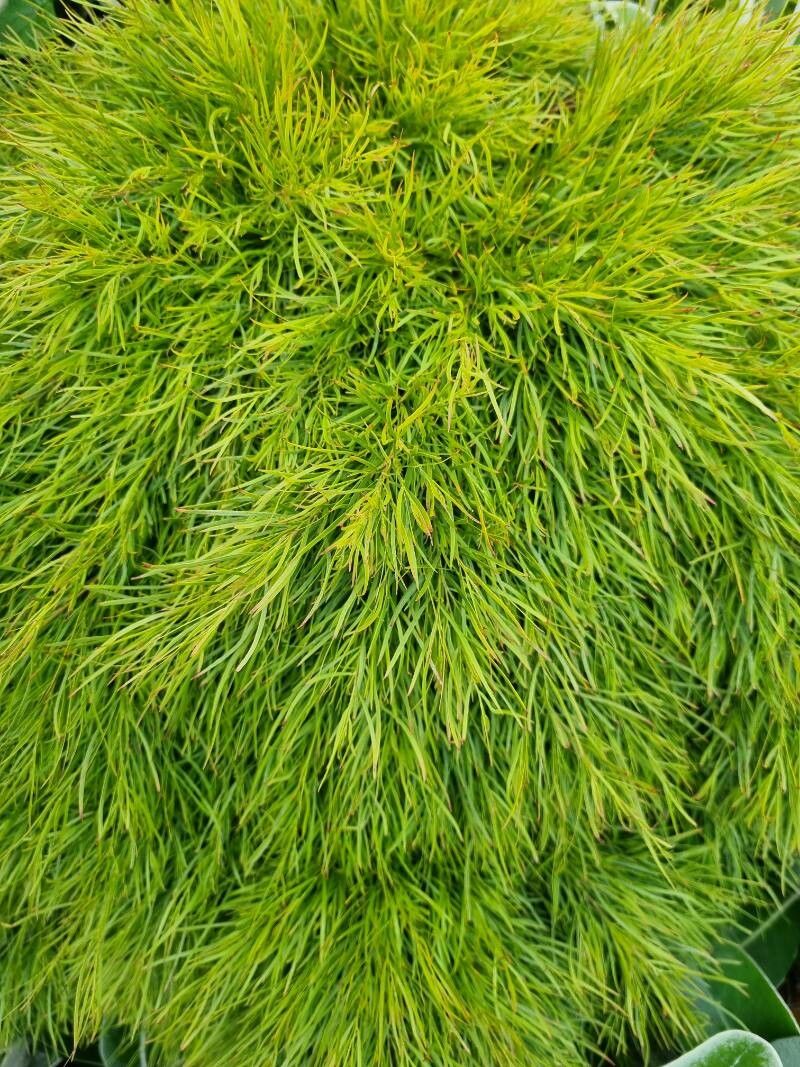
Oh, hello there! Come on in, grab a cup of tea. Today, we’re going to talk about one of my absolute favorite Australian natives: Acacia cognata, often called the ‘Dwarf’ or ‘River’ Wattle. Isn’t it just charming? With its graceful, weeping habit and those delicate, almost fizzy-looking leaves, it brings a softness to any garden. And the best part? You can easily create more of these beauties yourself! Propagating Acacia cognata is a wonderfully rewarding experience, and I’m happy to guide you through it. Don’t worry if you’re new to this; while it has a few quirks, it’s definitely achievable.
The Best Time to Start
For the highest success rate, I always reach for my secateurs in late spring to early summer. This is when the plant is actively growing and has plenty of youthful energy. Look for new, but not overly soft, growth. These are often called “semi-hardwood” cuttings. Avoid taking cuttings when the plant is stressed, like during a drought or after a very cold spell.
Supplies You’ll Need
Having your tools ready makes the whole process much smoother. Here’s what I like to have on hand:
- Sharp pruning shears or a clean craft knife: A clean cut is crucial to prevent disease.
- Rooting hormone powder or gel: This isn’t strictly essential for Acacia cognata, as they can root without it, but it significantly boosts your success rate. I swear by the powder for ease.
- Small pots (around 4-inch diameter): Make sure they have drainage holes!
- A well-draining potting mix: A 50/50 blend of perlite and peat moss or coco coir works wonderfully. You can also find good quality commercial seed-starting mixes that are light and airy.
- A plastic bag or dome: To create a mini-greenhouse effect.
- Dibber or skewer: To make holes for your cuttings without disturbing the soil too much.
- Watering can with a fine rose: Gentle watering is key.
Propagation Methods
We’ll focus on the most reliable method for Acacia cognata: stem cuttings.
-
Gather Your Cuttings:
- Go to your Acacia cognata plant and select healthy stems that are about 6-8 inches long.
- Make a clean cut just below a leaf node. This is where the magic happens, the area that’s most likely to produce roots.
- Gently remove the lower leaves. You want to expose those nodes. If the remaining leaves are very large, you can even cut them in half to reduce water loss. This is a trick I learned early on!
-
Prepare the Cuttings:
- Dip the cut end of each cutting into your rooting hormone powder. Gently tap off any excess.
-
Planting the Cuttings:
- Fill your pots with the prepared potting mix. Water it thoroughly and let it drain so it’s just moist, not soggy.
- Use your dibber or skewer to make a hole in the soil for each cutting. This prevents the rooting hormone from rubbing off when you insert the stem.
- Gently insert each cutting into a hole, ensuring the nodes where you removed the leaves are buried.
- Firm the soil gently around each cutting.
-
Creating a Humid Environment:
- Water the pots again, very gently.
- Pop each pot into a clear plastic bag, or cover the whole tray with a plastic dome. This traps humidity, which is vital for cuttings to root before they dry out. Secure the bag around the pot or tray.
-
Placement:
- Place your pots in a bright, indirect light location. An east-facing windowsill or a spot under a grow light is perfect. Avoid direct, hot sun, which will scorch the young cuttings.
The “Secret Sauce” (Pro Tips)
Here are a couple of tricks from my own dusty greenhouse:
- Bottom Heat is Your Friend: If you have a heat mat, placing your pots on it provides consistent warmth to the base of the cuttings. This really encourages root development. Don’t overheat it, just a gentle warmth.
- Air Circulation Matters: Even though you’re creating a humid environment, it’s a good idea to open the plastic bag or dome for about 15-30 minutes each day. This allows for some air exchange, which helps prevent fungal diseases from setting in. You’ll get to know the right balance.
Aftercare & Troubleshooting
Once your cuttings have been in their little humid homes for about 4-6 weeks, it’s time to check for roots! You can gently tug on a cutting; if there’s resistance, you’ve got roots!
- Potting Up: When you see a good network of roots, it’s time to pot them up into their own individual, slightly larger pots, using a good quality potting mix. Continue to keep them in bright, indirect light.
- Watering: Water them regularly, but never let them sit in water. Let the top inch of soil dry out between waterings.
- Signs of Trouble: The most common issue is rot. If your cuttings turn black and mushy at the base, it’s usually a sign of too much moisture combined with poor air circulation. Remove the affected cuttings immediately and ensure your remaining ones have better airflow and aren’t waterlogged. Another sign is wilting that doesn’t perk up after watering – this often indicates that the cutting simply hasn’t rooted and has dried out.
A Little Patience Goes a Long Way
And there you have it! Propagating your Acacia cognata is a journey of patience and observation. Don’t be discouraged if not every cutting takes. Nature has its own rhythm, and with a little practice, you’ll be rewarded with a whole new collection of these delightful Australian natives. Enjoy the process, and happy gardening!
Resource:
https://identify.plantnet.org/k-world-flora/species/Acacia%20cognata%20Domin/data