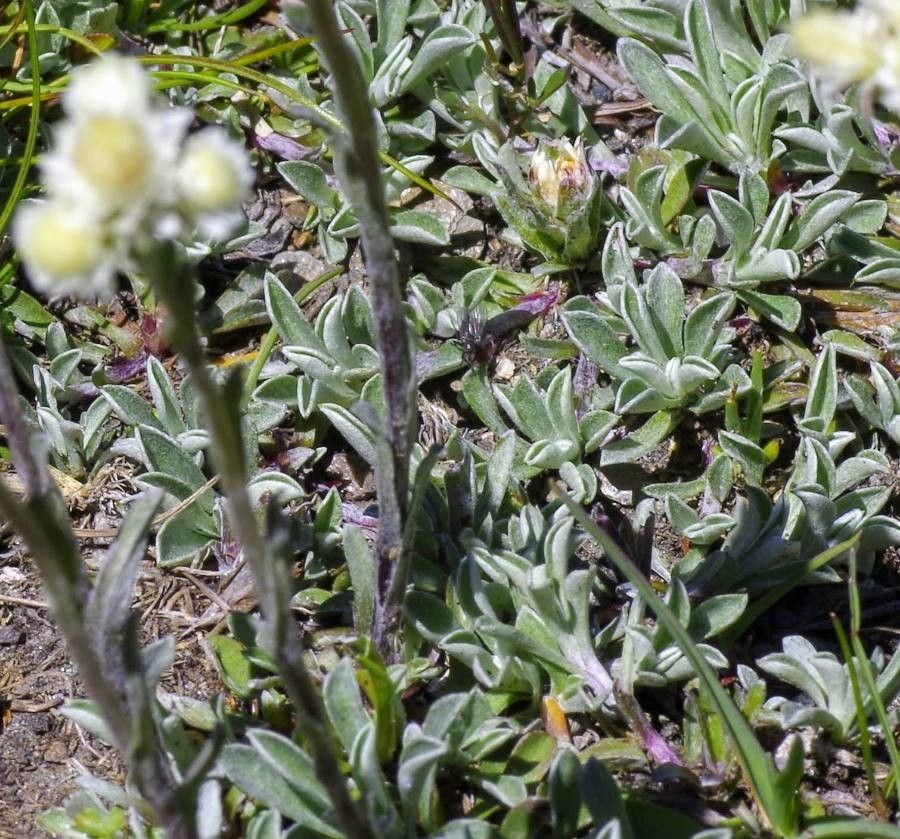
Hello, fellow plant lovers! Today, we’re delving into the delightful world of propagating Antennaria lanata, more commonly known as Woolly Pussytoes. If you’ve ever admired its soft, fuzzy foliage and dainty, woolly flower clusters, you’re not alone! This little charmer brings such a unique texture and visual interest to any garden, especially rock gardens or sunny, well-drained spots. And the best part? Growing more of it yourself is a truly rewarding experience. For beginners, I’d say it’s moderately easy, with a little patience and the right approach.
The Best Time to Start
For the highest success rate with Antennaria lanata, I find late spring to early summer is your golden window. This is when the plant is actively growing, and you can harvest healthy, non-flowering stems. Aim for stems that are firm but still a bit pliable – not too woody, and not too soft and floppy.
Supplies You’ll Need
Gathering your tools beforehand makes the whole process so much smoother. Here’s what I always have on hand:
- Sharp pruning shears or a clean, sharp knife: For making clean cuts.
- Rooting hormone (optional but recommended): Helps speed things up and improve success rates. I like using a powder.
- Seed-starting mix or a light, well-draining potting mix: A blend of peat moss, perlite, and a little bit of sand works wonders. Avoid heavy garden soil.
- Small pots or trays: With drainage holes, of course! Little 2-3 inch pots are usually perfect.
- Plastic bags or a propagation dome: To create a humid environment.
- Watering can with a fine rose or a mister: For gentle watering.
- Labels and a marker: So you don’t forget what you planted where!
Propagation Methods
Antennaria lanata is wonderfully amenable to a couple of straightforward propagation methods.
Stem Cuttings
This is my go-to method for Woolly Pussytoes.
- Take your cuttings: In late spring or early summer, choose a healthy, non-flowering stem. Using your clean shears, make a cut just below a leaf node (where a leaf attaches to the stem). You’re looking for cuttings that are about 3-4 inches long.
- Prepare the cuttings: Gently remove the lower leaves from the stem, leaving just a few at the top. This prevents them from rotting in the soil.
- Apply rooting hormone (optional): Dip the cut end of the stem into your rooting hormone, tapping off any excess.
- Plant the cuttings: Fill your small pots with your prepared potting mix. Make a small hole in the center with your finger or a pencil. Insert the cut end of the stem into the hole, burying it deep enough so the leaves you left on are just above the soil. Gently firm the soil around the cutting.
- Water gently: Mist your cuttings or water very lightly so the soil is moist but not waterlogged.
- Create humidity: Cover the pot with a plastic bag (ensure the leaves don’t touch the inside of the bag if possible) or place it under a propagation dome. Place the pots in a bright location but out of direct sunlight.
Division
This is a fantastic way to propagate older, established clumps.
- Excavate the plant: In early spring, before it really takes off, or in early fall after flowering, gently dig up the entire clump of Antennaria lanata.
- Divide the root ball: You can often gently pull the clumps apart with your hands. If it’s a bit stubborn, use a clean knife or spade to cut through the root ball, ensuring each section has plenty of healthy roots and some shoots.
- Replant immediately: Plant the divisions into well-prepared, well-draining soil in their new location or in pots. Water them in well.
The “Secret Sauce” (Pro Tips)
Here are a couple of things I’ve learned over the years that really make a difference:
- Bottom Heat is Your Friend: For stem cuttings, placing your pots on a heated propagation mat can significantly speed up root development. It mimics the warmth of the soil in summer and encourages those roots to form faster. I’ve seen a definite improvement when I use it for trickier subjects.
- Don’t Over-Water, Even When Humid: While humidity is key for cuttings, soggy soil is the enemy of Antennaria lanata. It’s prone to rot. Make sure your pots have excellent drainage, and only water when the top inch of soil feels dry. A gentle misting is often enough.
Aftercare & Troubleshooting
Once your cuttings have developed roots (you can test this gently by giving a stem a very light tug; if there’s resistance, they’ve rooted!), it’s time for continued care.
- Acclimate gradually: If you’ve been using a plastic bag or dome, slowly begin to remove it over a few days to acclimate the new plants to your garden’s humidity levels.
- Transplant carefully: Once the new plants have a good root system and are starting to show new growth, you can transplant them into slightly larger pots or their permanent garden spot. Remember, Antennaria lanata loves well-drained soil and full sun.
- Watch for rot: The most common sign of failure is rotting stems or leaves. This usually means too much moisture. If you see this, remove the affected parts immediately and ensure better drainage and air circulation. Sometimes, a bit of gray fuzzy mold can also indicate it’s too wet. Remove any moldy bits and let the soil dry out a bit more.
A Encouraging Closing
Growing more Antennaria lanata is a delightful journey. Be patient, observe your little cuttings, and learn from each one. Don’t be discouraged if not every single one takes; that’s just part of the gardening dance. Soon, you’ll have plenty of these fuzzy beauties to admire, share, and fill your garden with their unique charm. Happy propagating!
Resource:
https://identify.plantnet.org/k-world-flora/species/Antennaria%20lanata%20Greene/data