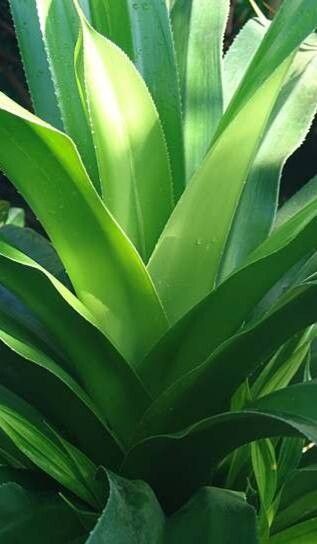
Hey there, fellow plant enthusiasts! Today, we’re diving into the wonderful world of propagating Pandanus candelabrum. If you’ve ever admired the architectural beauty of these plants, with their spiraling leaves and striking forms, you know they add a real touch of the exotic to any space. Getting more of them to call your own is incredibly satisfying, and I’m here to guide you through it. Now, is it a walk in the park for absolute beginners? I’d say it’s moderately easy, but with a little attention to detail, you’ll be a pro in no time.
The Best Time to Start
When it comes to nurturing new life, spring and early summer are your golden ticket. This is when the plant is actively growing and has the most energy to dedicate to putting down roots. You’ll have the best success if you propagate from a mature, healthy plant that’s not stressed from extreme temperatures or recent repotting.
Supplies You’ll Need
Before we get our hands dirty, let’s gather our tools:
- Sharp pruning shears or a clean, sharp knife: For making clean cuts.
- Rooting hormone (optional, but recommended for faster results): A powdery or gel form will do.
- Well-draining potting mix: A blend of perlite, coco coir, and a bit of regular potting soil works beautifully. Or, a cactus/succulent mix is a good starting point.
- Small pots or propagation trays: Terra cotta pots are great as they allow the soil to breathe.
- Water spray bottle: For keeping things lightly moist.
- Clear plastic bag or a propagation dome (optional): To create a humid environment.
- Sterilizing agent (like rubbing alcohol): To clean your tools between cuts.
Propagation Methods
The most reliable way to get new Pandanus candelabrum plants is through offsets, which are little baby plants that grow from the base of the mother plant. Separation is your go-to here!
- Identify the Offsets: Look around the base of your mature Pandanus candelabrum. You’ll see smaller plantlets emerging from the soil or right at the soil line.
- Gently Excavate: Carefully dig around the base of an offset. You want to expose its connection to the mother plant. Sometimes, you can gently wiggle the offset free, but often, you’ll need your clean pruning shears or knife to make a cut.
- Make the Cut: Sever the offset from the mother plant as close to the base as possible, ensuring it has at least one or two small roots already attached. If an offset doesn’t have roots yet, don’t despair – we can still root it, it just might take a bit longer.
- Prepare the Offset: If your offset has a lot of excess leaves, you can trim back a few of the lower ones to reduce water loss and expose the base where roots will form. If you’re using rooting hormone, dip the cut end into it according to the product’s instructions.
- Planting In: Fill your small pots with your well-draining potting mix. Make a small hole in the center and plant the offset, firming the soil gently around its base. Ensure the soil level is at the base of the leaves.
- Initial Watering: Water gently but thoroughly. You want the soil to be evenly moist, not waterlogged.
The “Secret Sauce” (Pro Tips)
Here are a couple of things I’ve learned over the years that really make a difference:
- Patience is Key with Offsets: While you want to get them potted up, don’t be tempted to give them too much water right away. Let the cut end callous over for a day or two if you’re worried about rot before potting. This little rest period can prevent a lot of frustration.
- Mimic the Tropics: Pandanus candelabrum loves humidity, especially when it’s trying to establish itself. Place your pots in a bright, indirect light location and mist the leaves lightly every few days. Covering the pot with a clear plastic bag (with a few small holes poked in it for air circulation) or using a propagation dome can create that perfect humid microclimate.
Aftercare & Troubleshooting
Once your offsets are potted, consistent, but not excessive, moisture is paramount. Keep the soil lightly moist to the touch. Avoid letting them dry out completely, but also steer clear of soggy conditions, which can lead to root rot.
Signs of failure? Look out for yellowing leaves, mushy stems, or a complete lack of new growth after several weeks. If you see rot, act quickly. Remove the affected part of the plant and allow the remaining healthy portion to dry out before trying to re-root it. If you’re seeing great new leaf growth, that’s a good sign roots are forming underground! You’ll know it’s truly established when it starts to look like it’s actively growing and becoming more stable in its pot.
A Little Encouragement
Propagating plants is a journey, and each success, no matter how small, is a reason to celebrate. Don’t get discouraged if one doesn’t make it – it happens to all of us! Be patient with your new little Pandanus candelabrum babies. With a little care and attention, you’ll soon have a whole collection of these stunning plants to enjoy. Happy propagating!
Resource:
https://identify.plantnet.org/k-world-flora/species/Pandanus%20candelabrum%20P.Beauv./data