Hello fellow plant lovers!
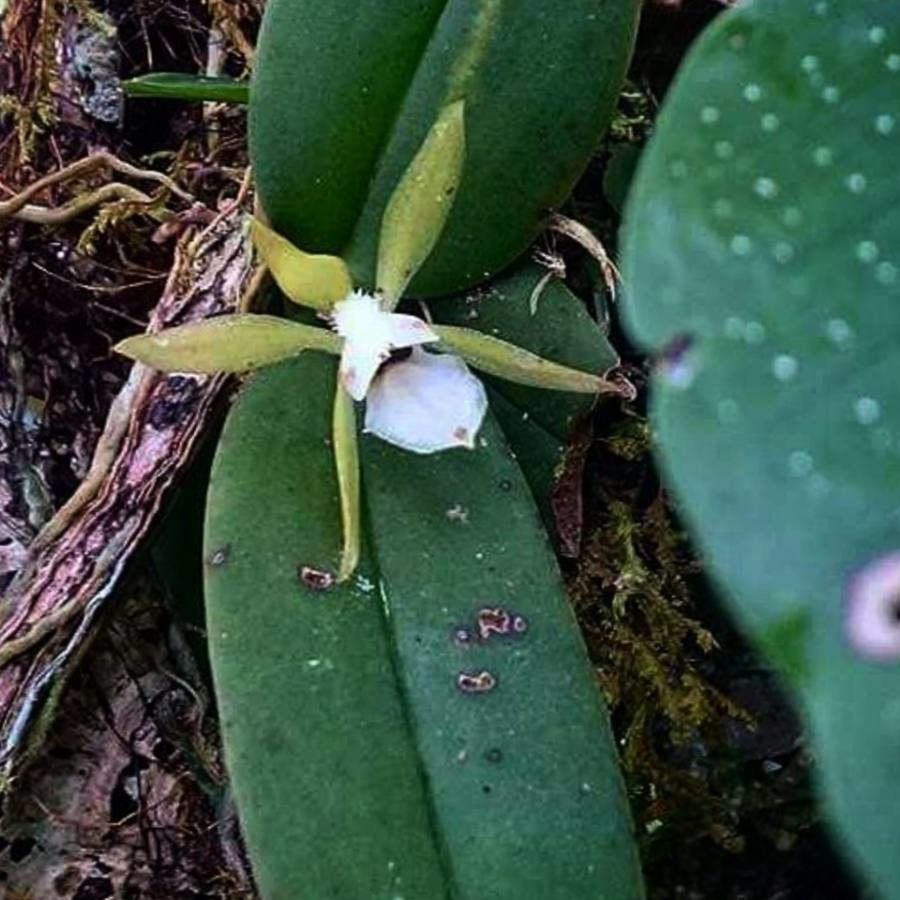
Today, we’re diving into the delightful world of Trichocentrum capistratum. You know, those charming little orchids with their bright, cheerful blooms? They have a way of bringing a smile to your face, don’t they? Growing more of these beauties from your existing plants is incredibly rewarding. It’s like sharing a secret garden with yourself! Now, let’s be honest, orchids can sometimes feel a bit… intimidating. But when it comes to Trichocentrum capistratum, I find it to be a wonderfully accessible orchid for propagation. You might find it easier than you think!
The Best Time to Start
For the highest success rate, the ideal time to propagate Trichocentrum capistratum is in the spring or early summer. This is when the plant is actively growing and has plenty of energy to put into developing new roots. Look for a plant that has recently finished flowering or is showing new pseudobulb growth. This vigorous period is your best bet for happy cuttings.
Supplies You’ll Need
Gathering your supplies beforehand makes the whole process smoother. Here’s what I usually have on hand:
- Sharp, sterile pruning shears or a clean knife: Essential for making clean cuts that heal well.
- Cinnamon powder or a rooting hormone powder: Both help prevent infection and can encourage root development.
- A well-draining orchid mix: I prefer a blend of bark, perlite, and a bit of charcoal. You can also buy pre-made orchid mixes.
- Small pots or seedling trays: Whatever you have that’s clean and appropriately sized for your new cuttings.
- A mister or spray bottle: For keeping the humidity up.
- Optional: A heat mat: This can really speed up root formation.
Propagation Methods
There are a couple of ways we can encourage new life from our Trichocentrum capistratum. I find division is usually the most straightforward method for this particular orchid, but stem cuttings can also work.
Method 1: Division (My Go-To!)
This is often the easiest and most successful for Trichocentrum capistratum. It’s all about gently separating a mature plant into smaller, healthy sections.
- Gently remove the orchid from its pot. You might need to gently squeeze the pot or run a knife around the inside edge if it’s been there a while.
- Carefully remove as much of the old potting mix as you can. Be gentle with the roots; they’re delicate!
- Inspect the plant for natural divisions. Look for sections with at least two or three healthy pseudobulbs, each with its own set of roots.
- Using your clean pruning shears or knife, carefully separate the plant. Make a clean cut between the divisions. If there are tangled roots, take your time and gently tease them apart.
- Inspect the cut surfaces. If there’s any sign of mushiness or discoloration, trim away the affected tissue until you reach healthy green.
- Dust the cut surfaces with cinnamon powder or rooting hormone. This is a crucial step to prevent fungal infections.
- Pot up each division. Plant them in small pots filled with your chosen orchid mix. Ensure the base of the pseudobulbs is just at the surface of the mix.
- Water lightly. Don’t soak them immediately. Just a light watering to settle the mix around the roots.
Method 2: Stem Cuttings (A Little More Patience)
This method involves taking sections of the plant’s stem to encourage new roots.
- Identify a healthy stem on your Trichocentrum capistratum that has at least two or three pseudobulbs. Cut it cleanly just below a pseudobulb.
- Remove any leaves from the bottom few inches of the stem.
- Dust the cut end with rooting hormone or cinnamon powder.
- You have two options here:
- Planting: Stick the cut end into a pot filled with damp orchid mix, burying the lower pseudobulbs slightly.
- Water propagation (with caution!): Place the cutting in a clean jar of water, ensuring the cut end is submerged but the leaves DO NOT touch the water. This can be a bit trickier with orchids as they prefer a more airy environment.
- Keep the cutting in a warm, bright location.
The “Secret Sauce”
Here are a few tricks I’ve learned over the years that can really make a difference:
- The importance of air circulation around the base of cuttings: When propagating by planting, don’t pack your orchid mix too tightly. You want air to be able to get to the roots as they form to prevent rot. A slightly looser mix is often better.
- Bottom heat is your friend: If you’re using a heat mat for your potted cuttings, this can significantly speed up root development. Orchids, especially tropical ones, love warmth and a little boost from below can really encourage new growth.
- Patience with watering: When you first pot up divisions or cuttings, it’s better to err on the side of underwatering than overwatering. The new plant needs to establish roots before it can take up a lot of moisture. Wait until the potting mix is almost dry before watering again.
Aftercare & Troubleshooting
Once your new divisions or cuttings start to show signs of life – like new roots emerging or tiny leaves sprouting – it’s time to treat them carefully.
- Gradually increase watering as the new plant establishes itself.
- Maintain good humidity. A light misting can be beneficial, but avoid letting water sit on the leaves for extended periods.
- Keep them out of direct, harsh sunlight. Bright, indirect light is perfect.
What if things go wrong? The most common culprit is rot. If you notice a pseudobulb turning mushy, black, or developing a foul smell, it’s likely rot. This is usually caused by too much moisture and poor air circulation. Sadly, if rot sets in, it can be difficult to save the cutting. My advice? Learn from it, ensure your potting mix is airy, and don’t overwater! If a cutting just isn’t doing anything after weeks and weeks, it might not have had enough energy or the conditions weren’t quite right.
A Little Encouragement
Propagating plants is a wonderful journey of learning and patience. Don’t get discouraged if your first attempt isn’t perfect. Every plant is an individual, and every propagation experience teaches us something new. Enjoy the process, celebrate the small victories, and soon you’ll have a whole collection of your lovely Trichocentrum capistratum orchids to brighten your home. Happy growing!
Resource: