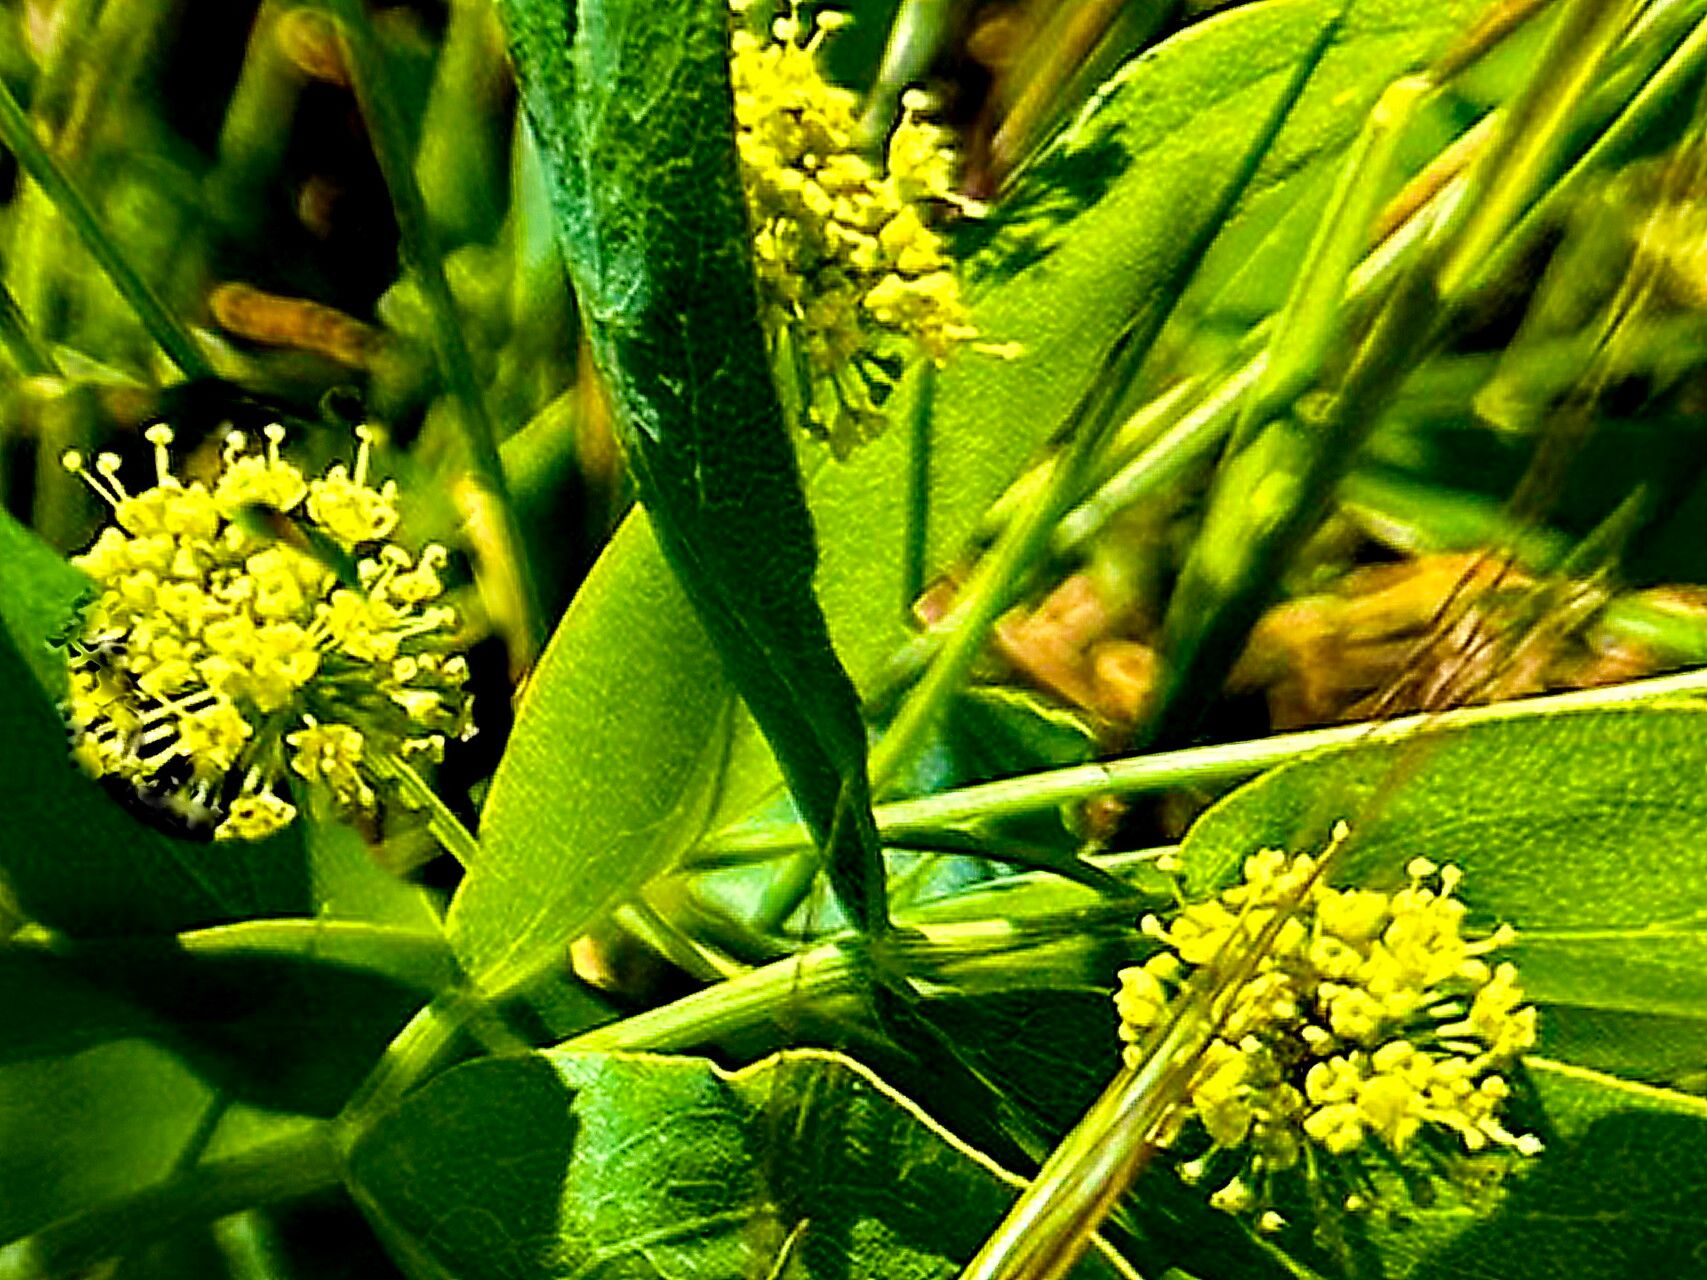
Oh, hello there! So, you’ve set your sights on Lomatium nudicaule, have you? What a wonderful choice! This native beauty, often called Biscuitroot or Wild Parsnip, has this lovely airy quality with its delicate, fern-like foliage and clusters of sweet-scented yellow flowers. It’s a real charmer, especially for attracting beneficial insects to your garden. Propagating it is such a rewarding little project, like giving the gift of life to another plant right from your own thriving specimen. Now, is it a super easy starter plant for brand new propagators? I’d say it’s moderately easy. It requires a little bit of attention to detail, but with these steps, you’ll be well on your way.
The Sweet Spot for Starting
For Lomatium nudicaule, timing is everything. The absolute best time to propagate this plant is in the early spring, just as growth is beginning to stir. You’re looking for actively growing shoots that haven’t yet flowered. If you miss that window, late summer or early autumn, after the main growing season has calmed down a bit, can also work, but spring generally yields the most vigorous results.
Your Propagator’s Toolkit
Gathering your supplies before you begin makes the whole process so much smoother. Here’s what you’ll want to have on hand:
- Sharp, clean pruning shears or a craft knife: For making precise cuts. Sterilize them with rubbing alcohol between plants!
- Small pots or seedling trays: With good drainage holes.
- A well-draining potting mix: I often use a blend of equal parts peat moss, perlite, and a bit of compost. Some gardeners swear by a gritty mix similar to what you’d use for succulents.
- Rooting hormone powder or gel: This really gives your cuttings a boost.
- A plastic bag or propagator lid: To create a humid environment.
- Watering can with a fine rose: For gentle watering.
- Optional: A heat mat: If your propagation area is on the cooler side.
Bringing New Lomatium to Life
Lomatium nudicaule is most commonly and successfully propagated through stem cuttings. While division is possible, it can be a bit trickier due to its taproot system. Let’s focus on the cuttings, which I find are reliably successful.
- Select Your Cuttings: In early spring, look for healthy, non-flowering shoots that are about 4-6 inches long. Gently twist or snip them from the parent plant, making sure to get a clean cut just below a leaf node (the point where a leaf attaches to the stem).
- Prepare the Cuttings: Remove the lower leaves from the cutting, leaving only a few at the top. This helps prevent rot and directs the plant’s energy into root development.
- Dip in Rooting Hormone: Dip the cut end of each prepared cutting into your rooting hormone powder or gel, tapping off any excess. This step is like giving your cutting a little magic potion to encourage root growth.
- Potting Up: Gently insert the hormone-coated end of the cutting into your pre-moistened, well-draining potting mix. Make a small hole with your finger or a pencil first to avoid wiping off the hormone. Firm the soil gently around the base of the cutting.
- Create Humidity: Water the soil lightly, just enough to moisten it. Then, cover the pots with a plastic bag or place them inside a propagator with a lid. This creates a greenhouse effect, keeping the humidity high, which is crucial for cuttings to root.
My “Secret Sauce” Tips
Over the years, I’ve learned a few things that can really make a difference with these delicate propagations.
- Don’t let the leaves touch the water: If you’re doing even a tiny bit of water propagation (though I prefer soil for Lomatium), make sure the leaves of your cutting are well above the waterline. Any submerged foliage is a prime spot for rot to set in.
- Bottom heat is your friend: Lomatium roots appreciate a little warmth from below. Placing your pots on a gentle heat mat can significantly speed up root formation. Just aim for a consistent temperature around 70-75°F (21-24°C).
- Patience and Observation: These aren’t instant roots. Be patient and resistant to the urge to constantly tug at your cuttings. Check the moisture levels regularly, but resist the temptation to dig them up to see if roots have formed.
Aftercare and What to Watch For
Once you start seeing signs of new growth – little leaves unfurling or a slight tug resistance when you gently pull – roots have likely formed!
- Acclimatize: Slowly remove the plastic covering over a few days, allowing the new plants to adjust to normal humidity.
- Watering: Water when the top inch of soil feels dry. Avoid overwatering; soggy soil is the quickest way to invite root rot.
- Light: Keep them in bright, indirect light. Direct sun can scorch delicate new growth.
What if things go wrong? The most common issue is rot. If your cuttings turn mushy, black, or develop a foul smell, it’s a clear sign of too much moisture and poor air circulation. If you see this, it’s usually best to discard the affected cutting and try again, perhaps with a slightly drier mix or better drainage. Don’t be discouraged! It happens to all of us.
So there you have it! Propagating Lomatium nudicaule is truly a delightful journey. It might take a little patience, and you might have a few learning experiences along the way, but seeing those tiny roots emerge and eventually grow into a new plant is an incredibly rewarding feeling. Happy propagating, and enjoy the process!
Resource: