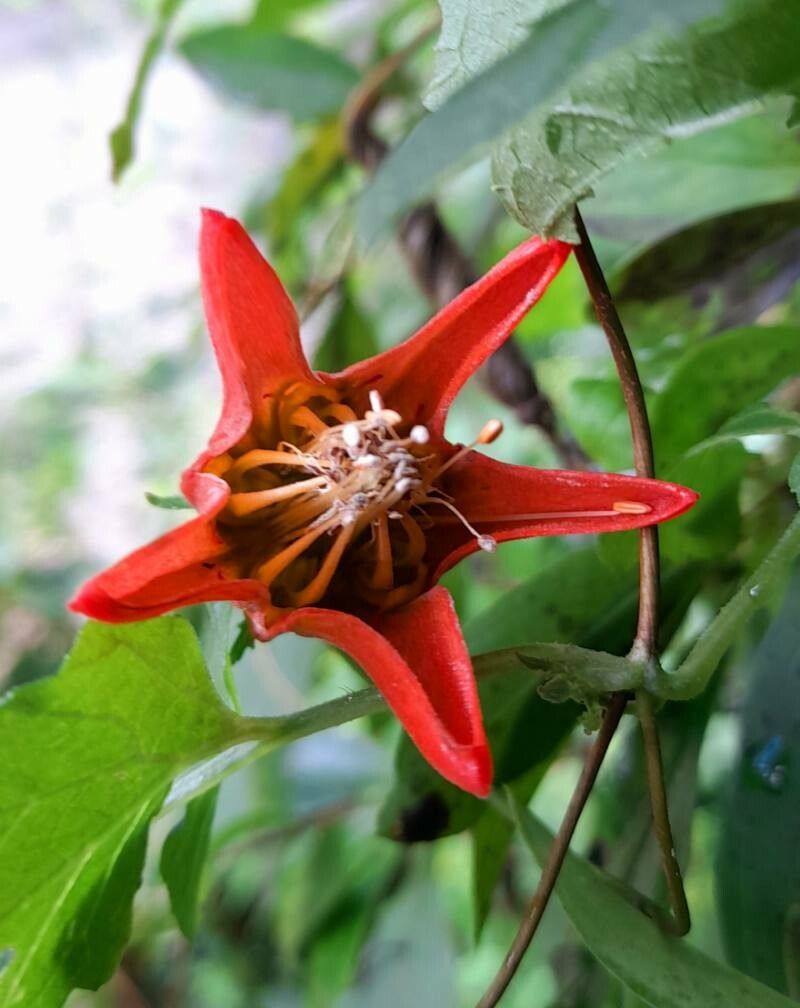
Hello fellow plant lovers! Today, we’re diving into the wonderful world of Caiophora hibiscifolia. If you’re drawn to its striking, hibiscus-like blooms and the promise of a unique addition to your garden, you’re in for a treat. Propagating this beauty is a rewarding journey that lets you multiply your joy and share it with friends. While it might seem a bit daunting at first glance, with a little guidance, I think you’ll find it quite achievable.
The Best Time to Start
For the absolute highest success rate with Caiophora hibiscifolia, I’ve found that late spring to early summer is your sweet spot. This is when the plant is in its active growth phase, meaning it has the energy reserves to bounce back and form roots more readily. Waiting until new, vigorous growth has emerged after the plant has really settled into the growing season is key.
Supplies You’ll Need
Before we get our hands dirty, let’s gather our tools:
- Sharp Pruning Shears or a Clean Knife: For taking clean cuts on your stem cuttings.
- Rooting Hormone (Optional but Recommended): A powder or gel to encourage root development.
- Potting Mix: A well-draining mix is crucial. I often use a blend of equal parts peat moss or coco coir, perlite, and coarse sand.
- Small Pots or Trays: Clean pots with drainage holes are a must.
- Plastic Bags or a Propagator: To create a humid environment for your cuttings.
- Spray Bottle: For misting your cuttings.
- Labels: So you don’t forget what you planted where!
- Warmth (Optional): A heat mat can significantly speed up rooting.
Propagation Methods
Let’s talk about how we can coax new Caiophora hibiscifolia plants into existence. I find stem cuttings to be the most reliable method for this particular plant.
Stem Cuttings:
- Select Your Cuttings: Look for healthy, vigorous stems that are semi-hardwood. This means they are not brand new and floppy, but not old and woody either. Aim for pieces about 4-6 inches long.
- Make the Cut: Using your sharp shears or knife, make a clean cut just below a leaf node (where a leaf attaches to the stem). Removing a leaf here helps your cutting focus its energy on root production.
- Prepare the Cutting: Gently remove any leaves from the bottom half of the cutting. If the leaves are large, you can even cut them in half horizontally to reduce water loss through transpiration.
- Apply Rooting Hormone (If Using): Dip the cut end of the stem into your rooting hormone, tapping off any excess.
- Plant Your Cuttings: Fill your small pots with your well-draining potting mix. Make a hole in the center with a pencil or your finger, and insert the cut end of the stem. Gently firm the soil around the base of the cutting.
- Water Gently: Water the soil thoroughly until water drains from the bottom.
- Create Humidity: Cover the pot with a clear plastic bag or place it inside a propagator. If you’re using a bag, you can secure it with a rubber band. Ensure the leaves don’t touch the plastic if possible.
The “Secret Sauce”
Now for a couple of things I’ve learned over the years that can really make a difference:
- Don’t Overcrowd: While it’s tempting to stuff as many cuttings into a pot as possible, give them a little space. This improves air circulation and reduces the risk of fungal diseases, which is a common culprit for cuttings failing.
- Bottom Heat is Your Friend: If you have a heat mat, place your pots on it. This gentle warmth from below encourages root development much faster than ambient room temperature alone. It’s like giving your cuttings a cozy little spa treatment.
Aftercare & Troubleshooting
Once your cuttings are planted, place them in a bright, indirect light location. Avoid direct sunlight, which can scorch those tender new shoots. Mist them with your spray bottle every few days to keep the humidity high, especially if you’re not using a propagator.
You’ll know your cuttings are rooting when you see new leaf growth emerging after a few weeks. You can also give them a gentle tug – if you feel resistance, it means roots have formed! Once they’ve established a good root system, you can gradually acclimate them to less humid conditions and then transplant them into their own small pots.
The most common issue you might encounter is rot. If your cutting turns mushy, black, or develops fuzzy mold, it’s likely due to too much moisture and poor air circulation. Don’t be discouraged! Remove the affected cutting and ensure your remaining ones have good drainage and adequate airflow.
Your Green Thumb Awaits!
Propagating Caiophora hibiscifolia is a wonderful way to expand your collection and deepen your connection with these beautiful plants. Be patient, trust the process, and celebrate every little sign of progress. Happy propagating!
Resource: