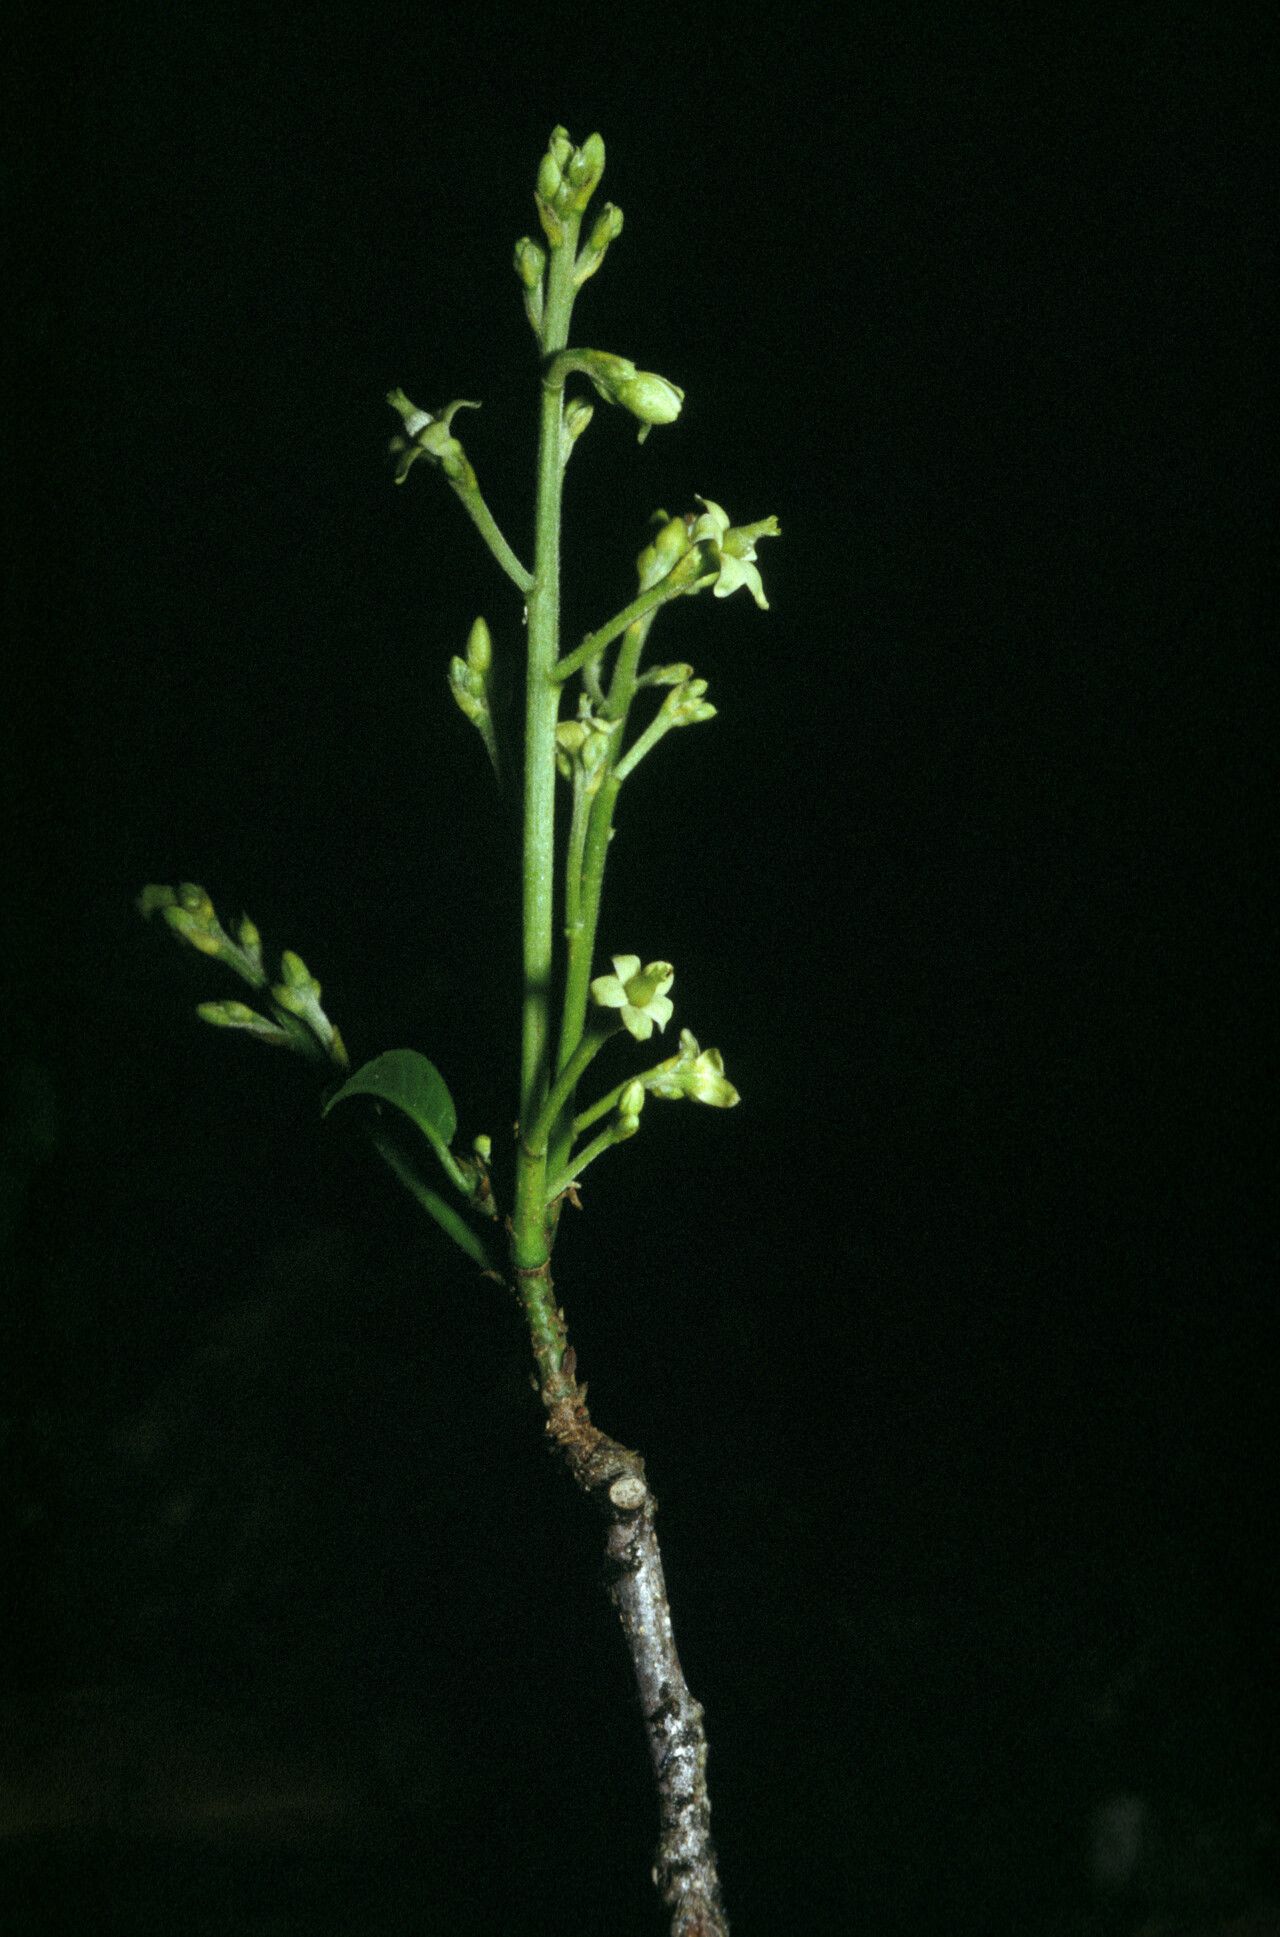
Oh, hello there! Come on in, grab a mug. I’m so glad you’re curious about Micrandra elata. I’ve tinkered with this beauty for years, and let me tell you, it’s a real stunner. Its striking, upright nature and those gorgeous, often brightly colored bracts bring such architectural interest to any garden space. And the best part? Growing more of your own from cuttings or divisions is truly one of the most satisfying gardening experiences. Now, for beginners, I’d say Micrandra elata falls into the “moderately easy” category. It’s not a bulldozer plant that will grow regardless of what you do, but with a little attention, you’ll be celebrating success.
The Best Time to Start
For the highest success rate, I always recommend taking cuttings in late spring or early summer. This is when the plant is in its most vigorous growing phase. You’ll find the stems are pliable and full of energy, which is exactly what you want for them to root well. If you’re looking at division, early spring is your friend, just as new growth is starting to emerge.
Supplies You’ll Need
Gathering your tools beforehand makes the whole process go much smoother. Here’s what I always have on hand:
- Sharp pruning shears or a clean knife: Think razor-sharp to make a clean cut, which helps prevent disease.
- Rooting hormone: A little goes a long way, and it gives your cuttings a significant boost. I prefer the powder form.
- Well-draining potting mix: A standard houseplant mix with added perlite or coarse sand works wonders. You want it to drain quickly.
- Small pots or propagation trays: Clean pots are key!
- Transparent plastic bags or a propagation dome: This creates a mini-greenhouse effect.
- Watering can with a fine rose or a spray bottle: For gentle watering.
- Labels: Trust me, you’ll thank yourself later!
- For division: A trowel or spade.
Propagation Methods
Let’s dive into how we can multiply this gorgeous plant!
Stem Cuttings
This is my go-to method for Micrandra elata.
- Select your parent plant: Choose a healthy, mature stem that’s not flowering. Look for stems that have developed a bit but aren’t woody and old.
- Take the cutting: Using your clean shears, make a cut just below a leaf node (where a leaf attaches to the stem). Aim for cuttings that are about 4-6 inches long.
- Prepare the cutting: Gently remove the lower leaves. You want to expose a few leaf nodes at the bottom, as this is where roots will form.
- Apply rooting hormone: Dip the cut end of the stem into your rooting hormone, tapping off any excess. This step is crucial for encouraging robust root development.
- Plant the cutting: Fill your small pots with your well-draining mix. Make a small hole with your finger or a pencil and insert the cut end of the stem, ensuring at least one leaf node is buried beneath the soil. Gently firm the soil around the cutting.
- Water and cover: Water the soil thoroughly but gently. Then, cover the pot with a clear plastic bag or place it under a propagation dome. This traps humidity, which is vital for cuttings.
Division
If your Micrandra elata has grown into a nice clump, division is a wonderfully simple way to get more plants.
- Dig carefully: In early spring, gently dig up the entire plant. Try to disturb the root ball as little as possible.
- Separate the divisions: Once out of the pot or ground, you can often gently pull the clump apart with your hands. If it’s a bit stubborn, use a clean trowel or spade to slice through the root ball, ensuring each division has a good amount of roots and at least one healthy shoot.
- Replant: Pot up each division into its own container with fresh, well-draining soil.
- Water well: Give them a good drink after replanting.
The “Secret Sauce” (Pro Tips)
Here are a couple of tricks I’ve learned over the years that really make a difference:
- Don’t let the leaves touch the water. If you choose to do some water propagation (which can work for Micrandra elata, though I find soil offers more consistent results), make sure the cut stem is submerged, but any leaves are above the water line. Leaves sitting in water are a fast ticket to rot.
- Bottom heat is your friend! If you have a heat mat designed for seedlings and cuttings, placing your pots on it can significantly speed up root formation. It mimics the warmth of spring soil and gives those little root cells a real kickstart.
Aftercare & Troubleshooting
Once your cuttings are planted, give them a good home.
- Placement: Keep them in a bright spot with indirect light. Direct sun will scorch those tender new cuttings.
- Watering: Water when the top inch of soil feels dry. Avoid overwatering, as this is the most common cause of failure. The plastic bag or dome will help keep the humidity up, so you won’t need to water too frequently.
- Rooting Check: After about 4-8 weeks, you can gently tug on a cutting. If you feel resistance, it means roots have formed! You can also look for new leaf growth.
- Troubleshooting: The most common issue is rot. If a cutting looks limp, mushy, or has turned black at the base, it’s probably rotted. This is usually due to too much moisture and poor air circulation. If a division or cutting shrivels up and goes brown, it might be too dry, or it just didn’t have enough stored energy to keep going. Don’t get discouraged; just try again!
A Encouraging Closing
Propagating plants is a journey of patience and observation. Some cuttings will take, and some won’t. That’s part of the magic! Celebrate the successes, learn from the failures, and most importantly, enjoy the process of nurturing new life. You’ve got this!
Resource:
https://identify.plantnet.org/k-world-flora/species/Micrandra%20elata%20(Didr.)%20Müll.Arg./data