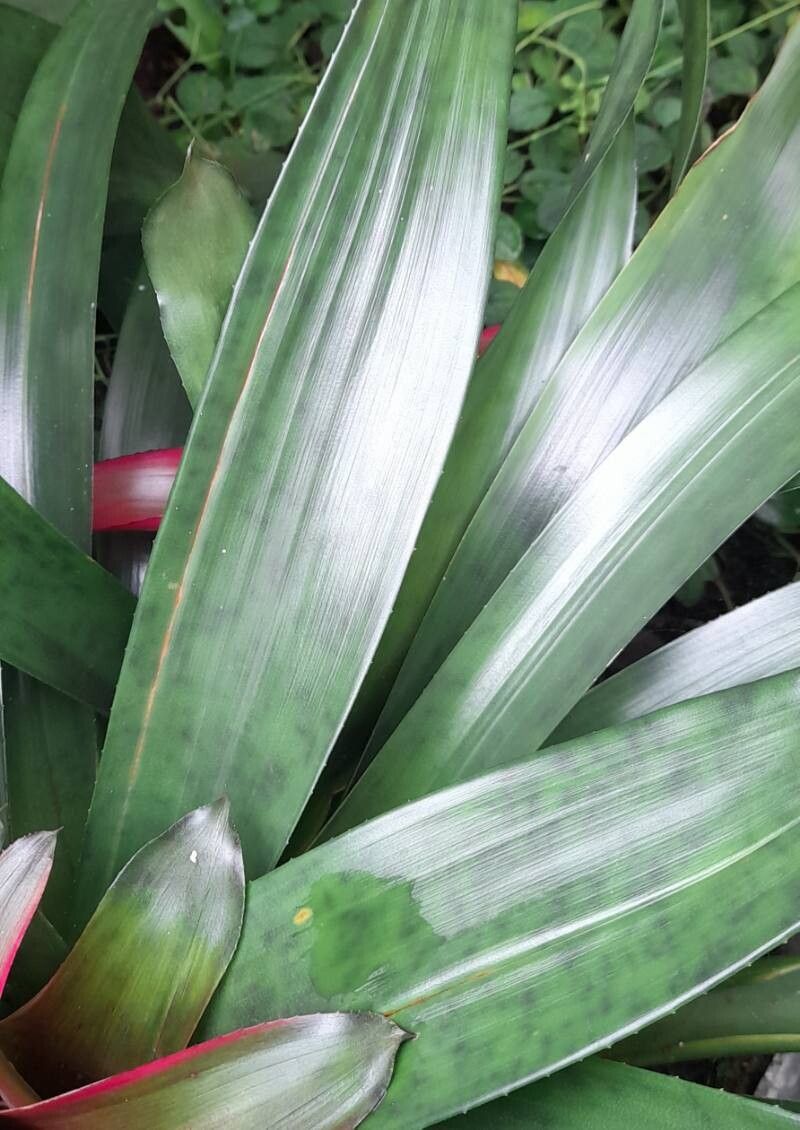
Oh, Nidularium rutilans! If you’ve ever seen one of these beauties gracing a shade garden or a terrarium, you know exactly what I mean. That rosette of spiky, often colorful leaves, holding a little cup of water at its heart – it’s pure enchantment. And the best part? You can coax new little Nidulariums into existence yourself! It’s incredibly rewarding to see a tiny offset unfurl its first leaves. Let me tell you, propagating Nidularium rutilans is a treat, and while it has its own gentle rhythm, it’s definitely achievable for beginners willing to be a little attentive.
The Best Time to Start
For Nidulariums, like many bromeliads, the spring and early summer are your golden ticket. This is when they’re really gearing up for active growth, and any babies they’ve produced will be plump and ready to take wing. You’ll often see these pups forming at the base of the mother plant. Waiting until they’ve developed a decent size, say at least a third to half the size of the parent, gives them a much better chance of thriving independently.
Supplies You’ll Need
Here’s what you’ll want to have on hand before you dive in:
- Sharp, clean pruning shears or a sturdy knife. Hygiene is key to preventing disease.
- Well-draining potting mix. I like a mix of coarse peat, perlite, and a bit of orchid bark. You want it to dry out nicely.
- Small pots or propagators. Terracotta pots are excellent as they breathe.
- Rooting hormone (optional but recommended). A powder or gel can give those new roots a helpful nudge.
- A spray bottle for misting.
- Clear plastic bags or a propagator lid. This helps maintain humidity.
- A tray or saucer for watering.
Propagation Methods
These plants are wonderfully straightforward when it comes to making more. The most common and successful method is by offset division.
- Gently remove the parent plant from its pot. If it’s in a tight spot, you might need to loosen the soil around the edges.
- Locate the pups. You’ll see them emerging from the base of the mother plant, often attached by a short stem below the soil level.
- Carefully separate the pups. This is where your sharp tool comes in. If the pup is attached by a thick stem, you’ll need to cut cleanly through it. Try to get a bit of the parent’s base with the pup if possible; this gives it a head start. If there are no offsets present, you can try another method (described below), but offsets are by far the easiest.
- Allow any cut surfaces to callous over. This is crucial! Let the separated pups sit in a dry, airy spot for a day or two. This prevents rot from setting in when you pot them up.
- Potting up. Fill your small pots with your prepared, moist (but not soggy) potting mix.
- Plant the pup. Make a small hole in the soil and gently place the calloused end of the pup into it. Firm the soil gently around the base.
- Initial watering. Water lightly from the bottom of the pot. Avoid getting water directly into the crown (the center cup) if you can, especially in the first few days.
- Create humidity. Cover the pot with a clear plastic bag (poke a few small holes for ventilation) or place it in a propagator. This mimics the humid environment they love.
For plants without offsets: While less common for Nidularium rutilans, some bromeliads will produce a basal keiki (a baby plant). If yours does, you’d follow the same separation steps once it’s a good size. You can also try taking a stem cutting from a flowering stalk, but this is more involved and less reliable for this particular species. You’d cut a section of the stalk with a few leaves attached, let it callous, and then pot it up. Again, offsets are your best bet!
The “Secret Sauce”
Here are a couple of little tricks I’ve learned over the years that make a difference:
- Don’t over-pot. Start your pups in small containers. They have small root systems, and a huge pot can hold too much moisture, leading to rot. You can always pot up as they grow.
- Bottom heat is your friend. If you have a seedling heat mat, placing your pots on it can really speed up root development and give those baby plants a gentle boost, especially if your room is a bit on the cool side.
Aftercare & Troubleshooting
Once your pup is potted, place it in a spot with bright, indirect light. Keep the humidity high by misting occasionally and ensuring the plastic cover is in place. You’ll want to water sparingly, allowing the soil to dry out slightly between waterings. Check for roots by giving the pup a very gentle tug after a few weeks. If there’s resistance, roots are forming!
The biggest challenge you might face is rot. If you see the leaves turning mushy and brown, or if the base of the pup feels soft and smells off, it’s likely rot. This usually happens from overwatering or not allowing the cut end to callous properly. If you catch it early, you can try to trim away any rotted tissue with a clean knife, let it dry out thoroughly for a few days, and then repot in fresh, dry mix. Sometimes, sadly, it’s a sign that the pup isn’t viable.
A Little Patience Goes a Long Way
Don’t get discouraged if not every attempt is a roaring success. Gardening is all about learning and adapting. Enjoy the process of nurturing these new little ones. With a little care and attention, soon you’ll have a whole collection of these delightful Nidulariums to admire and share. Happy propagating!
Resource:
https://identify.plantnet.org/k-world-flora/species/Nidularium%20rutilans%20É.Morren/data