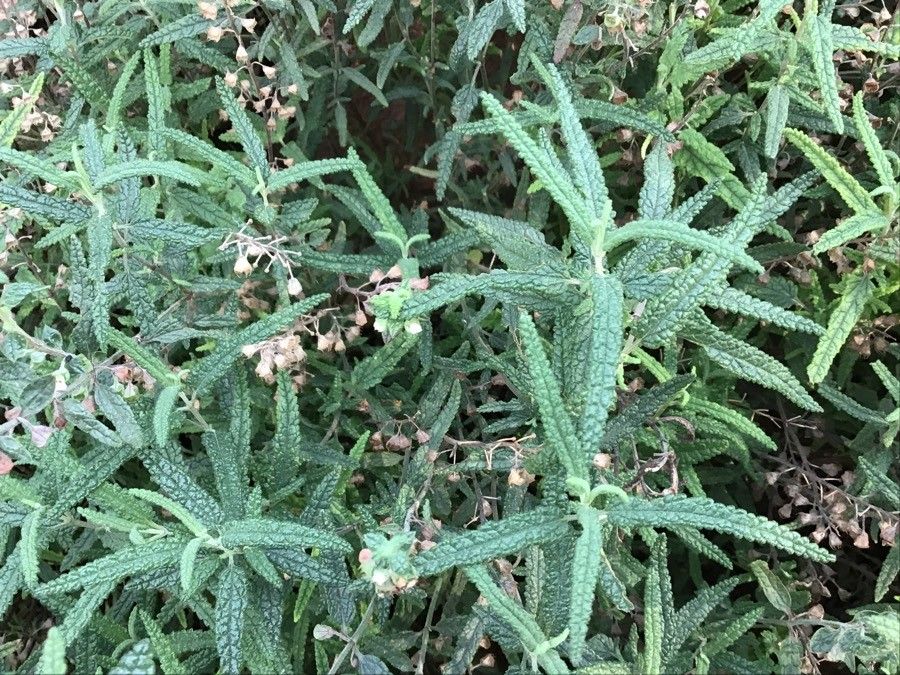
Oh, hello there! Pull up a chair, and let’s talk about a little treasure I’ve come to adore: Fumana laevis. This delicate little Mediterranean native, with its dainty, wispy foliage and charming little blooms, is such a joy to have in the garden. It brings a touch of wild, sunny charm without demanding a whole lot. And the best part? It’s incredibly rewarding to bring new life into your garden from just a small piece of the parent plant. For beginners looking for a little success, I’d say Fumana laevis is quite forgiving, especially with a few pointers!
The Best Time to Start
When I’m looking to propagate Fumana laevis, I always aim for the late spring or early summer. This is when the plant is actively growing and has plenty of fresh, pliable new shoots. You want to select stems that have toughened up just a bit but are still flexible. Think of it as capturing that surge of youthful energy – it’s when the plant is most ready to put down new roots!
Supplies You’ll Need
Here’s what I like to have on hand:
- Sharp pruning shears or a clean, sharp knife: A clean cut is crucial.
- Rooting hormone (optional but recommended): This gives your cuttings a nice boost.
- Well-draining potting mix: I usually use a mix of equal parts perlite and a good quality compost, or even a specific succulent/cactus mix.
- Small pots or trays with drainage holes: Don’t overcrowd them!
- A mister or spray bottle: For keeping things nice and humid.
- A plastic bag or propagation dome: To create a little greenhouse effect.
- Labels and a marker: Trust me, you’ll thank yourself later!
Propagation Methods
For Fumana laevis, stem cuttings are my go-to method. It’s straightforward and usually works like a charm.
- Take your cuttings: Select healthy, semi-ripe shoots. You want stems that are about 3-4 inches long. Make a clean cut just below a leaf node (where a leaf attaches to the stem). This is where the magic happens, where roots are most likely to form.
- Prepare the cuttings: Gently remove the lower leaves. You only want a few leaves left at the top to help with photosynthesis. If the leaves are quite large, you can even cut them in half to reduce water loss.
- Apply rooting hormone (optional): Dip the cut end of each stem into rooting hormone, tapping off any excess.
- Plant your cuttings: Fill your small pots with your well-draining mix. Make a small hole with a pencil or your finger and insert the cutting, ensuring the leaf nodes are buried. Firm the soil gently around the base.
- Water and cover: Water the soil gently until it’s moist but not soggy. Then, cover the pot with a clear plastic bag or a propagation dome. This creates a humid environment that’s perfect for rooting. Stake it up if the bag looks like it might crush the leaves.
- Place in bright, indirect light: Find a spot that gets plenty of light but no direct, scorching sun. A bright windowsill or a shaded spot under a greenhouse bench works wonderfully.
The “Secret Sauce” (Pro Tips)
After years of this joyful process, a couple of things have really made a difference for me:
- Don’t let the leaves touch the water in the soil: This might sound silly, but if the lower leaves are constantly sitting in damp soil, they’re much more prone to rot. That’s why trimming them off is so important.
- A touch of bottom heat can work wonders: If you have a seedling heat mat, placing your pots on it can really speed up root development. It mimics the warmth of the earth that the plant loves. Just keep an eye on the soil moisture; it can dry out a little faster with heat.
Aftercare & Troubleshooting
Once your cuttings have been in their little humid homes for a few weeks, you’ll start to see signs of life! Gently tugging on a cutting is a good way to test for resistance – that’s roots developing! You can also look for new growth emerging from the top.
Once you feel confident there are roots, gradually acclimate your new plants to open air. Start by opening the plastic bag a little each day for a week.
The most common issue I see is rot. If you notice a cutting turning black and mushy, or the leaves wilting dramatically even though the soil is moist, it’s likely rot. This usually means there’s too much moisture and not enough air circulation. Don’t be discouraged; just discard the rotted cutting and check your watering and drainage. Sometimes, it’s just a matter of finding the sweet spot with moisture.
A Little Something Extra
Propagating can feel like a bit of gardening magic, can’t it? Be patient with your little Fumana laevis cuttings. Not every single one will make it, and that’s perfectly okay. Celebrate the successes, learn from any setbacks, and most importantly, enjoy the process of nurturing new life. Happy gardening!
Resource:
https://identify.plantnet.org/k-world-flora/species/Fumana%20laevis%20(Cav.)%20Pau/data