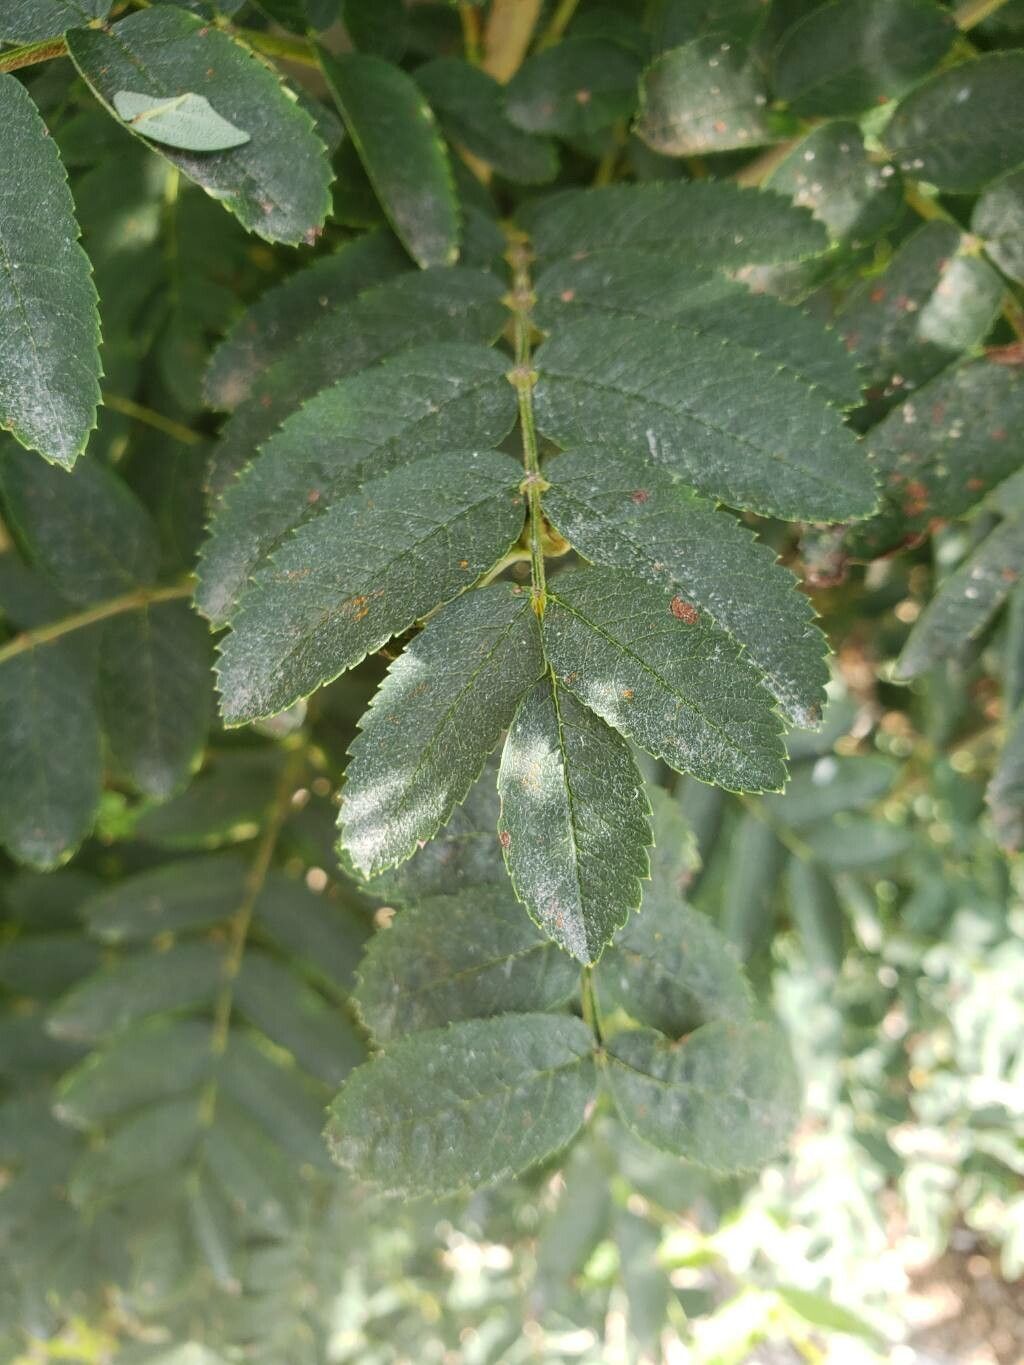
Oh, hello there! Pull up a chair and let’s chat about one of my favorite little trees – Sorbus scopulina, often called Mountain Ash or the Rowan tree. You know, the one with those beautiful clusters of vibrant berries that birds just adore? It’s honestly a garden gem, adding color and wildlife interest with such little fuss. And the best part? Propagating them is a wonderfully rewarding way to expand your greenery or share the magic with friends.
The “Why” and the “Who” of Propagating Rowan
Why bother propagating your own Sorbus scopulina? Well, for starters, it’s incredibly satisfying to nurture a new plant from a tiny cutting or seed. You get to watch that little spark of life take hold and grow, and it’s a much more economical way to get more of these lovely trees than buying them from a nursery. Plus, you’ll be contributing to biodiversity right in your own backyard!
Now, if you’re new to the gardening game, don’t shy away! While some plants can be quite finicky, Sorbus scopulina is generally considered moderately easy to propagate. With a little patience and the right approach, you’ll be well on your way to success.
The Perfect Moment to Get Started
Timing is everything, isn’t it? For Sorbus scopulina, the late spring to early summer is generally your sweet spot. This is when the plant is actively growing and has plenty of energy. Look for semi-hardwood cuttings, which are stems that have started to firm up but are not yet woody. They’ll have a bit of flexibility when you bend them. Trying too early in spring might mean your cuttings are too soft, and going too late into summer could mean they haven’t had enough time to establish before cooler weather arrives.
Your Propagation Toolkit
Gathering your supplies beforehand makes the whole process smoother. Here’s what you’ll want to have on hand:
- Sharp Pruning Shears or a Knife: For clean cuts that heal well.
- Rooting Hormone: A powder or gel that encourages root development.
- Potting Mix: A gritty, well-draining mix. I like to use a blend of perlite and peat moss or coco coir, about a 50/50 ratio.
- Small Pots or Seed Trays: With drainage holes, of course!
- Plastic Bags or a Propagator: To create a humid environment.
- Labeling Sticks: Because trust me, you will forget what you planted!
- Watering Can with a Fine Rose: For gentle watering.
Bringing New Rowans to Life: Our Methods
While you can technically start these from seed, which can be a bit of a long game due to dormancy requirements, propagating from cuttings is generally much quicker and more reliable.
Method 1: Stem Cuttings (My Favorite for Rowan!)
This is my go-to method for Sorbus scopulina.
- Take Your Cuttings: On that perfect late spring/early summer day, select strong, healthy shoots from your established Rowan tree. Using your sharp shears, cut pieces that are about 4-6 inches long. Make the cut just below a leaf node (the little bump where a leaf joins the stem).
- Prepare the Cuttings: Gently remove the lower leaves, leaving just a few at the very top. This helps the cutting focus its energy on rooting rather than sustaining too many leaves.
- Apply Rooting Hormone: Dip the cut end of each stem into your rooting hormone. Tap off any excess.
- Plant Your Cuttings: Fill your pots or trays with your prepared gritty potting mix. Make a small hole with a pencil or your finger. Insert the prepared cutting into the hole, ensuring the root hormone-coated end is in the soil. Gently firm the soil around the base of the cutting.
- Water Gently: Water thoroughly but gently to settle the soil.
- Create Humidity: This is crucial! Cover the pots with a clear plastic bag, making sure the leaves don’t touch the plastic (you might need to prop it up with skewers). Alternatively, place them in a propagator.
- Find a Good Spot: Place your pots in a bright location out of direct sunlight. A greenhouse or a bright windowsill is ideal.
Method 2: Water Propagation (A Visual Treat!)
This method is fun because you can see the roots develop!
- Prepare the Cuttings: Follow steps 1 and 2 above for taking and preparing your cuttings.
- Place in Water: Fill a clean jar or glass with cool, fresh water. Place the prepared cuttings in the water, ensuring that the leaf nodes are submerged, but no leaves are touching the water. This prevents rot.
- Change the Water: Change the water every few days to keep it fresh and oxygenated.
- Be Patient: You should start to see tiny white roots emerging from the submerged nodes within a few weeks.
The “Secret Sauce” from My Garden Shed
After years of fiddling with plants, I’ve learned a few little tricks that make a big difference.
- Bottom Heat is Your Friend: Especially for stem cuttings, providing a little warmth from underneath can significantly speed up root formation. A heat mat designed for seedlings works wonders. The roots are more responsive to warmth than the above-ground parts.
- Don’t Rush to Pot Up: Even when you see roots on your water-propagated cuttings, wait a little longer until the roots are a decent length (an inch or so) before transferring them to soil. This gives them a stronger start and makes them less likely to shock.
- Wipe Down the Propagator: If you’re using a plastic bag or propagator, wipe away condensation regularly. Too much moisture trapped inside can encourage fungal diseases.
What Happens Next: Aftercare and Troubleshooting
Once you see those lovely roots emerging, it’s time for a little extra TLC!
For Cuttings in Soil:
- Check for Roots: After about 4-6 weeks, gently tug on a cutting. If there’s resistance, you’ve got roots!
- Gradual Acclimatization: Once rooted, gradually remove the plastic bag over a week or two to help the new plant adjust to normal humidity.
- Potting Up: You can now pot them into individual, slightly larger pots with a good quality potting mix.
For Cuttings in Water:
- Potting Up: Once the roots are a good size, carefully transfer them to pots filled with your well-draining potting mix. Water them in well.
Common Hiccups and How to Fix Them:
- Wilting: If your cuttings wilt significantly, it could be too much sun, too little water, or they simply haven’t rooted yet. Check the moisture and the light. Sometimes, a lack of a humid environment is the culprit.
- Rotting: This is usually caused by too much moisture and poor air circulation. If a cutting turns black and mushy, it’s best to remove it to prevent it from spreading. Ensure your potting mix is well-draining and avoid overwatering.
- No Roots: Be patient! Some plants take longer than others. Ensure consistent moisture and humidity, and consider if your rooting hormone was effective or if the cutting was taken at the right stage of growth.
The Joy of Growth
Propagating your own Sorbus scopulina is a journey. There will be times when things don’t quite go as planned, and that’s perfectly okay. Every gardener learns through trial and error. So, embrace the process, enjoy the small victories, and in no time, you’ll have a small nursery of your own beautiful Rowan trees to admire and share. Happy gardening!
Resource:
https://identify.plantnet.org/k-world-flora/species/Sorbus%20scopulina%20Greene/data