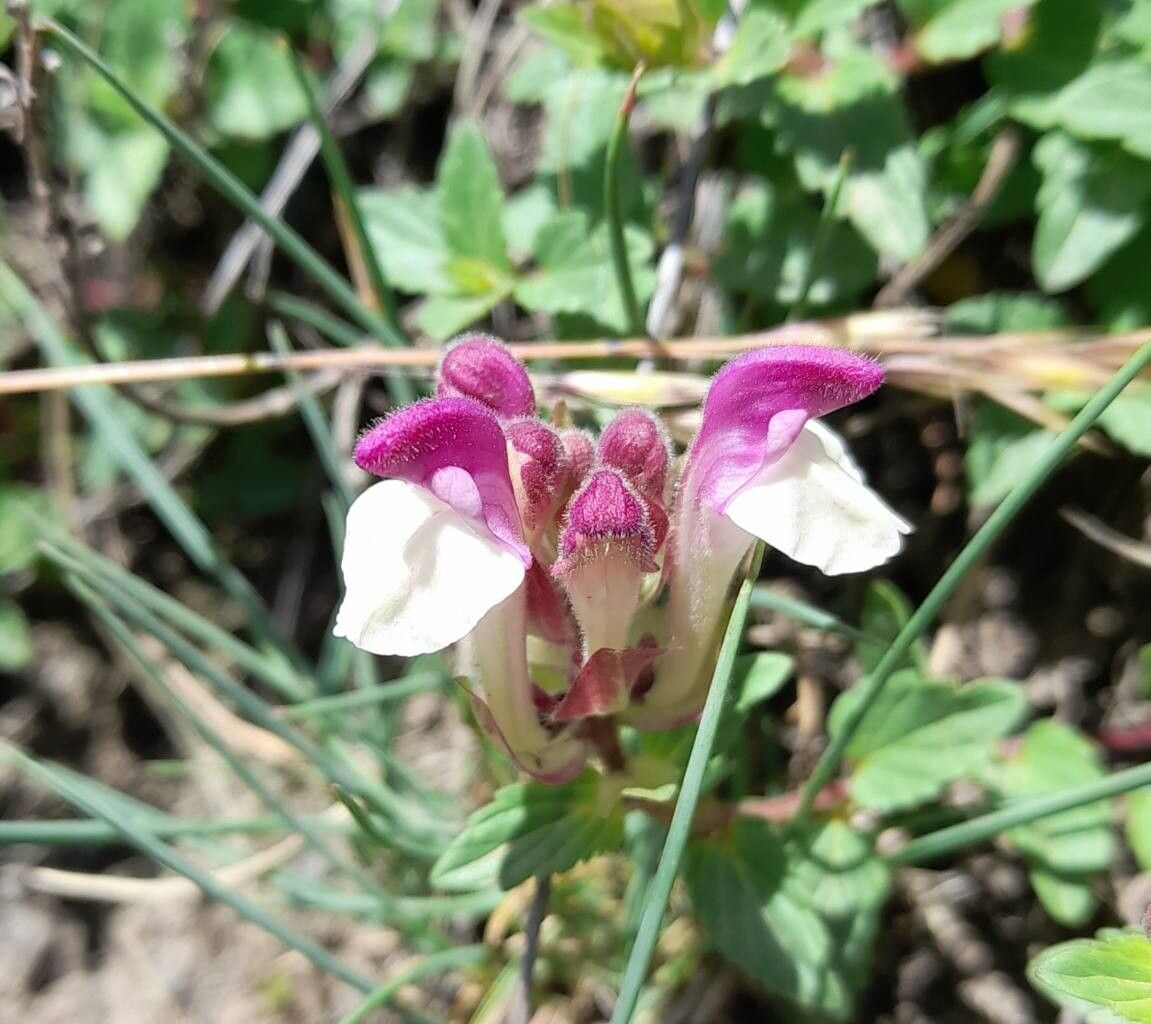
Oh, Scutellaria alpina! What a beauty. Sometimes called Alpine Skullcap, this little gem really punches above its weight in the garden. The soft, fuzzy leaves are lovely on their own, but those delightful little hooded flowers, often in shades of purple and blue, are just enchanting. And the best part? They draw in all sorts of beneficial pollinators. If you’ve ever admired this plant and wished you had more of them gracing your garden, you’ll be happy to know that propagating Scutellaria alpina is quite doable, even for many beginners. It’s always so satisfying to watch a tiny cutting grow into a robust plant you nurtured yourself.
The Best Time to Start
For the highest success rate, I find late spring to early summer is your golden window. This is when the plant is actively growing, so it has plenty of energy to put into developing those new roots. You want to work with healthy, non-flowering stems if possible. Waiting until after the main bloom is over, but before things start to wind down for the season, is usually ideal.
Supplies You’ll Need
This isn’t a fussy operation, so you likely have most of these things already:
- Sharp pruning shears or a clean knife: For making precise cuts.
- Rooting hormone (optional, but recommended): A powder or gel that encourages root development.
- Small pots or seed trays: Clean containers with drainage holes.
- Well-draining potting mix: I like to use a mix of perlite and peat moss or coir for cuttings. A good seed-starting mix works wonderfully too. For division, just your regular garden soil will do.
- A clear plastic bag or propagation dome: To create a humid environment.
- Water: For misting and watering.
- Labels: To keep track of your projects!
Propagation Methods
I’ve found two main ways that work wonderfully for Scutellaria alpina:
Stem Cuttings
This is my go-to method for increasing my collection.
- Take your cuttings: In late spring or early summer, find some healthy, non-flowering stems. Using your clean shears, cut pieces about 4-6 inches long. Make your cut just below a leaf node (where a leaf attaches to the stem).
- Prepare the cuttings: Gently remove the lower leaves from the cutting, leaving just the top couple of leaves. If the remaining leaves are very large, I’ll snip them in half to reduce water loss.
- Dip in rooting hormone (optional): If you’re using rooting hormone, dip the cut end of the stem into the powder or gel, tapping off any excess.
- Pot them up: Fill your small pots with your well-draining potting mix. Make a small hole with your finger or a pencil, and insert the cutting, ensuring the leaf nodes that were buried are covered. Gently firm the soil around the stem.
- Create humidity: Water the soil gently until it’s moist but not waterlogged. Then, cover the pot with a clear plastic bag or propagation dome. This traps moisture and helps the cuttings stay hydrated.
Division
If you have an established clump of Scutellaria alpina, dividing it is a breeze and often gives you larger, more immediate results.
- Choose your clump: Select a healthy, mature plant.
- Dig it up: In early spring before new growth really explodes, or in early autumn after flowering has finished, carefully dig around the plant. Gently lift the entire root ball out of the ground.
- Separate the divisions: You can often see natural divisions in the root ball. Use your hands or a clean spade to gently pull the clump apart into smaller sections. Each section should have a good amount of roots and some stems.
- Replant: Dig new holes in your garden or pots, and replant the divisions. Make sure they are planted at the same depth they were growing before. Water them in well.
The “Secret Sauce” (Pro Tips)
Here are a couple of things I’ve learned over the years that really make a difference:
- Bottom Heat is Your Friend: For stem cuttings, placing the pots on a heat mat can significantly speed up root development. It mimics the warmth the soil would have underground and gives those roots a real boost.
- Air Circulation Matters: While you need humidity for cuttings, don’t let them sit in stagnant air. Open the plastic bag or dome for a few minutes each day to allow for some air exchange. This helps prevent fungal issues.
- Don’t Give Up Too Soon: Sometimes, cuttings can take a while to show signs of rooting. Be patient! If they look green and firm, they’re likely still working on it.
Aftercare & Troubleshooting
Once you see signs of new growth emerging from your cuttings (often a sign that roots are forming!), it’s time to start acclimatizing them to life outside the humidity dome. Gradually remove the bag or vent the dome over a week or so. Continue to keep the soil consistently moist but not soggy. Once they are strong enough to transplant into individual pots or their final garden spot, do so gently.
The main issue you might encounter is rot, which is usually a sign of overwatering or poor drainage. If a cutting wilts dramatically and looks mushy, it’s probably a goner. For divisions, some initial wilting is normal, but if it doesn’t perk up after a good watering, check the roots for rot. Ensure your soil drains well, and always water with a light hand until the plant is established.
A Little Patience, A Lot of Reward
Propagating Scutellaria alpina is a wonderfully rewarding process. It’s a chance to connect with your plants on a deeper level and share their beauty with others. Be patient with your cuttings, give them the right conditions, and don’t be afraid to experiment. Soon enough, you’ll have a whole delightful patch of these charming little flowers to enjoy! Happy growing!
Resource:
https://identify.plantnet.org/k-world-flora/species/Scutellaria%20alpina%20L./data