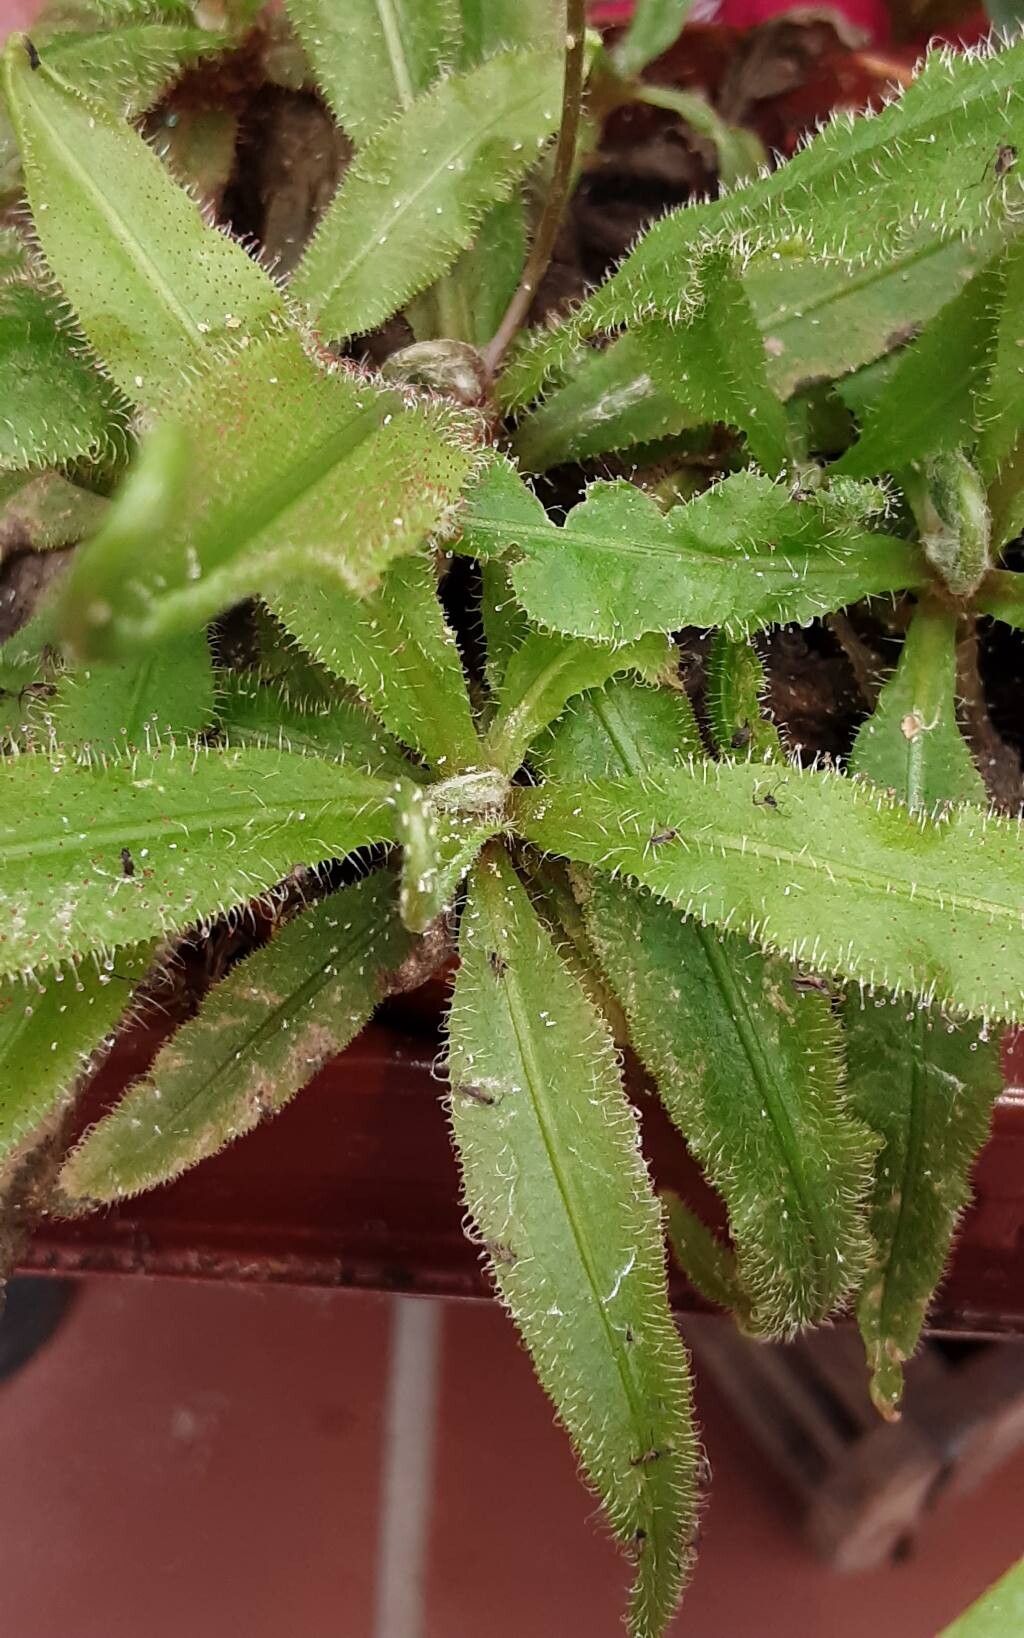
Hello, fellow plant enthusiasts! Today, we’re diving into the delightful world of Drosera adelae, also known as the Adelaide Sundew. If you’re looking for a carnivorous plant that’s not only stunning but also incredibly rewarding to propagate, you’ve come to the right place. The way these plants lure and trap unsuspecting insects with their sticky dew is simply mesmerizing. And the best part? Growing new Drosera adelae plants from existing ones is surprisingly straightforward and a fantastic way to expand your collection or share the magic with friends. Honestly, for those new to carnivorous plants, I find Drosera adelae to be quite forgiving, which makes it a wonderful starting point.
The Best Time to Start
When it comes to coaxing new life from your Drosera adelae, spring and early summer are your golden ticket. This is when the plant is naturally in a vigorous growth phase, meaning it has plenty of energy to spare for producing new shoots or leaves that will readily adapt to propagation. You can sometimes get away with doing this at other times, especially if you provide ideal conditions, but spring offers the highest chance of quick, healthy success.
Supplies You’ll Need
Gathering your supplies beforehand makes the whole process run much smoother. Here’s what you’ll want to have on hand:
- Sphagnum Moss: Long-fibered sphagnum moss is your best friend here. It retains moisture beautifully and provides a nice airy medium.
- Perlite: A small amount of perlite mixed with your sphagnum moss will help with drainage and aeration.
- Distilled Water or Rainwater: This is crucial! Carnivorous plants are sensitive to minerals found in tap water.
- Clean, Sharp Scissors or a Blade: For making clean cuts. Sterilize them with rubbing alcohol to prevent disease spread.
- Small Pots or Trays: Clean containers for your new propagations.
- Optional: Trays for Water: If you choose water propagation, you’ll need shallow dishes.
- Optional: Heating Mat: Gentle bottom heat can sometimes speed things up.
Propagation Methods
Drosera adelae is a real trooper when it comes to propagation. Here are a couple of methods that work beautifully:
Leaf Cuttings
This is by far my favorite and the most productive method for Drosera adelae.
- Select a Healthy Leaf: Look for a mature, healthy leaf from the base of the plant. Gently wiggle it and it should come away clean.
- Make the Cut: Using your sterilized scissors, snip the leaf off as close to the base as possible.
- Prepare the Medium: Moisten a good amount of your sphagnum moss and perlite mix. You want it damp, not waterlogged. Fill your small pots or trays with this mix.
- Place the Cutting: Lay the leaf cutting flat on the surface of the damp moss. Make sure the cut end is gently pressed into the moss, but don’t bury the entire leaf.
- Maintain Humidity: Cover the pot or tray with a clear plastic dome or bag to create a humid environment. A little ventilation is good, so don’t seal it completely.
- Provide Light and Water: Place the propagation in bright, indirect light. Keep the moss consistently moist by watering from the bottom (placing the pot in a tray of distilled water).
You’ll start to see tiny plantlets emerge from the cut end of the leaf in a few weeks to a couple of months. It’s truly magical!
Stem Cuttings (for Vertically Growing Plants)
If your Drosera adelae has started to send up taller stems, you can try stem cuttings too.
- Take a Cutting: Using your sterilized scissors, cut a section of stem that has at least one or two leaves attached. Make your cut just below a leaf node.
- Prepare the Medium: As with leaf cuttings, use damp sphagnum moss and perlite.
- Plant the Cutting: Insert the cut end of the stem into the prepared medium. Ensure the leaves are above the surface.
- Humidity and Light: Cover for humidity and place in bright, indirect light. Keep the medium consistently moist.
Rooting might take a bit longer with stem cuttings, but it’s a great way to multiply your plants when they get a bit leggy.
The “Secret Sauce” (Pro Tips)
Over the years, I’ve picked up a few little tricks that seem to make a big difference.
- Don’t Drown Your Cuttings: While they need to stay moist, avoid leaving leaf cuttings sitting in deep water. The cut end can rot if it’s submerged for too long, and you’ll lose your propagation. A shallow tray of water for bottom watering is perfect.
- Bottom Heat is Your Friend: If you have a heating mat, placing your propagation pots on it can really encourage root development. It mimics the warmth of spring and can significantly speed things up. Just make sure it’s on a low setting; you don’t want to cook your little propagations!
- Think “Dewy Cloud”: The goal is to create a miniature, humid environment. Even just covering the pot with a clear plastic bag, with a few small holes poked in it, will help create that perfect, moist atmosphere that Drosera loves.
Aftercare & Troubleshooting
Once you see those little roots starting to form and new growth appearing, congratulations! You’re on your way to a new plant. Keep the propagation in its humid environment and continue to water from the bottom, ensuring the moss stays consistently moist. Once the new plantlet is a decent size and shows good vigor (you’ll know when it feels robust), you can gradually introduce it to slightly less humidity by opening the dome or bag a little more each day. Eventually, you can remove the cover entirely.
Now, what if things don’t go as planned? The most common issue you’ll encounter is rot. This usually happens if the propagation is too wet and lacks airflow, or if the water used has too many minerals. If you see a slimy, blackening mass where your cutting was, it’s likely rotted. Don’t despair! Just discard the rotten material and try again, making sure to adjust your watering and humidity levels. Sometimes, a cutting simply won’t take, and that’s okay too. Nature has its own rhythm, and not every attempt will be a success.
A Encouraging Closing
Propagating Drosera adelae is a journey filled with anticipation and the joy of watching new life unfold. Be patient with yourself and with your plants. Sometimes it takes a little longer than you expect, but the reward of nurturing a new sundew from a single leaf is truly immense. So, gather your supplies, channel your inner green thumb, and happy propagating! I can’t wait for you to experience the satisfaction of growing your own little insectivorous wonders.
Resource:
https://identify.plantnet.org/k-world-flora/species/Drosera%20adelae%20F.Muell./data