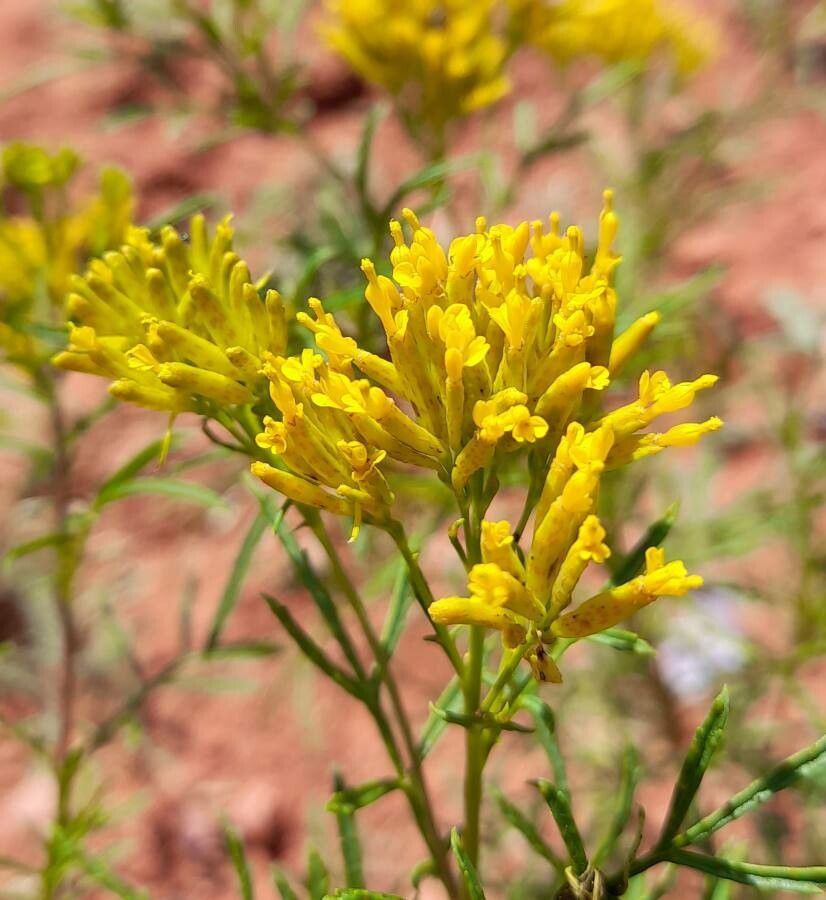
Hello fellow garden enthusiasts! Today, I want to chat about a plant that brings a real burst of sunshine to any garden: Tagetes riojana. If you’ve ever admired its vibrant blooms and lovely, almost fern-like foliage, you’re in for a treat. Propagating these beauties is not just about getting more plants; it’s about extending that joy and sharing it with others. And guess what? You don’t need a degree in botany for this! Tagetes riojana is a wonderfully forgiving plant, making it a fantastic choice for beginners looking to dip their toes into propagation.
The Best Time to Start
For the absolute best results with Tagetes riojana, I always aim to start my propagation efforts in late spring or early summer. This is when the plant is actively growing and has plenty of energy to put into forming new roots. You want to select stems that are healthy and vigorous, but not yet flowering. Think of it as harvesting from a plant that’s already at its peak energy.
Supplies You’ll Need
Gathering your supplies before you begin makes the whole process much smoother. Here’s what I typically have on hand:
- Sharp Pruning Shears or a Craft Knife: For clean cuts that heal quickly.
- Rooting Hormone (Optional but Recommended): A little boost can really help things along.
- Well-Draining Potting Mix: I prefer a mix of peat moss, perlite, and a bit of sand. You can also buy a pre-made seed-starting or propagation mix.
- Small Pots or Trays: Clean ones are essential! Yogurt cups with drainage holes poked in the bottom work in a pinch.
- Plastic Bags or a Clear Plastic Dome: To create a humid environment.
- Watering Can or Spray Bottle: For gentle watering.
Propagation Methods
Tagetes riojana is blessedly easy to propagate, and I find stem cuttings to be the most reliable method.
Stem Cuttings
- Select Your Cuttings: Find a healthy, non-flowering stem on your Tagetes riojana.
- Make the Cut: Using your sharp shears or knife, take stem cuttings that are about 4-6 inches long. Make the cut just below a leaf node (where a leaf attaches to the stem).
- Prepare the Cuttings: Gently remove the lower leaves from the stem, leaving just a few at the very top. This prevents them from rotting in the soil. If your cutting is very long, you can take a second cutting from the top portion.
- Apply Rooting Hormone (If Using): Dip the cut end of each stem into your rooting hormone, tapping off any excess.
- Potting Up: Fill your small pots or trays with your prepared potting mix and moisten it slightly.
- Plant the Cuttings: Make a small hole in the soil with your finger or a pencil, and insert the cut end of the stem. Firm the soil gently around it.
- Create Humidity: Water the soil gently. Then, cover the pots with a plastic bag or a clear dome to trap humidity. Poke a few small holes in the bag to allow for some air circulation.
The “Secret Sauce” (Pro Tips)
Here are a couple of tricks I’ve learned over the years that really give your Tagetes riojana cuttings a fighting chance:
- Don’t Let Leaves Touch the Water (If Water Propagating): While I prefer soil for Tagetes riojana, if you decide to try water propagation, make sure absolutely no leaves are submerged in the water. Submerged leaves will rot and contaminate the water, which will kill your cutting before it can even think about growing roots. Only the bare stem should be in the water.
- Warmth is Key: Many plants, including Tagetes riojana, are much happier when their cuttings have a bit of bottom heat. If you have a propagation mat, fantastic! If not, placing your pots on top of a gently warm appliance (like a computer tower, if it’s not too hot!) can provide that subtle warmth that encourages root development.
Aftercare & Troubleshooting
Once your cuttings are potted up, the waiting game begins! Keep the soil consistently moist but not soggy. A good rule of thumb is to water when the top inch of soil feels dry. Peek under the plastic bag daily to check moisture levels and remove any condensation that’s become excessive.
You’ll know your cuttings are rooting when you see new leaf growth or feel a gentle tug when you try to pull the cutting out ever so carefully. This usually takes 3-6 weeks. Once they have a good root system, you can begin to gradually acclimatize them to normal room conditions by removing the plastic for longer periods each day. Eventually, you can transplant them into slightly larger pots.
The most common problem you’ll encounter is rot, which usually happens if the soil is too wet or there’s not enough air circulation. If you see a cutting turn black and mushy, unfortunately, it’s best to discard it to prevent it from affecting others. Don’t get discouraged; it’s part of the learning process!
A Heartfelt Closing
Propagating Tagetes riojana is such a wonderfully rewarding way to fill your garden with those cheerful blooms. Be patient with yourself and the process. Every gardener, no matter how experienced, has had cuttings that didn’t make it. Just remember to keep trying, enjoy the journey of nurturing new life, and soon you’ll be surrounded by an abundance of these delightful flowers! Happy gardening!
Resource:
https://identify.plantnet.org/k-world-flora/species/Tagetes%20riojana%20M.Ferraro/data