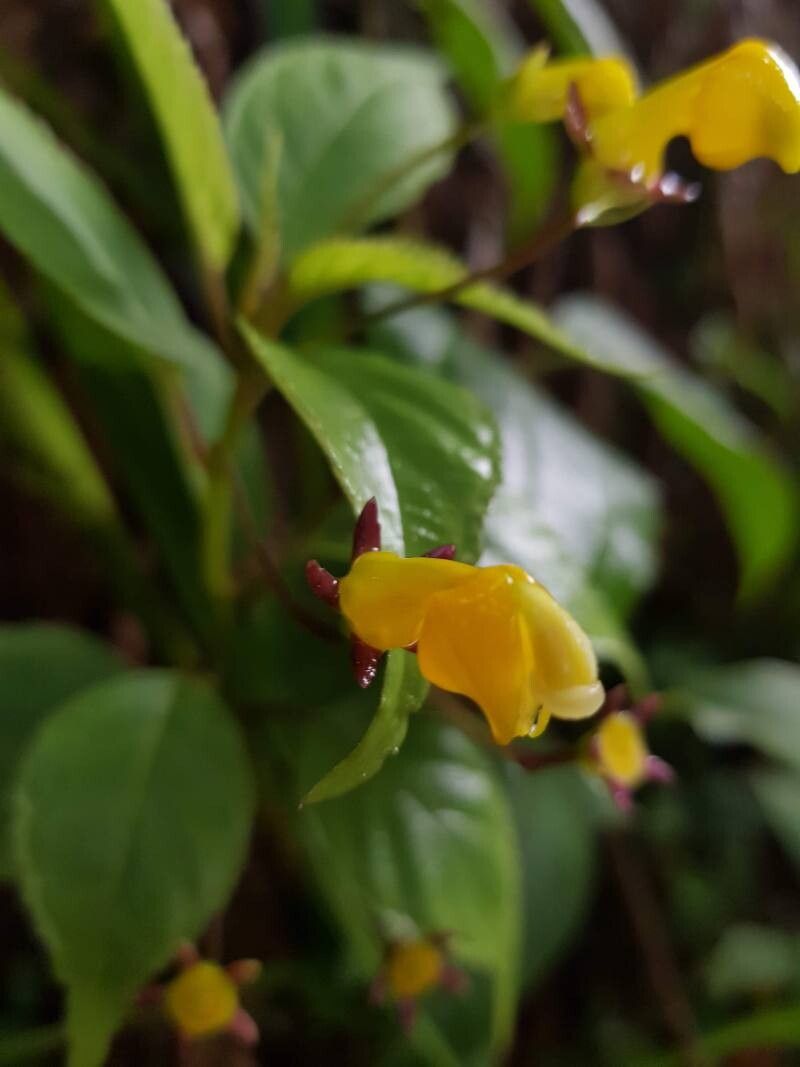
Oh, Burmeistera parviflora! What an absolute joy to have in the garden. If you’ve ever admired its delicate, bell-shaped blooms and the way it dances in the breeze, you’re not alone. It’s a truly enchanting plant, and there’s a special kind of satisfaction that comes with successfully coaxing a new life from just a snippet of the original.
Now, full disclosure, Burmeistera parviflora isn’t quite the “stick it in the ground and walk away” sort of plant. It’s a little bit fussy, and that’s part of its charm. But don’t let that deter you! With a little attention and a dash of patience, you’ll be rewarded with a whole new generation of these beauties.
The Best Time to Start
For Burmeistera parviflora, timing is everything. I always find the late spring to early summer to be the sweet spot. This is when the plant is in its active growth phase, buzzing with energy. You’ll be taking cuttings from healthy, vigorous stems that are likely to root more readily. Avoid taking cuttings when the plant is stressed, perhaps from extreme heat or if it’s just finished flowering.
Supplies You’ll Need
Gathering your tools beforehand makes the whole process smoother. Here’s what I always have on hand:
- Sharp Pruning Shears or a Craft Knife: Clean, sharp tools are crucial for making clean cuts that heal well.
- Rooting Hormone Powder or Gel: While not always strictly necessary, it can give your cuttings a significant boost.
- Well-Draining Potting Mix: A blend of peat moss, perlite, and a bit of compost works wonders. You want something that holds moisture but doesn’t stay waterlogged.
- Small Pots or Propagation Trays: Clean pots are a must to prevent disease.
- Plastic Bags or a Clear Dome: To create a humid environment for your cuttings.
- Watering Can with a Fine Rose: For a gentle shower.
- Labels and a Permanent Marker: To keep track of your varieties and dates.
Propagation Methods
Burmeistera parviflora is most successfully propagated via stem cuttings. It’s hands-down the most reliable method I’ve found.
- Select Your Cuttings: Look for healthy, non-flowering stems that are about 3-6 inches long. These should be somewhat firm, not too soft and leafy, but not woody either. A stem that bends slightly without snapping is usually perfect.
- Make the Cut: Using your sterilized pruning shears or craft knife, make a clean cut just below a leaf node. A leaf node is where a leaf emerges from the stem; this is where the magic of root formation happens.
- Prepare the Cutting: Gently remove the lower leaves from the cutting, leaving just a few at the very top. This prevents them from rotting in the soil.
- Apply Rooting Hormone: Dip the cut end into your rooting hormone, ensuring it’s coated. Tap off any excess.
- Planting: Fill your small pots or trays with your prepared potting mix. Make a small hole in the center with a pencil or your finger. Carefully insert the cutting into the hole, making sure the leaf nodes are below the soil surface. Gently firm the soil around the stem.
- Create Humidity: Water the soil gently. Then, place a clear plastic bag over the pot, creating a mini-greenhouse. You can also use a propagation dome. This traps moisture and keeps the humidity high, which is essential for cuttings.
The “Secret Sauce” (Pro Tips)
Over the years, I’ve picked up a few tricks that have made a real difference in my propagation success.
- Bottom Heat is Your Friend: If you have it, pop your potted cuttings on a gentle heat mat. This little bit of warmth encourages root development from below, giving your cuttings that extra push they often need to get started.
- Don’t Overwater, But Keep it Moist: This is a delicate balance. You want the soil to be consistently moist, but never soggy. Soggy soil is a fast track to root rot. I often check the moisture by gently pressing the soil; if it springs back a little, it’s good. If it feels waterlogged, ease up.
- Air Out Occasionally: Even with the plastic bag, it’s a good idea to lift the bag for a few minutes each day, especially in the beginning. This allows for some air circulation and helps prevent fungal issues.
Aftercare & Troubleshooting
Once your cuttings have been planted, be patient! It can take anywhere from 4 to 8 weeks for roots to develop. You can gently tug on a cutting; if you feel resistance, it’s a good sign the roots are forming.
Once you see new leaf growth, that’s a strong indicator that roots are present. You can then slowly acclimate your new plants to normal humidity levels by gradually opening the plastic bag over a week or two. Once they are strong enough, you can transplant them into slightly larger pots.
The most common sign of trouble is rot. If your cutting turns black and mushy, it’s usually a sign of too much moisture and not enough air circulation. In this case, it’s best to discard it and try again, paying close attention to watering and air. Yellowing leaves can also be a sign of stress, but often that will resolve with proper care.
A Little Patience Goes a Long Way
Propagating Burmeistera parviflora might require a bit more attention than some other plants, but seeing those tiny roots emerge and then a whole new plant unfurl is incredibly rewarding. Don’t be discouraged if your first attempt isn’t a complete success; gardening is all about learning and experimenting. Just keep those watering cans handy, embrace the humidity, and enjoy the process of creating new life. Happy growing!
Resource: