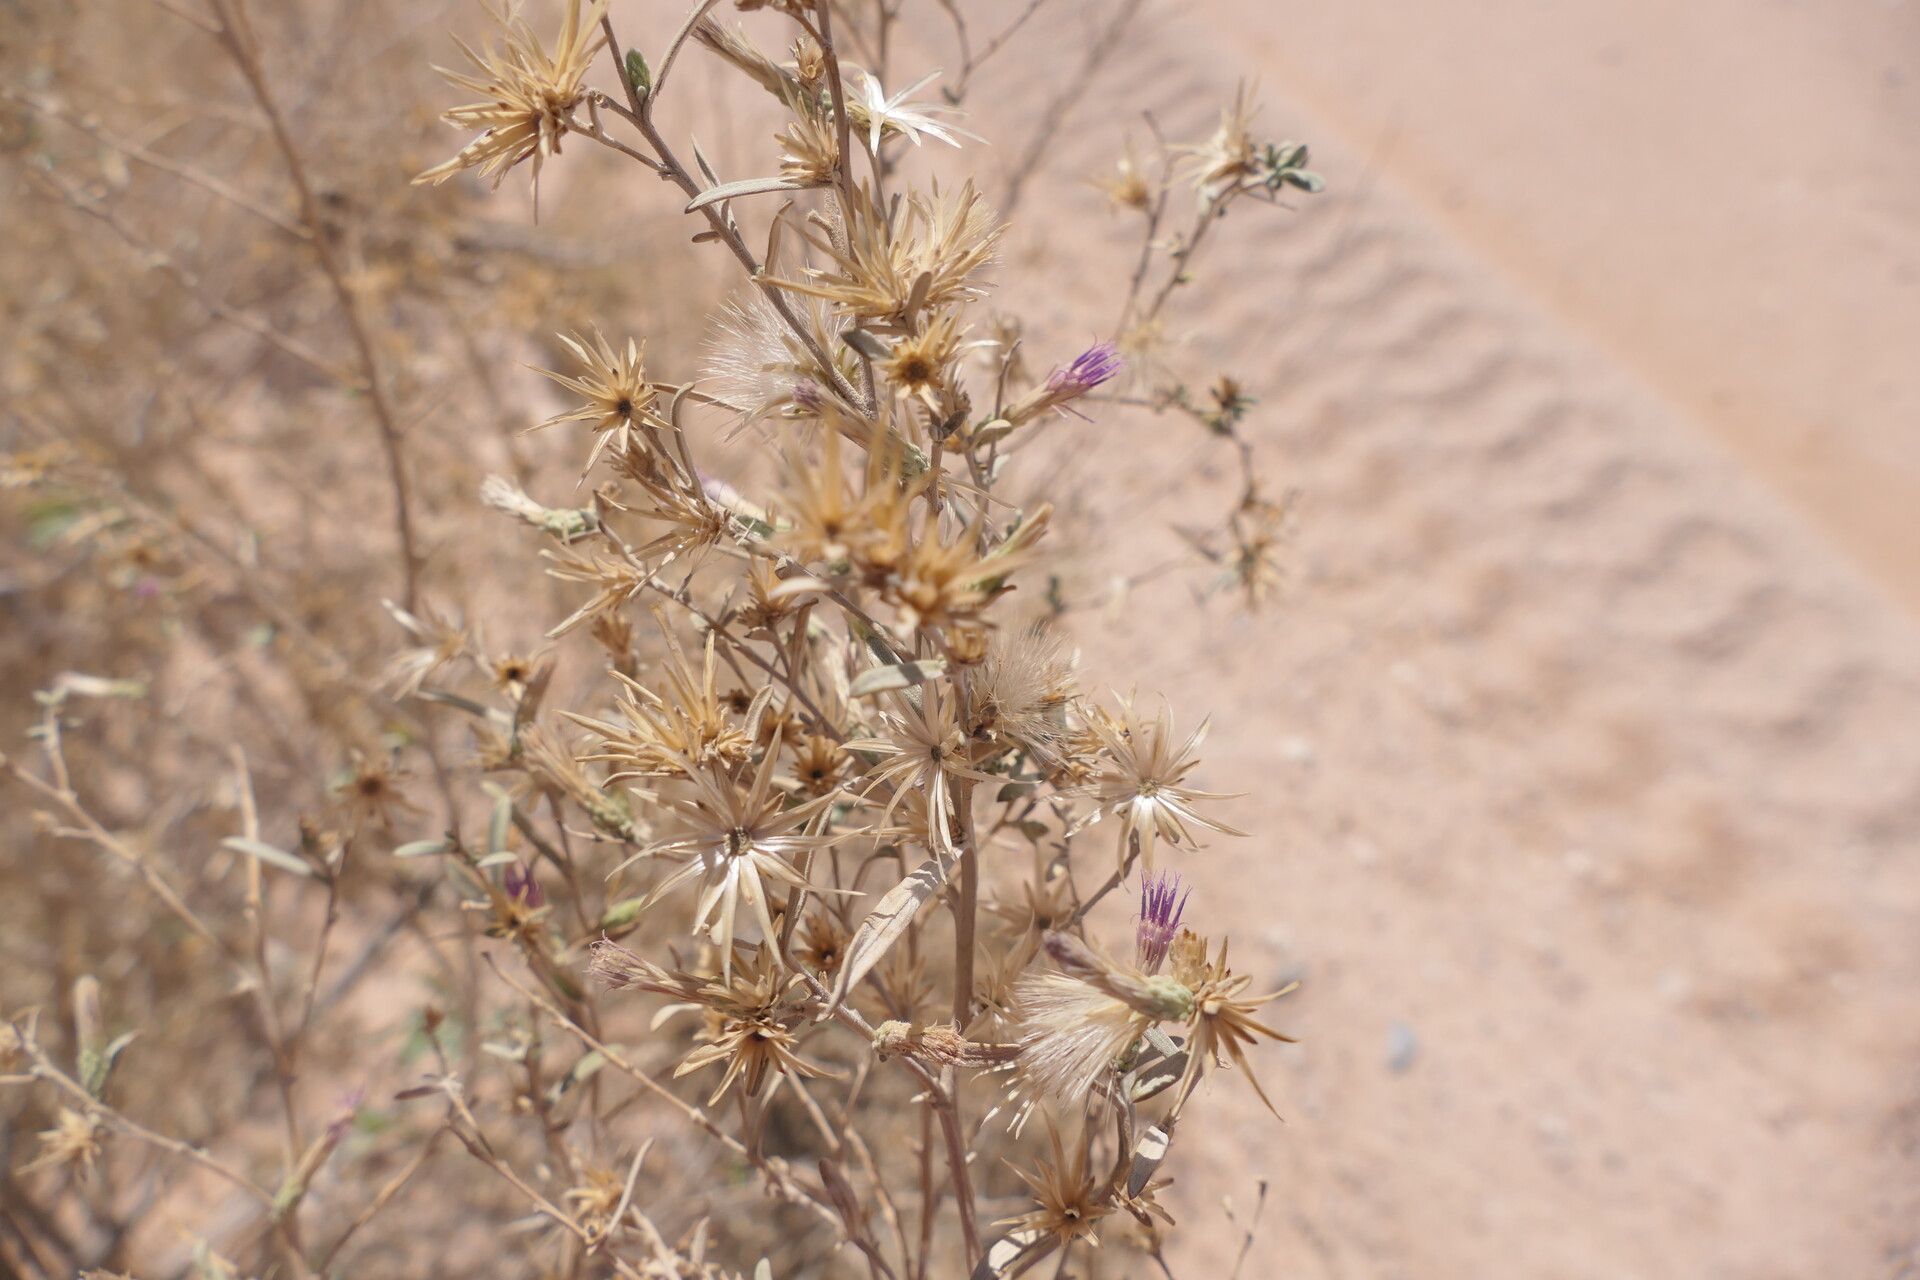
Hello, fellow plant enthusiasts! Today, I want to chat about a plant that’s truly captured my heart over the years: Pechuel-loeschea leubnitziae. You might know it by its common name, the “Desert Rose” or “Sand Rose,” but I find its botanical name so much more evocative, don’t you? Its sculptural caudex, often resembling a gnarled bonsai, topped with vibrant, trumpet-shaped flowers in shades of pink and red, is simply stunning. Propagating these beauties is a journey that brings immense satisfaction. They’re not the most straightforward for absolute beginners, but with a little patience and these tips, you’ll be well on your way to success!
The Best Time to Start
For Pechuel-loeschea leubnitziae, the sweet spot for propagation is right when spring is really kicking in, or alternatively, in late summer. This is when the plant is actively growing and has energy to spare for new root development. Think of it as giving them a head start before the intense heat of summer or after the main growing season has peaked.
Supplies You’ll Need
Gathering your tools beforehand makes everything run smoother. Here’s what I always have on hand:
- Sharp Pruning Shears or a Knife: Clean tools are crucial to prevent disease.
- Rooftop Mix: A well-draining potting mix is non-negotiable. I use a blend of perlite, coarse sand, and a bit of peat moss. Sometimes, I even add a touch of charcoal.
- Rooting Hormone (Optional but Recommended): This can significantly speed up the process and increase your success rate.
- Small Pots or Seed Trays: Clean containers are a must.
- Watering Can with a Fine Rose: Gentle watering is key.
- Clear Plastic Bag or Dome: To create a humid microclimate.
Propagation Methods
I’ve found success with a couple of methods for Pechuel-loeschea leubnitziae, but stem cuttings are my go-to.
Stem Cuttings
- Select Your Cutting: During the active growing season (spring or late summer), choose a healthy, semi-hardwood stem. Look for stems that are firm but not overly woody. About 4-6 inches long is perfect.
- Make the Cut: Using your sharp shears or knife, make a clean cut just below a leaf node. A node is where a leaf attaches to the stem.
- Prepare the Cutting: Remove the lower leaves, leaving just a few at the top. This prevents them from rotting once planted. If the leaf is very large, I sometimes cut it in half to reduce water loss.
- Apply Rooting Hormone: Dip the cut end of the stem into your rooting hormone powder or gel. Tap off any excess.
- Plant the Cutting: Fill your small pots with your well-draining rooftop mix. Make a hole with your finger or a pencil, and gently insert the cutting. Firm the mix around the stem to ensure good contact.
- Water Gently: Water the soil lightly to help settle it around the cutting.
- Create Humidity: Cover the pot with a clear plastic bag or dome. This creates a humid environment that helps the cutting stay hydrated until it can form roots. You can prop the bag up with a few sticks so it doesn’t touch the leaves.
- Placement: Place the pot in a bright location out of direct sunlight.
Division (for larger, established plants)
If you have a more mature Pechuel-loeschea leubnitziae that has started to form multiple stems from its base, you can try division.
- Gently Lift the Plant: Carefully remove the entire plant from its pot or excavation site.
- Separate the Roots: Inspect the root ball. You’re looking for natural divisions where you can gently pull or cut apart sections, each with its own healthy roots and at least one stem.
- Replant: Plant each division into its own pot with well-draining soil, following the same watering and placement guidance as for stem cuttings.
The “Secret Sauce” (Pro Tips)
Here are a few things I’ve learned over the years that really make a difference:
- Let the Sap Dry: Before planting your cuttings, especially if they are a bit juicy, let the cut end air dry for 24-48 hours. This helps callus over, which reduces the risk of rot. It’s a simple step but a game-changer.
- Bottom Heat is Your Friend: If you can, place your pots on a heating mat designed for seedlings. This gentle warmth encourages root development from below, significantly speeding up the process. It’s like giving them a warm hug to get things going!
- Don’t Overwater, Ever: This is the cardinal sin for desert plants. Err on the side of dryness. It’s much easier to revive a slightly dry plant than one drowning in water. Remember, these plants are adapted to arid conditions.
Aftercare & Troubleshooting
Once your cuttings have been in their humid environment for a few weeks, gently tug on them. If you feel resistance, congratulations, you’ve got roots! Gradually remove the plastic cover over a few days to let them acclimate to normal humidity.
Continue to water sparingly, allowing the soil to dry out between waterings. Give them plenty of bright, indirect light.
If your cuttings start to look mushy or black at the base, that’s a sign of rot. Unfortunately, this is often difficult to recover from. It usually means there’s too much moisture and not enough air circulation. If you catch it early, you might be able to salvage a healthy section, but often it’s best to start again with fresh cuttings and ensure your mix is super well-draining. Yellowing leaves can occasionally mean too much or too little water – observe the soil moisture.
A Encouraging Closing
Propagating Pechuel-loeschea leubnitziae is a rewarding endeavor that allows you to multiply the beauty of these unique plants. Don’t be discouraged if your first few attempts aren’t perfect. Gardening is a journey of learning and observation. Be patient with your cuttings, trust your instincts, and most importantly, enjoy the process of bringing new life into your garden! Happy propagating!
Resource: