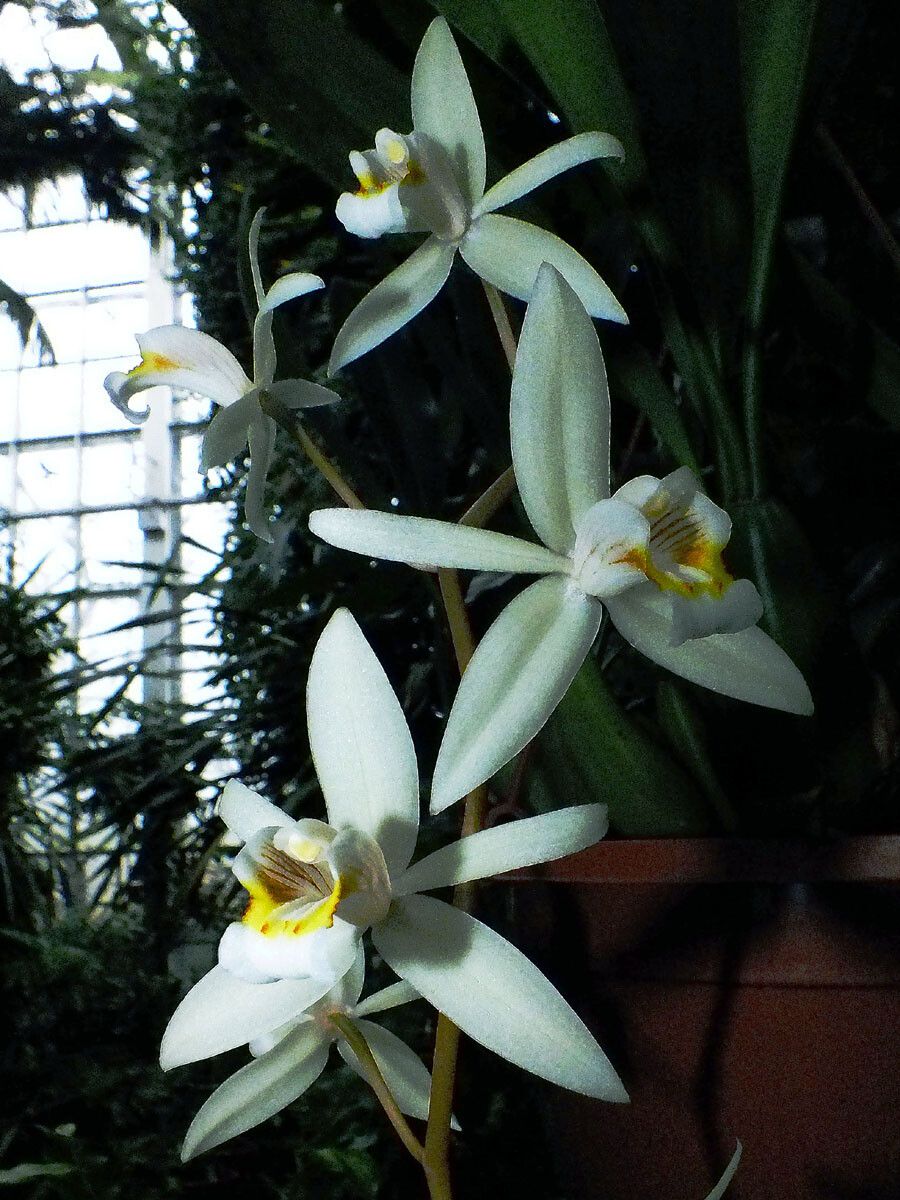
Oh, hello there! Come on in and grab a cuppa. Today, we’re diving into the wonderful world of Coelogyne flaccida, aren’t we? If you’ve ever admired those cascading sprays of creamy, fragrant blooms, you’re already hooked. Propagating this beauty is so rewarding, like watching a tiny promise unfurl into a whole new plant. For those just starting out with orchids, Coelogyne flaccida might be a little on the advanced side, but with a bit of patience and a few key techniques, you’ll be celebrating new growths in no time!
The Best Time to Start
For Coelogyne flaccida, the sweet spot for propagation is typically after the plant has finished its flowering cycle and is entering its active growth phase. This usually means late spring to early summer. You want to see new roots and pseudobulbs forming. Starting when the plant is energized and ready to grow gives your new divisions the best chance to establish themselves quickly. Trying to divide when it’s dormant or stressed is just asking for disappointment.
Supplies You’ll Need
Gathering your tools before you begin makes the whole process so much smoother. Here’s what I usually have on hand:
- Sharp, sterile pruning shears or a clean knife. Sterilize with isopropyl alcohol between cuts! This is super important to prevent disease.
- Cinnamon or a commercial orchid rooting hormone (optional, but helpful). I tend to lean towards cinnamon because it’s natural and has antifungal properties.
- New, orchid-specific potting mix. This usually means a blend of bark chips, perlite, and sphagnum moss. You want something that drains well but still holds a bit of moisture.
- Clean pots or containers. Make sure they have plenty of drainage holes.
- Labels and a permanent marker. Trust me, you’ll thank yourself later!
- A watering can with a fine spray.
Propagation Methods
The most reliable way to propagate Coelogyne flaccida is through division. These orchids grow in clumps, producing new pseudobulbs (those bulb-like structures) from the base. As the plant matures, these clumps get bigger, and that’s when you can gently separate them.
Here’s how I do it:
- Gently remove the orchid from its pot. If it’s stuck, you might need to carefully break away some of the old potting media from the edges of the pot.
- Clean off the old potting mix. Use your fingers or a soft brush to gently remove as much of the old media as you can, exposing the roots and rhizome (the creeping stem that connects the pseudobulbs).
- Identify division points. Look for sections of the plant that have at least two to three healthy pseudobulbs and some good, firm roots. You’ll want to separate between healthy pseudobulbs.
- Make the cut. Using your sterilized shears or knife, carefully cut through the rhizome to separate the divisions. Try to make a clean cut.
- Treat the cuts (optional). If you’re worried about rot, you can dust the cut surfaces with cinnamon or dip them in a rooting hormone. I often just let them air dry for a bit.
- Pot up your new divisions. Plant each division in its own new pot, using your fresh orchid mix. Make sure the pseudobulbs are sitting just at the surface of the media, not buried too deeply. Gently firm the media around the roots. Make sure there are at least a couple of pseudobulbs per division, with some healthy roots attached if possible.
The “Secret Sauce” (Pro Tips)
Over the years, I’ve picked up a few tricks that can really boost your success rate:
- Don’t rush the repotting. If your Coelogyne is healthy and happy in its current pot, even if it’s getting a little crowded, resist the urge to divide it mid-bloom or in the dead of winter. Timing is everything here.
- Prioritize healthy roots. When making your divisions, it’s far better to have a division with fewer pseudobulbs but strong, healthy roots than a division with lots of pseudobulbs and mushy, struggling roots.
- A little ambient warmth helps. If you can provide a bit of gentle bottom heat for your newly potted divisions, it can encourage root development. A seedling heat mat set to a low temperature (around 70-75°F or 21-24°C) can make a noticeable difference, especially if your home is a bit on the cooler side.
Aftercare & Troubleshooting
Once your new divisions are potted up, they need a bit of TLC.
Initially, water sparingly. You want the potting mix to be slightly damp but not soggy. Overwatering is the quickest way to invite rot, and nobody wants that! As new roots begin to emerge and grow, you can gradually increase your watering schedule to mimic how you’d care for a mature plant. Keep them out of direct, scorching sunlight; bright, indirect light is perfect.
The most common sign of trouble is rot. If a pseudobulb starts to turn black and mushy, or if the leaves turn yellow and drop off with no new growth appearing, it’s likely rot has set in. This is often due to too much moisture and poor air circulation. If you catch it early, you might be able to cut away the affected parts back to healthy tissue and try to save it, but sometimes it’s a sign that the division just didn’t make it. Don’t be discouraged; learning what not to do is just as valuable as learning what to do!
A Encouraging Closing
There you have it! Propagating Coelogyne flaccida is a journey, not a race. Be patient with your new divisions. Some may take a bit longer to show signs of life, and that’s perfectly normal. Celebrate every new root and every emerging leaf. You’re not just getting more orchids; you’re gaining experience and the joy of nurturing new life. Happy gardening!
Resource:
https://identify.plantnet.org/k-world-flora/species/Coelogyne%20flaccida%20Lindl./data