Hello there, fellow plant lovers! I’m so excited to share my insights on one of my favorite plants: Krubera peregrina. If you’ve ever admired its elegant, almost architectural foliage and wondered how to get more of these beauties for your own garden or home, you’re in the right place. Propagating Krubera peregrina is a truly wonderful way to multiply your joy and share these gorgeous specimens with friends.
The Allure of Krubera peregrina
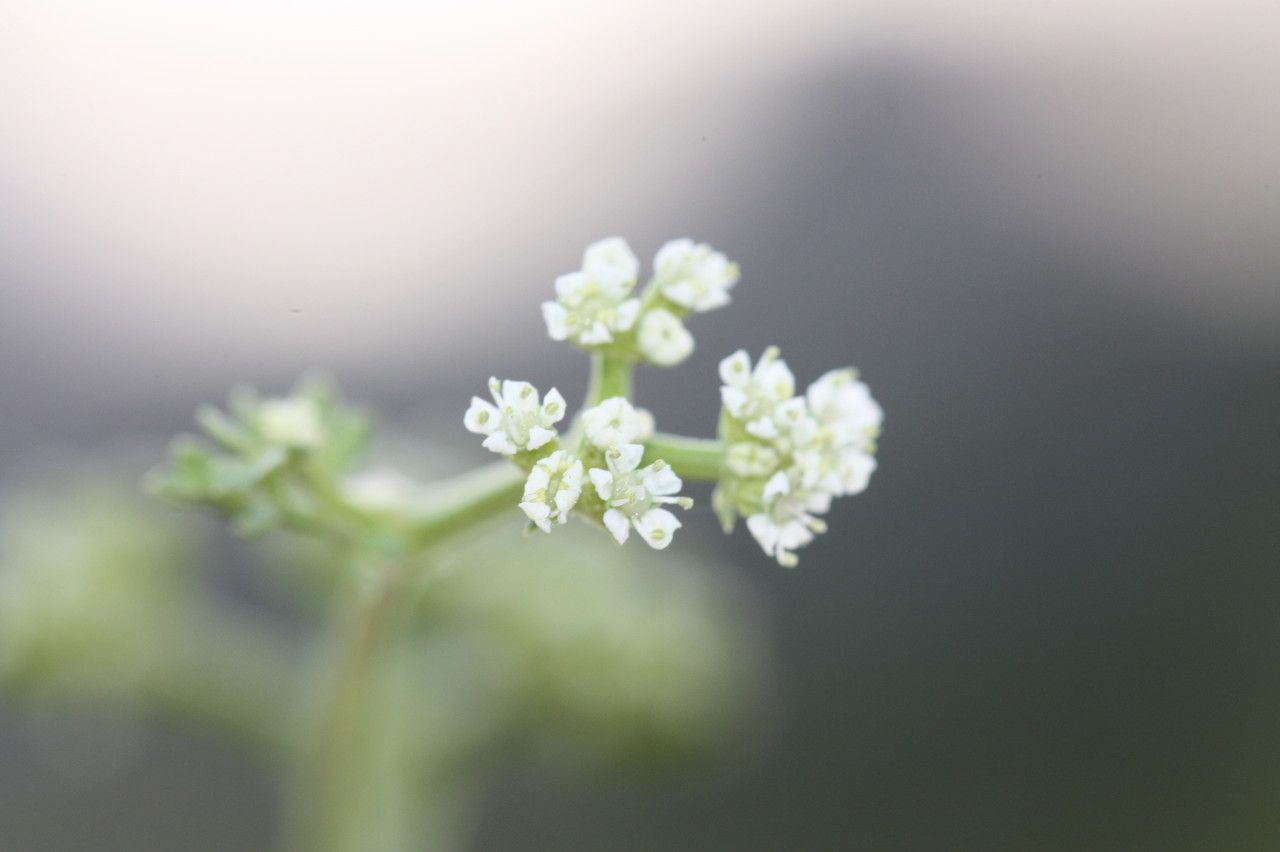
What’s not to love about Krubera peregrina? Its striking leaves, often with a unique texture or pattern, add a touch of sophistication to any space. Watching a new plant emerge from a simple cutting or division is incredibly rewarding. Now, if you’re a beginner, I’ll be honest – this plant can be a little finicky, but with a few key pointers, you’ll be well on your way to success. Don’t be discouraged; think of it as a delightful challenge!
The Best Time to Start
For the highest success rate, I always recommend propagating Krubera peregrina during its active growing season. This is typically in the late spring or early summer, when the plant is bursting with energy. New growth is more vigorous and has the greatest potential to root. Trying to propagate when the plant is dormant will likely lead to disappointment.
Supplies You’ll Need
To give our new little Krubera peregrina the best start, make sure you have these items on hand:
- Sterilized pruning shears or a sharp knife: Clean tools are crucial to prevent disease.
- Rooting hormone (optional but recommended): This really gives cuttings a boost.
- Well-draining potting mix: A mix designed for succulents or cacti works wonderfully, or you can make your own by combining potting soil with perlite or coarse sand.
- Small pots or propagation trays: Clean and with drainage holes!
- Clear plastic bag or propagation dome: To create a humid environment.
- Watering can or spray bottle: For gentle watering.
Propagation Methods
There are a couple of fantastic ways to multiply your Krubera peregrina. Let’s dive into the most common ones.
Stem Cuttings
This is my go-to method for Krubera peregrina.
- Select a healthy stem: Look for a mature, non-flowering stem that’s at least a few inches long.
- Make the cut: Using your sterilized shears or knife, make a clean cut just below a node (where a leaf attaches to the stem).
- Prepare the cutting: Gently remove the lower leaves, leaving about two or three at the top. This prevents them from rotting in the soil.
- Apply rooting hormone (if using): Dip the cut end into the rooting hormone, tapping off any excess.
- Plant the cutting: Insert the cut end about an inch deep into your prepared potting mix.
- Water gently: Water the soil lightly to settle it around the stem.
- Create humidity: Cover the pot with a plastic bag or place it under a propagation dome. Ensure the leaves don’t touch the plastic.
Division
If your Krubera peregrina is an older, established plant that has started to clump, division is a great option.
- Gently remove the plant from its pot: Tip the pot sideways and tap it to release the root ball.
- Inspect the roots: Carefully tease apart the root ball with your fingers or a clean trowel. You’re looking for natural divisions where the plant has multiple crowns.
- Separate the divisions: Gently pull or cut the plant apart into smaller sections, ensuring each section has a good amount of roots and at least one healthy stem.
- Pot up the divisions: Plant each division in its own pot filled with well-draining potting mix.
- Water lightly: Give them a gentle watering after planting.
The “Secret Sauce” (Pro Tips)
Here are a couple of things I’ve learned over the years that really make a difference:
- Let cuttings callous: Before planting stem cuttings, let them sit out in a dry, airy spot for a day or two. This allows the cut end to form a protective callus, which helps prevent rot and encourages rooting.
- Don’t overwater: This is probably the most common mistake! Krubera peregrina hates soggy feet. Water only when the soil is dry to the touch. For cuttings, misting the bag or dome occasionally is usually enough to maintain humidity without waterlogging the soil.
- Consider bottom heat: While not strictly necessary, placing your pots or trays on a seedling heat mat can significantly speed up the rooting process, especially for stem cuttings. It mimics the warmer soil temperatures of spring and summer.
Aftercare & Troubleshooting
Once your Krubera peregrina cuttings or divisions are planted, give them consistent, but not excessive, care.
- Light: Place them in a bright spot, but avoid direct, harsh sunlight, which can scorch young leaves. A bright, indirect light location is ideal.
- Watering: Water sparingly as mentioned before. Let the soil dry out between waterings.
- Rooting indicators: You’ll know your cuttings have rooted when you see new leaf growth or gentle resistance when you tug on the stem. Rooted divisions will start to show new growth.
Now, let’s talk about what might go wrong. The most common culprit is rot. If your cutting looks mushy, discolored, or the whole thing collapses, it’s likely due to too much moisture. If you see this, remove the affected cutting immediately and check your watering habits. Sometimes, even with the best care, a cutting just doesn’t take. Don’t fret! It’s a learning process.
Happy Propagating!
Taking cuttings or dividing your plants is such a fulfilling gardening practice. Be patient with your little Krubera peregrina. Some take their sweet time to root, and that’s perfectly okay. Enjoy the process, observe your cuttings, and celebrate every little bit of new growth. Happy gardening!
Resource:
https://identify.plantnet.org/k-world-flora/species/Krubera%20peregrina%20(L.)%20Lowe/data