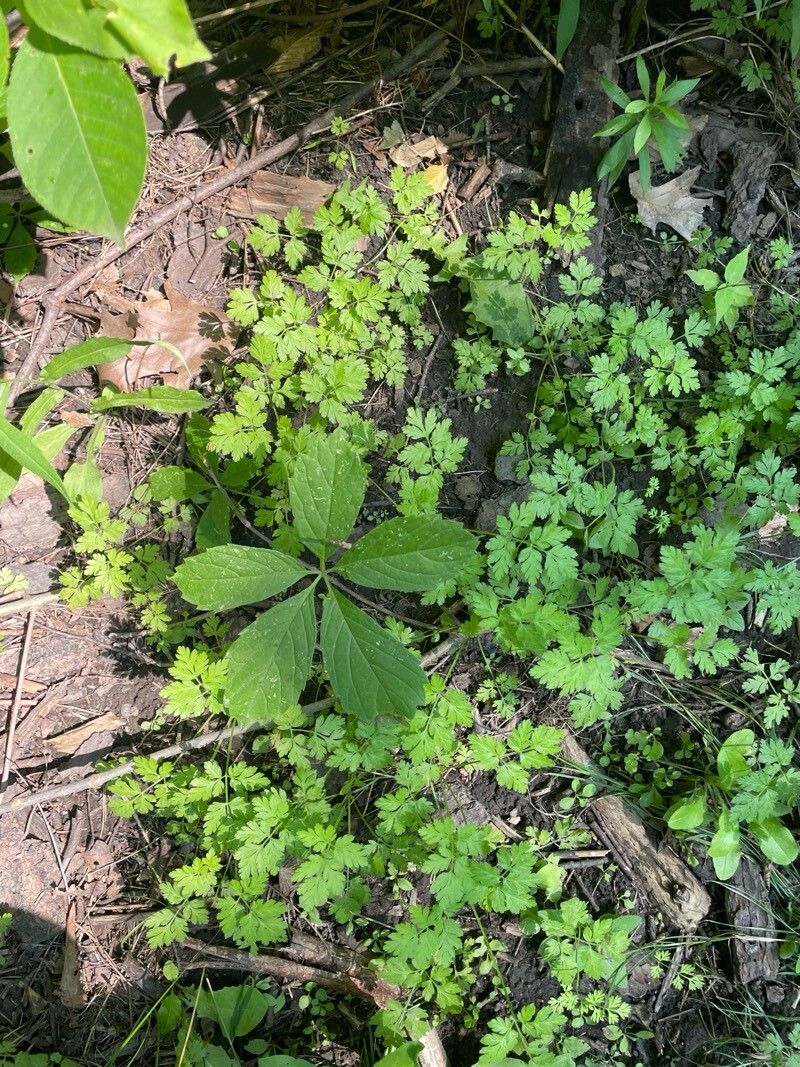
Oh, hello there! Come on in, grab a cup of coffee. Today, we’re going to chat about a little gem: Chaerophyllum procumbens, or as some of us affectionately call it, Wild Chervil. This delicate beauty, with its frothy white flowers and lacy foliage, brings such a romantic, natural feel to any garden. It’s perfect for filling in those nooks and crannies, and honestly, watching it unfurl new life from a tiny piece is just pure joy. If you’re new to propagating, I think you’ll find this one a delightful friend to start with. It’s pretty forgiving!
The Best Time to Start
For Wild Chervil, the timing really matters for the best chance of success. I find that late spring or early summer, just as the plant is in its active growth phase, is absolutely perfect. You want to capture that youthful energy! Waiting until after it’s flowered and is putting on new leaves is a great indicator.
Supplies You’ll Need
Let’s gather our little helpers for this gardening adventure:
- Sharp, clean pruning shears or a sharp knife: For making those crucial, clean cuts. We don’t want any ragged edges!
- A good quality potting mix: I like a standard potting mix amended with a bit of perlite or vermiculite to ensure good drainage. Don’t go too heavy on the organic matter for this one.
- Small pots or seed trays: Whatever suits your space. Cleanliness is key here!
- Rooting hormone (optional but recommended): This really gives your cuttings a boost.
- A spray bottle: For keeping things consistently moist without waterlogging.
- Clear plastic bags or a propagator lid: To create a humid environment.
- A well-draining container (for division): If you plan on splitting your plant.
Propagation Methods
There are a couple of lovely ways to multiply this charming plant. Let’s dive in.
Stem Cuttings
This is my go-to method for Wild Chervil.
- Take your cuttings: In late spring or early summer, select healthy, non-flowering stems. Look for pieces that are about 4-6 inches long. Make a clean cut just below a leaf node (that little bump where a leaf emerges). This is where the magic happens for root development.
- Prepare the cuttings: Gently remove the lower leaves from the stem, leaving just a couple of leaves at the top. This helps the cutting conserve energy and prevents leaves from rotting in the soil.
- Rooting hormone: If you’re using it, dip the cut end of the stem into the rooting hormone, tapping off any excess.
- Plant your cuttings: Fill your small pots or trays with your prepared, moistened potting mix. Make a small hole with your finger or a pencil and gently insert the stem, ensuring the leaf nodes are buried. Firm the soil gently around the stem.
- Create humidity: Water the soil lightly and then cover the pot with a clear plastic bag or place it under a propagator lid. This creates a steamy microclimate that encourages rooting.
Division
If you have a mature plant, division is a simple and effective way to get new plants.
- Prepare the plant: Water your Wild Chervil plant thoroughly a day or two before you plan to divide it.
- Gently dig it up: Carefully dig around the root ball of the plant. You want to lift the entire clump out of the ground without damaging the roots too much.
- Separate the divisions: Gently tease apart the root ball with your fingers. You can also use a clean trowel or even your pruning shears if the roots are densely tangled. Aim for sections that have both roots and some healthy leafy growth.
- Replant immediately: Replant the divisions into your garden or into prepared pots with fresh potting mix, watering them in well.
The “Secret Sauce” (Pro Tips)
Here are a few things I’ve learned over the years that seem to make a real difference:
- Don’t let the leaves touch the soil in cuttings: For stem cuttings, especially, make sure those remaining leaves are held up by the stem and aren’t resting on the surface of the potting mix. This is a surefire way to invite rot.
- Bottom warmth helps: If you’re really serious about rooting speed, especially with cuttings, place your pots on a gentle heating mat. This mimics the warmth of spring and encourages those roots to get going much faster.
- Gentle misting is more than enough: Resist the urge to drench your cuttings or divisions. A light misting with your spray bottle every day or two is usually plenty to keep the humidity up without suffocating the plant or creating a breeding ground for fungal issues.
Aftercare & Troubleshooting
Once you see evidence of new growth – a little sprout peeking up or tiny white roots peeking out the drainage holes – you’re on your way!
- Gradually acclimate: If you’ve used a plastic bag or propagator lid, start opening it up a little each day over the course of a week. This allows the new plant to get used to normal humidity levels.
- Watering: Continue to keep the soil consistently moist, but not waterlogged. The “finger test” is your best friend: stick your finger about an inch into the soil. If it feels dry, it’s time to water.
- Light: Place your new plants in a spot that gets bright, indirect light. Direct sun can be too harsh for tender new growth.
Now, about troubleshooting. The most common issue you’ll face is rot. If a cutting turns mushy and black, or the leaves start to yellow and fall off rapidly, it’s usually a sign of too much moisture and not enough air circulation. If this happens, try to remove the affected cutting immediately to prevent it from spreading. Sometimes, mealybugs can be a nuisance; a gentle wipe with a cotton swab dipped in rubbing alcohol usually does the trick.
A Little Encouragement
Growing new plants is a journey, and sometimes it takes a bit of patience. Don’t get discouraged if every single cutting doesn’t take. Each attempt is a learning experience. Celebrate the successes, learn from the challenges, and most importantly, enjoy the delightful process of watching life unfold in your hands. Happy gardening!
Resource:
https://identify.plantnet.org/k-world-flora/species/Chaerophyllum%20procumbens%20(L.)%20Crantz/data