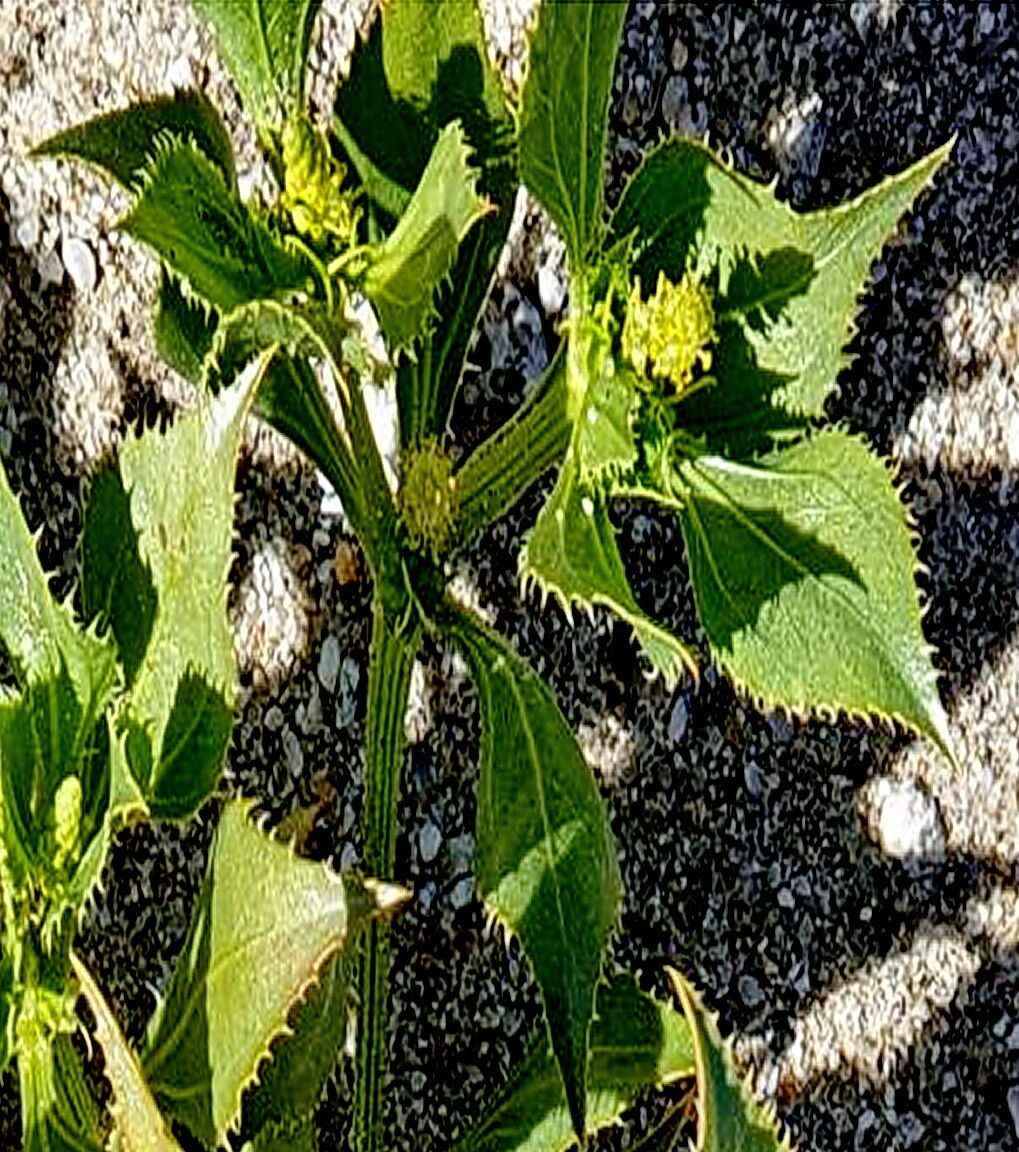
Oh, hello there! Come on in, grab a mug. Let’s chat about a plant that’s really captured my heart lately: Stillingia spinulosa. If you’re looking for something a little unique, with its interesting foliage and that lovely, subtle appeal, you’re in for a treat. And the best part? It’s not as tricky to grow more of as you might think.
Bringing More Beauty Home: Propagating Stillingia Spinulosa
There’s something so deeply satisfying about taking a small piece of a plant you love and coaxing it into becoming a whole new life. With Stillingia spinulosa, it’s a chance to fill your garden or bring some of that unique charm indoors without breaking the bank. It’s an achievable project, even if you’re just dipping your toes into the wonderful world of propagation. I’ve found it to be quite forgiving, which is always a plus!
When the Garden Whispers “Grow”
The sweet spot for propagating Stillingia spinulosa, for me, is during its active growing season. Think late spring through early summer. The plant is full of vigor then, meaning those cuttings are more likely to have the energy they need to push out roots. You can certainly try other times, but this is when I see the highest success rates. Look for healthy, new growth that’s started to firm up a bit, but isn’t too woody.
Your Propagation Toolkit
To get started, you’ll want a few key things on hand. It’s not complicated, I promise!
- Sharp Pruning Shears or a Craft Knife: Clean cuts are crucial.
- Potting Mix: A well-draining mix is paramount. I like using a blend of perlite or pumice mixed with a good quality potting soil. Some people swear by a specific peat-free mix; experiment and see what works best for your climate.
- Small Pots or Seedling Trays: Containers that are about 3-4 inches deep are usually perfect. Make sure they have drainage holes!
- Rooting Hormone (Optional but Recommended): While Stillingia spinulosa can root without it, a little rooting hormone can give your cuttings a significant boost. Look for one with IBA (indole-3-butyric acid).
- Plastic Bags or a Clear Dome: To create a humid microclimate for your cuttings.
- Perlite or Sand (Optional): For adding extra drainage to your potting mix if needed.
Nurturing New Life: Propagation Methods
I’ve found that stem cuttings are the most reliable way to go with Stillingia spinulosa. They’re straightforward and give you plenty of opportunities to practice.
Stem Cuttings
- Select Your Cuttings: Choose healthy, non-flowering shoots from your mature plant. Aim for cuttings that are about 4-6 inches long.
- Make the Cut: Using your clean, sharp shears or knife, make a clean cut just below a leaf node (where a leaf attaches to the stem). This node is where roots are most likely to form.
- Prepare the Cutting: Gently remove the lower leaves from your cutting, leaving just 2-3 leaves at the top. If your leaves are particularly large, you can even cut them in half horizontally to reduce water loss.
- Apply Rooting Hormone (If Using): Dip the cut end of the stem into the rooting hormone powder or gel, tapping off any excess.
- Plant Your Cuttings: Fill your small pots with your prepared, moistened potting mix. Make a small hole in the center with your finger or a pencil. Insert the cutting into the hole, ensuring the lower leaf nodes are buried. Gently firm the soil around the base of the cutting.
- Create Humidity: Water the soil gently. Then, cover the pot with a clear plastic bag or a clear dome to create a humid environment. You can use skewers or chopsticks to keep the plastic from touching the leaves.
- Find a Good Spot: Place the pots in a bright location that receives indirect sunlight. Avoid direct sun, which can scorch the tender cuttings.
The “Secret Sauce” for Success
After years of tinkering, I’ve learned a few things that really make a difference.
- Bottom Heat is Your Friend: Stillingia spinulosa loves a little warmth from below. If you have a heat mat for seedlings, placing your pots on it can significantly speed up root development. It mimics the warmth they’d feel in their natural environment.
- Don’t Let Them Drown: While humidity is key, you don’t want your cuttings sitting in soggy soil. Water only when the top inch of soil feels dry to the touch. Overwatering is the quickest way to invite rot.
- Patience, Young Grasshopper: Sometimes, it takes a little longer than you expect. Don’t get discouraged if you don’t see roots forming immediately. Give it at least 4-6 weeks. Gently tugging on a cutting is a sign of resistance – if it pulls away easily, it hasn’t rooted yet.
Aftercare and What to Watch For
Once you start to see new growth emerging from the top of your cutting, that’s a great sign that roots have formed!
- Start Acclimating: Gradually begin to remove the plastic bag or dome for longer periods each day. This helps the new plant adjust to normal room humidity.
- Watering: Continue to water when the top inch of soil is dry.
- Transplanting: Once your new plant is robust and has a good root system (you might see roots peeking out of the drainage holes), you can transplant it into a slightly larger pot with fresh potting mix.
Now, a word on troubleshooting. The most common issue you’ll encounter is rot. If the stem of your cutting turns black and mushy, it’s usually a sign of too much moisture and not enough air circulation. If you see this, remove the affected cutting immediately to prevent it from spreading. Yellowing leaves can also indicate overwatering or poor drainage.
Go Forth and Propagate!
See? Not so daunting, is it? The joy of nurturing a new plant from a tiny piece of its parent is truly special. Take your time, enjoy the process, and don’t be afraid to experiment. Happy gardening!
Resource:
https://identify.plantnet.org/k-world-flora/species/Stillingia%20spinulosa%20Torr./data