Hello fellow plant enthusiasts!
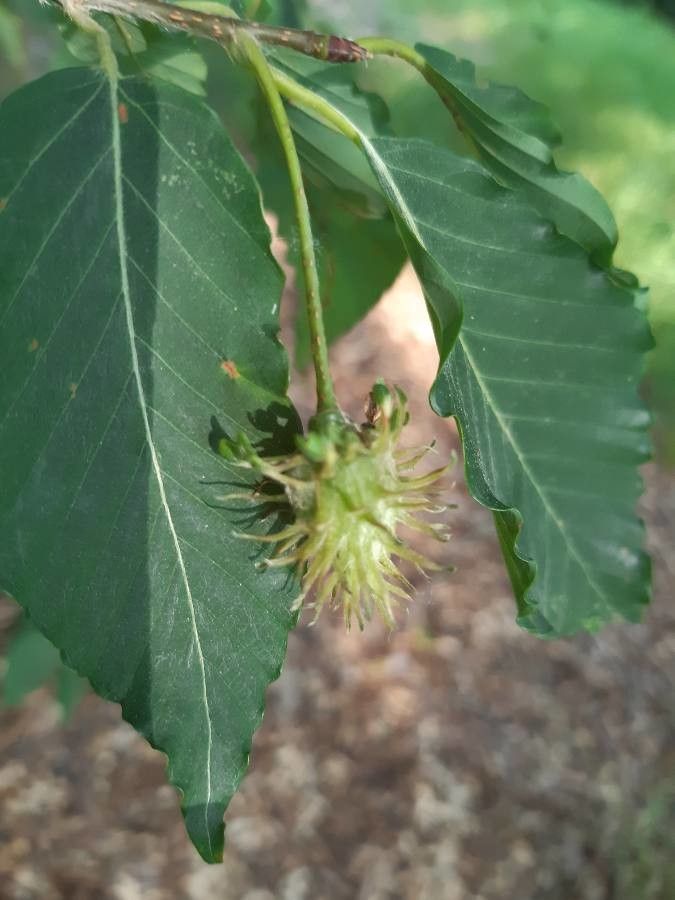
Today, we’re diving into the wonderful world of Fagus engleriana, or the Chinese Beech. I’ve always found these trees absolutely captivating with their graceful presence and lovely, textured bark. There’s something incredibly satisfying about nurturing a new life from a tiny piece of an established plant. And while propagating some trees might feel like rocket science, I’m here to tell you that with a little patience and the right approach, growing your own Chinese Beech can be a truly rewarding adventure. It’s not the absolute easiest plant to start for a complete beginner, but it’s certainly achievable, and I’m excited to guide you through it!
The Best Time to Start
For Fagus engleriana, I find the sweet spot for propagation is during the late spring to early summer. This is when the plant is actively growing and has plenty of energy to put into developing new roots. We’re looking for semi-hardwood cuttings – that means you want stems that are firm but not woody yet. They should snap cleanly when you bend them, not just bend limply.
Supplies You’ll Need
To give your cuttings the best fighting chance, gather these handy tools:
- Sharp pruning shears or a clean knife: For making precise cuts.
- Well-draining potting mix: I love a blend of perlite, peat moss, and a bit of coarse sand (about 1:1:1 ratio). This ensures good aeration and prevents soggy roots.
- Rooting hormone: A powder or gel specifically formulated for woody plants will be your best friend.
- Small pots or trays: With drainage holes, of course!
- Plastic bags or propagation dome: To create a humid environment.
- Watering can or spray bottle: For gentle watering.
- Labels: To keep track of your cuttings!
Propagation Methods: Stem Cuttings
This is my go-to method for Fagus engleriana. It’s straightforward and effective when you get the timing right.
- Take your cuttings: On a cool, overcast morning (or early in the day), select a healthy branch from your parent tree. Using your clean shears, take cuttings that are about 6-8 inches long. Make a clean cut just below a leaf node (where a leaf attaches to the stem). Remove the lower leaves, leaving just a couple at the very top.
- Apply rooting hormone: Dip the cut end of your stem into your chosen rooting hormone, tapping off any excess. Ensure the entire cut surface is covered.
- Pot them up: Fill your small pots with your prepared potting mix. Make a hole in the center with your finger or a dibber. Gently insert the cutting into the hole, making sure the cut end is in good contact with the soil. Firm the soil around the stem gently.
- Water and cover: Water the soil thoroughly until it drains from the bottom. Then, cover the pot with a plastic bag or place it inside a propagation dome. This creates that crucial humid environment. Ensure the leaves don’t touch the sides of the bag if possible.
- Provide ideal conditions: Place your potted cuttings in a bright spot with indirect light. Avoid direct sun, as it can scorch the tender cuttings.
The “Secret Sauce” (Pro Tips)
Here are a few things I’ve learned over the years that can really make a difference:
- Bottom heat is your friend! If you can, place your pots on a heated propagation mat. This gentle warmth stimulates root development from below, which is incredibly effective for woody plants like beech.
- Don’t overwater, but absolutely don’t let them dry out! The humidity inside your plastic bag is key, but the soil should remain consistently moist, not soggy. I like to check the soil moisture by gently pressing my finger into it. If it feels dry an inch down, it’s time for a gentle watering.
- Cleanliness is next to godliness! Always use sterilized tools when taking cuttings. This significantly reduces the risk of fungal infections and rot, which are the bane of any propagation attempt.
Aftercare & Troubleshooting
Once you start seeing signs of new leaf growth, that’s a great indicator that roots are forming! You can gently tug on a cutting – if you feel resistance, roots are probably there. Gradually acclimatize your new plants to normal conditions by opening the plastic bag or dome a little more each day over a week or two. Continue to keep them in bright, indirect light and water as needed.
The most common issue you’ll encounter is rot. This usually shows up as a soft, mushy stem that darkens or turns black. If you see this, sadly, that cutting is likely lost. It’s often a sign of too much moisture and not enough air circulation. Try to adjust your watering and ensure good drainage.
A Bit of Patience, A Ton of Reward
Propagating plants is a journey, and it requires a good dose of patience. Not every cutting will make it, and that’s okay! Each attempt is a learning experience. So, gather your supplies, find a healthy branch, and give it a go. The satisfaction of seeing those tiny roots grow and eventually potting up your own Chinese Beech is truly unparalleled. Happy gardening!
Resource:
https://identify.plantnet.org/k-world-flora/species/Fagus%20engleriana%20Seemen%20ex%20Diels/data