Hey there, fellow garden enthusiasts! Today, I want to chat about a truly special plant: Dalbergia obovata. You might know it by its more common names, like Cape Rosewood or African Blackwood. If you’re drawn to plants that offer a bit of romance and history, this one’s for you. Its delicate, fragrant blooms are simply captivating, and the satisfaction of nurturing a new life from a tiny cutting is something else entirely. Now, I won’t sugarcoat it – Dalbergia obovata can be a bit of a tease for absolute beginners. It’s not the easiest plant to propagate, but with a little focused attention and these tips, you’ll be well on your way to success.
The Best Time to Start
Timing is everything in the garden, isn’t it? For Dalbergia obovata, you’ll find the highest success rates when you take cuttings from actively growing, yet mature wood. This usually means late spring to early summer. You’re looking for stems that are firm and have developed since the last flush of growth, but they shouldn’t be completely woody and hard. Think of it as a happy medium.
Supplies You’ll Need
Gathering your tools beforehand makes the whole process so much smoother. Here’s what I always have on hand:
- Sharp Pruning Shears or a Sharp Knife: Clean cuts are crucial for quick healing and preventing disease.
- Rooting Hormone: A good quality rooting hormone (powder, gel, or liquid) will significantly boost your chances of success.
- Well-Draining Potting Mix: I love a mix of equal parts peat moss (or coco coir), perlite, and coarse sand. This ensures excellent aeration and prevents waterlogging, a big no-no for sensitive cuttings.
- Small Pots or Seed Trays: Clean pots are essential. I usually opt for 4-inch pots for individual cuttings.
- Plastic Bags or a Propagator: To create a humid microclimate.
- Watering Can with a Fine Rose: For gentle watering.
- Labels and a Marker: To keep track of your cuttings and when you took them!
Propagation Methods
Dalbergia obovata generally does best with stem cuttings. Here’s how I tackle it:
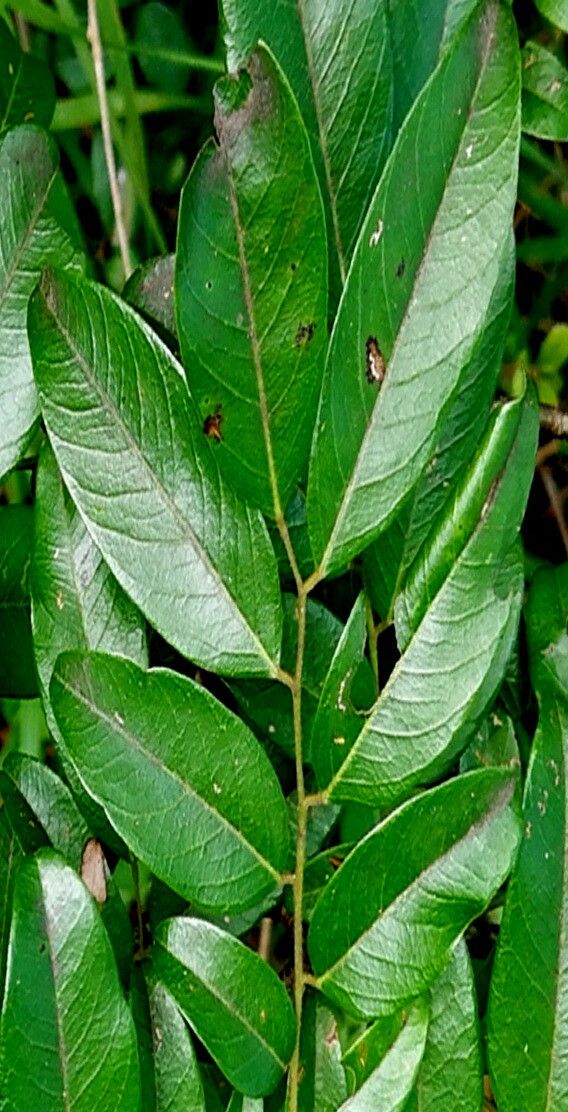
- Select Your Cuttings: On a healthy, mature Dalbergia obovata plant, look for semi-hardwood cuttings, about 4-6 inches long. They should have at least two sets of leaves. Make your cut just below a leafnode – that’s where the magic happens for root formation.
- Prepare the Cuttings: Gently remove the lower leaves, leaving just a couple at the very top. If the remaining leaves are quite large, I’ll often cut them in half horizontally to reduce water loss through transpiration. This allows the cutting to focus its energy on rooting rather than supporting a massive amount of foliage.
- Apply Rooting Hormone: Dip the cut end of the stem into your rooting hormone. Tap off any excess. You want a nice, even coating.
- Pot Up Your Cuttings: Fill your clean pots with your special, well-draining mix. Make a small hole with your finger or a pencil in the center of the soil.
- Insert the Cuttings: Carefully place the prepared cutting into the hole, ensuring the leaf nodes that were previously covered by leaves are now below the soil surface. Gently firm the soil around the base of the cutting.
- Water Gently: Water the soil thoroughly until you see water draining from the bottom of the pot.
- Create Humidity: This is key! Place the potted cuttings inside a clear plastic bag, or enclose them in a propagator. Make sure the plastic doesn’t touch the leaves too much. Seal it up, but poke a few small holes for ventilation.
The “Secret Sauce” (Pro Tips)
Over the years, I’ve learned a few tricks that make a real difference.
- Bottom Heat is Your Friend: If you’re serious about getting roots, especially if your house tends to be on the cooler side, use a heat mat under your pots. This encourages root development from the bottom up. It’s like giving them a cozy warm bed to snuggle into!
- Don’t Drown Them: While humidity is vital, avoid soggy soil at all costs. Overwatering is the quickest way to rot your cuttings before they even have a chance to root. Let the top inch of soil dry out slightly between waterings.
- Patience, My Dear Gardener: Dalbergia obovata isn’t always a sprinter when it comes to rooting. Some cuttings might take 8-12 weeks, or even longer, to show signs of root development. Resist the urge to dig them up too soon to check!
Aftercare & Troubleshooting
Once you start seeing new growth popping out of the top, it’s a good sign that roots are forming!
- Acclimatize Gradually: Don’t rip the plastic bag off immediately. Gradually increase ventilation over a week or two by opening the bag or propagator a little more each day. This helps the new plant adjust to drier air.
- Water Consistently: Keep the soil consistently moist but not waterlogged. As the plant grows stronger, you can ease up on the super frequent watering.
- Signs of Trouble: The most common culprit for failure is rot. If your cutting turns black and mushy, it’s a goner. This is usually due to overwatering and poor drainage. Wilting that doesn’t perk up after watering can also indicate a problem, although it could also be a sign the cutting hasn’t rooted yet and is stressed. If you see mold on the soil surface, increase ventilation slightly.
Propagating Dalbergia obovata is a wonderful journey. It teaches you about timing, patience, and the subtle signals plants send us. Don’t be discouraged if your first attempt isn’t a roaring success. Every cutting you take is a learning experience. Enjoy the process, celebrate the small victories, and soon you’ll have your very own beautiful Dalbergia obovata to admire. Happy gardening!
Resource:
https://identify.plantnet.org/k-world-flora/species/Dalbergia%20obovata%20E.Mey./data