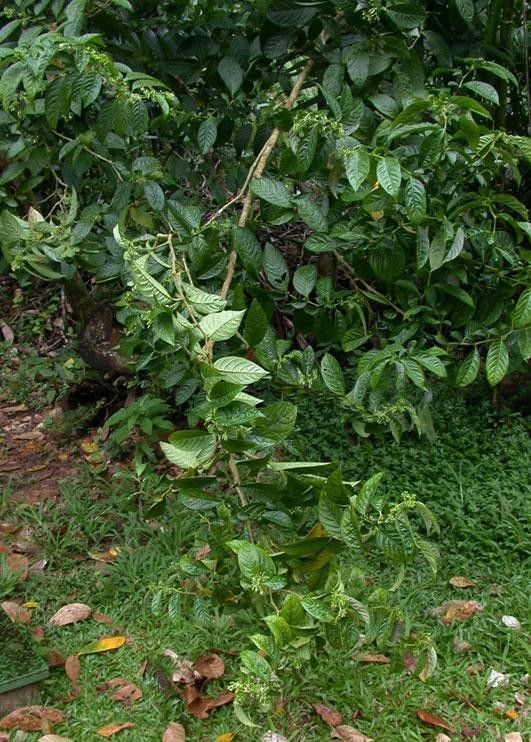
Let’s chat about bringing more Cuatresia cuneata into your life! Seriously, this plant is a stunner. Its glossy, deep green leaves bring such a lush, tropical vibe to any space. And the best part? You can easily multiply its beauty. Trust me, there’s a special kind of joy in coaxing a brand new plant to life from a piece of an existing one. While it might seem a little intimidating at first, I promise, propagating Cuatresia cuneata is definitely achievable and incredibly rewarding, even for those just dipping their toes into the world of plant propagation.
The Best Time to Start
When it comes to getting the most bang for your buck with propagation, timing is everything. For Cuatresia cuneata, spring and early summer are your golden windows. This is when the plant is actively growing and has the most energy to put into developing new roots. You’ll see vigorous new shoots emerge, and those are often your best candidates for cuttings.
Supplies You’ll Need
Gathering your tools before you start makes the whole process much smoother. Here’s a little checklist to get you ready:
- Sharp, clean pruning shears or a sterile knife: This is non-negotiable for clean cuts.
- Rooting hormone powder or gel (optional, but recommended): It gives cuttings a helpful boost.
- A well-draining potting mix: I like a blend of peat moss, perlite, and a bit of compost. Or, a pre-made succulent/cacti mix works well too.
- Small pots or seed trays: Whatever you have that can hold your cuttings and soil.
- A clear plastic bag or a propagation dome: To create a humid environment.
- Watering can with a fine spray nozzle: For gentle watering.
Propagation Methods
Let’s get our hands dirty! Stem cuttings are the most reliable way I’ve found to propagate Cuatresia cuneata.
Stem Cuttings:
- Select your cutting: Look for a healthy, vigorous stem that’s at least 4-6 inches long. You want a section that has a few sets of leaves and ideally, a node where leaves emerge. Avoid any flowering stems.
- Make the cut: Using your sharp shears or knife, make a clean cut just below a leaf node. This is where the magic happens – new roots are more likely to form here.
- Prepare the cutting: Gently remove the lower leaves, leaving just 2-4 leaves at the top. This reduces water loss and prevents leaves from rotting in the soil.
- Apply rooting hormone (optional): Dip the cut end into your rooting hormone powder or gel. Tap off any excess.
- Plant the cutting: Fill your small pot with your prepared potting mix. Make a small hole in the center with your finger and carefully insert the cutting, ensuring the node is buried. Firm the soil gently around the stem.
- Water lightly: Give the soil a gentle watering so it’s evenly moist, but not waterlogged.
- Create humidity: Place the pot in a plastic bag, sealing it loosely, or cover it with a propagation dome. Pop it in a spot with bright, indirect light.
The “Secret Sauce” (Pro Tips)
Alright, a couple of secrets from my garden to yours!
- My absolute go-to is bottom heat. If you have a seedling mat, place your pots on it. This gentle warmth encourages root development from below without drying out the top of the soil. It makes a HUGE difference, especially if your home is a bit on the cooler side.
- Don’t be tempted to peek too often! It’s hard, I know. But letting the cuttings sit undisturbed for a few weeks allows them to focus their energy on rooting. You’ll see new growth emerge from the top or feel a gentle tug when you very lightly try to lift the cutting to check for roots (do this carefully!).
Aftercare & Troubleshooting
Once your cutting has established a good root system – you’ll usually see new leaf growth appearing – it’s time to give it a little more freedom.
- Gradual acclimatization: Slowly remove the plastic bag or dome over a week or two. This helps the new plant adjust to your home’s humidity levels.
- Standard watering: Water when the top inch of soil feels dry. Cuatresia cuneata likes consistently moist (but not soggy) soil.
- Light continue: Keep it in bright, indirect light.
- Troubleshooting: The most common issue is rot, evident by mushy, blackened stems. This usually means the soil is staying too wet, or there isn’t enough air circulation. If you see this, sadly, that cutting is likely lost, but don’t despair! Just try again with fresh cuttings and slightly drier soil. Yellowing leaves can sometimes indicate too much direct sun or inconsistent watering.
A Little Encouragement to Finish
You’ve got this! Propagating plants is a journey, and like any good garden project, it’s about the process as much as the outcome. Be patient with your new Cuatresia cuneata cuttings, offer them a little TLC, and enjoy watching them grow. Before you know it, you’ll have an entire collection to share! Happy propagating!
Resource:
https://identify.plantnet.org/k-world-flora/species/Cuatresia%20cuneata%20(Standl.)%20Bohs/data