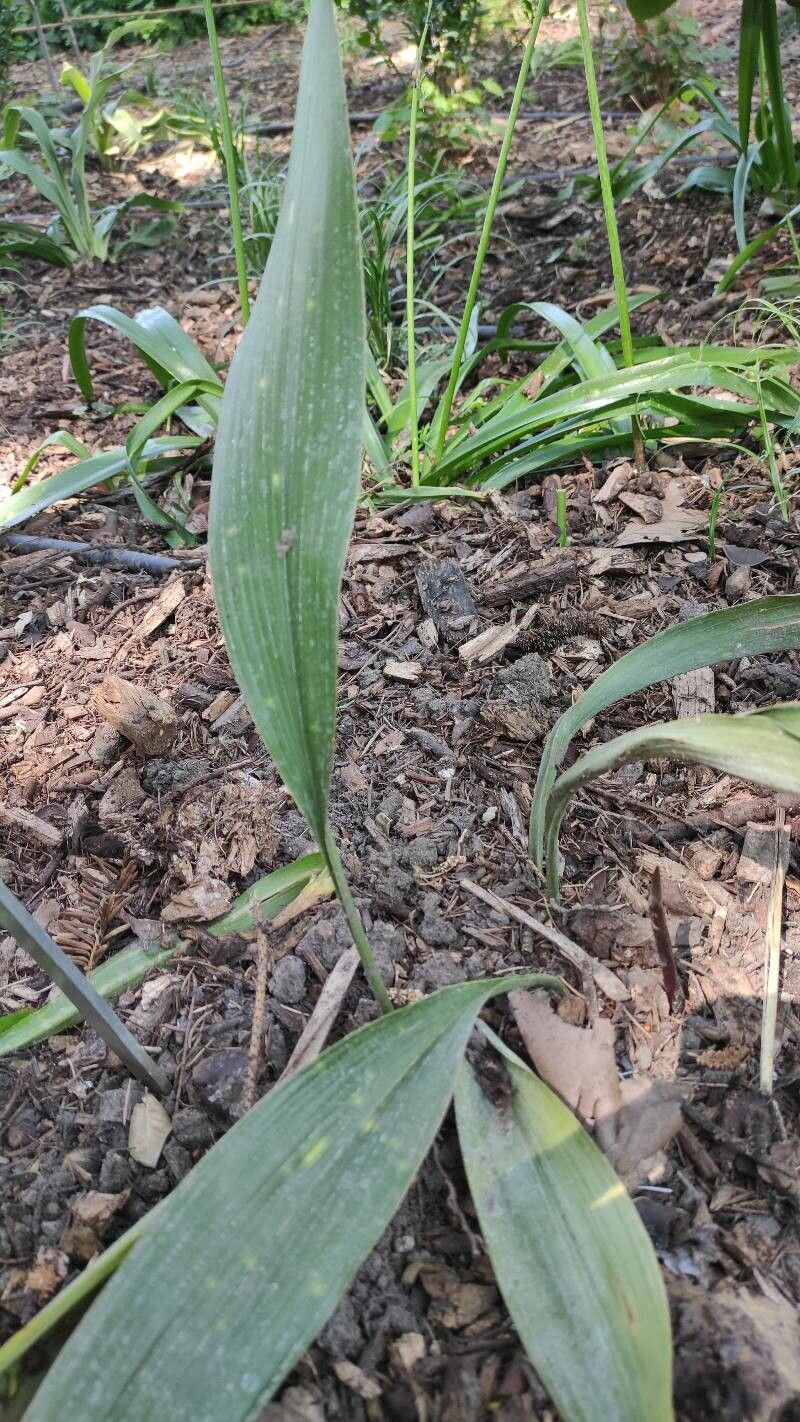
Hello fellow plant lovers! It’s so wonderful to connect with you all today. I’ve spent a good chunk of my life digging in the dirt, and one of the absolute joys is coaxing new life from existing plants. Today, we’re diving into the fascinating world of Aspidistra omensis, also lovingly known as the Cast Iron Plant.
This beauty is a real champion in the plant world. Its tough, leathery leaves bring a touch of the tropics to even the shadiest corners of our homes. And the best part? Propagating Aspidistra omensis is a incredibly rewarding experience. For beginners, I’d say it’s moderately easy. It requires a little patience and the right approach, but you’ll likely have success if you follow along.
The Best Time to Start
For the highest success rate with Aspidistra omensis propagation, I always recommend working during its active growth period. This usually falls between late spring and early summer. The plant is energized by warmer temperatures and longer days, making it much more receptive to forming new roots and shoots. Trying to propagate when the plant is dormant in winter is just asking for frustration!
Supplies You’ll Need
To get your Aspidistra omensis propagation off to a flying start, gather these items:
- Sharp, clean pruning shears or a knife: Crucial for making clean cuts that heal well.
- Well-draining potting mix: A good blend for houseplants, or a mix of peat moss, perlite, and a bit of compost works wonders.
- Small pots or trays: Clean containers are a must to prevent disease.
- Rooting hormone (optional but recommended): This can significantly speed up root development.
- Watering can or mister: Gentle watering is key.
- Labels: To keep track of your propagations, especially if you’re trying multiple plants.
- Clear plastic bag or propagation dome: This creates a humid environment for your cuttings.
Propagation Methods
The most reliable way to multiply your Aspidistra omensis is through division, which essentially means splitting the plant’s root system. It’s like giving your plant a haircut and getting a new one for free!
- Gently remove the plant from its pot. I like to give the pot a light squeeze to loosen things up. If it’s really stuck, a gentle tap on the bottom can help.
- Carefully brush away excess soil from the root ball. You want to see where the rhizomes (thick, fleshy underground stems) are growing and where new shoots are emerging.
- Identify natural divisions. Look for areas where new shoots arise from the main root mass. You want each division to have at least one healthy shoot and a good portion of roots attached.
- Separate the divisions. This is the part that can feel a bit nerve-wracking the first time! You can use your hands to carefully pull the sections apart if the roots aren’t too tangled. For tougher divisions, your clean pruning shears or knife can be used to cut through the rhizome. Always aim for a clean separation.
- Pot up your new divisions. Place each new division into its own pot filled with your well-draining potting mix. Ensure the roots are spread out a bit and the crown (where the leaves emerge) is at soil level.
- Water gently. Give your newly potted divisions a good, but not drenching, watering.
The “Secret Sauce” (Pro Tips)
Now, for a couple of little tricks I’ve picked up that can make all the difference:
- When you’re dividing, don’t be afraid to sacrifice a few old, worn-out leaves. Sometimes, it’s better to remove them so the plant can focus its energy on establishing its roots.
- After potting your divisions, give them a very light misting of water and then cover them loosely with a clear plastic bag or a propagation dome. This creates a wonderfully humid microclimate that helps prevent stress while those new roots get going. Just make sure it’s not sealed air-tight – a little bit of air circulation is important!
- Place your potted divisions in a spot with bright, indirect light. Direct sun will scorch those tender new shoots. And remember that bottom heat we talked about? If you have a heat mat, placing your pots on it can really encourage root development.
Aftercare & Troubleshooting
Once your divisions are potted up, the real nurturing begins! Keep the soil consistently moist but not waterlogged. Check the soil moisture by sticking your finger a couple of inches down; if it feels dry, it’s time to water.
The first signs of success will be new leaf growth. This can take anywhere from a few weeks to a couple of months, so be patient!
If you notice your cuttings wilting excessively, turning yellow, or developing mushy spots at the base, it’s usually a sign of root rot. This is almost always caused by overwatering or poor drainage. In this case, you might need to unpot the division, trim away any rotted parts (they’ll be black and mushy), and repot into fresh, dry soil. If it’s too far gone, unfortunately, you might have to start again.
A Encouraging Closing
Gardening is all about patience and a willingness to try. Propagating your Aspidistra omensis is a wonderful way to expand your plant collection and deepen your connection with nature. Don’t be discouraged if your first attempt isn’t perfect. Each plant and each propagation teaches you something new. Happy gardening, and enjoy watching your new Cast Iron Plants thrive!
Resource: