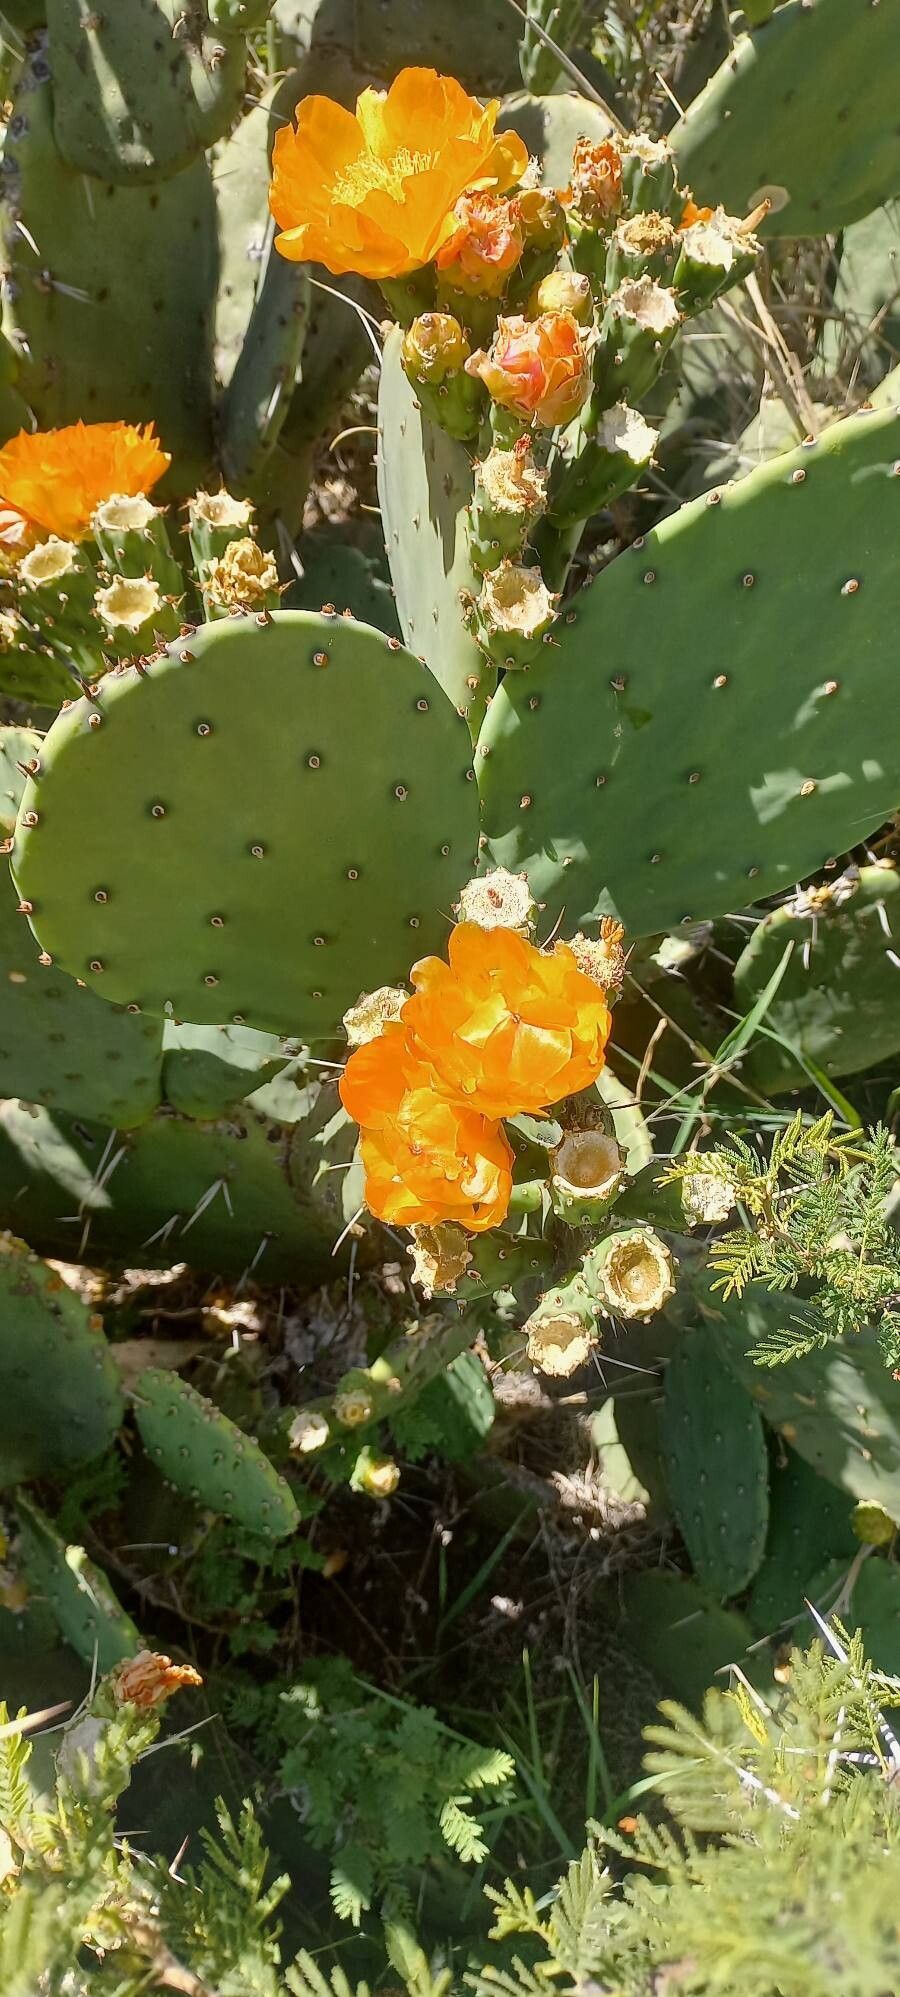
Hello there, fellow plant enthusiasts! Today, I want to talk about a cactus that’s really captured my heart over the years: Opuntia megapotamica. If you’ve seen these beauties, you’ll know why. Their paddle-like segments, often adorned with vibrant flowers, bring a unique charm to any sunny spot.
Propagating Opuntia megapotamica is just one of those incredibly rewarding gardening experiences. Watching a tiny piece of a plant grow into a whole new specimen makes you feel like a bit of a miracle worker. And the best part? It’s surprisingly accessible. For beginners, I’d say this is a fantastic cactus to start with. It’s quite forgiving and generous with its cuttings.
The Best Time to Start
For Opuntia megapotamica, the sweet spot for propagation is definitely spring and early summer. This is when the plant is actively growing and has the most energy to put into rooting. You’ll find that cuttings taken during this period establish themselves much more quickly and robustly than those taken at other times of the year. Think of it as giving your new plant the longest possible growing season to get established before cooler weather arrives.
Supplies You’ll Need
Here’s what you’ll want to have on hand to make this process smooth sailing:
- Sharp, clean pruning shears or a sturdy knife: For making clean cuts.
- Well-draining potting mix: A cactus or succulent mix is ideal. I often amend mine with extra perlite or coarse sand for even better drainage.
- Gloves: Unless you love a good prickle! Opuntia can have fine glochids, which are tiny, irritating spines.
- A shallow tray or pots: For your cuttings to root in.
- Rooting hormone (optional but helpful): This can give your cuttings a nice boost.
- Newspaper or cardboard: For handling cuttings without getting pricked.
- Watering can or spray bottle: For gentle watering.
Propagation Methods
The most straightforward and successful way to propagate Opuntia megapotamica is through stem cuttings, which are essentially the “paddles” or segments of the cactus.
-
Taking the Cutting: Choose a healthy, mature segment of your Opuntia. Using your sharp shears or knife, make a clean cut where the segment connects to the main stem or another pad. It’s best to avoid taking a cutting from a brand-new, soft pup. You want something that’s a bit more established.
-
Drying the Cutting (Crucial Step!): This is the most important part to prevent rot. Lay your freshly cut segment on a clean surface in a warm, dry, and well-ventilated spot. Do NOT water it. Leave it undisturbed for several days, or even a couple of weeks. You’ll see the cut end callous over, forming a dry, protective seal. This can take time, but patience here is key.
-
Planting the Cuttings: Once that cut end is completely dry and calloused, it’s time to plant.
- You can either directly plant the calloused end into your well-draining potting mix. Stick it about an inch or two into the soil, just enough to keep it upright.
- Alternatively, if you prefer water propagation, place the calloused end just above the water level in a jar or glass. Make sure the body of the cactus doesn’t touch the water.
-
Rooting:
- For potted cuttings: Water very lightly about a week after planting, and then only water again when the soil is completely dry. You’re aiming for barely moist, not wet.
- For water propagation: You’ll see roots emerge from the cut end, usually within a few weeks. Once the roots are about an inch long, you can then plant your cutting into a pot with cactus mix, watering it as you would a potted cutting.
The “Secret Sauce”
Here are a couple of my personal tricks that I’ve learned over the years that can really boost your success:
- Don’t Overwater, Seriously! I cannot stress this enough. Cacti are desert plants. They thrive on neglect when it comes to moisture, especially when trying to root. For potted cuttings, I often wait a week or two after planting before giving them their first tiny drink. It feels counterintuitive, but it’s how they learn to seek out water with their new roots.
- A Little Warmth Goes a Long Way. If you’re propagating in the spring or early summer but your house is on the cooler side, consider placing your pots on a heat mat designed for seedlings. This gentle warmth encourages root development from below, mimicking the natural warmth of the soil during their growing season. You don’t need it scorching hot, just a nice gentle warmth.
Aftercare & Troubleshooting
Once you see those lovely little roots appearing, it’s time for a little extra TLC. Continue to water sparingly, allowing the soil to dry out completely between waterings. Your new Opuntia megapotamica will need bright, indirect light initially, gradually introducing it to more direct sun as it matures.
The biggest issue you’ll likely face is rot. This happens when the cutting stays too wet, especially before it has calloused properly or developed roots. If you see a segment turning mushy, black, or developing soft brown spots, it’s usually a sign of rot. Sadly, if this happens, it’s often best to discard the affected cutting to prevent the rot from spreading. If you catch it early, you might be able to cut away the rotted part and re-callous the healthy section, but it’s a gamble.
A Encouraging Closing
Propagating Opuntia megapotamica is a journey, and like any good garden project, it requires a touch of patience. Don’t get discouraged if every single cutting doesn’t immediately sprout roots. Nature has its own timing. Celebrate the successes, learn from any setbacks, and most importantly, enjoy the process. Soon, you’ll have a whole collection of these unique and beautiful cacti! Happy gardening!
Resource:
https://identify.plantnet.org/k-world-flora/species/Opuntia%20megapotamica%20Arechav./data