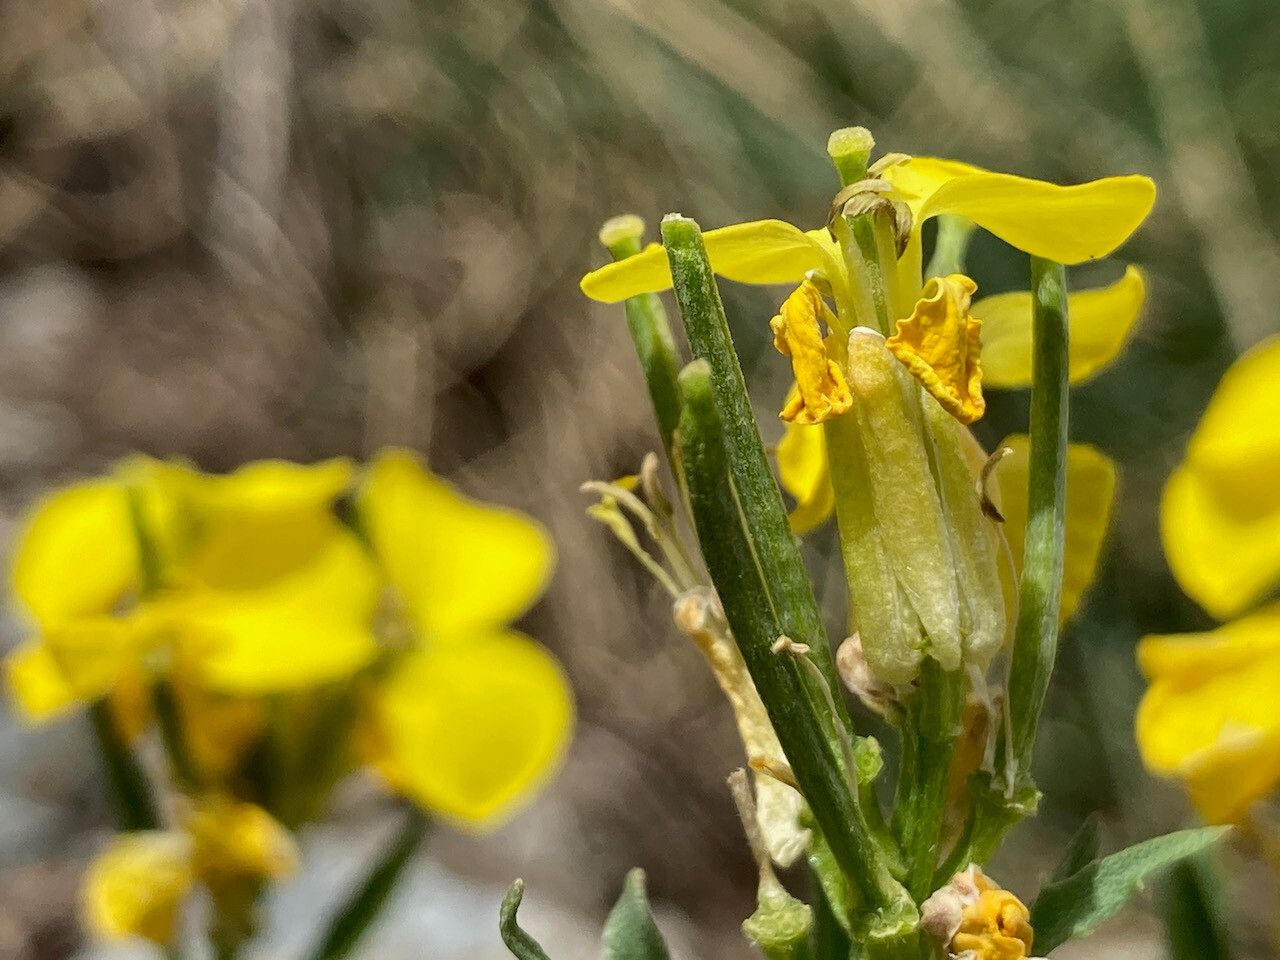
Hello, fellow plant pals! Today, we’re diving into the wonderful world of Erysimum duriaei, also known as Mount Etna Wallflower. If you’re a fan of its vibrant, often fragrant blooms that can dazzle in the garden for months, you’re in for a treat. Propagating this beauty yourself isn’t just cost-effective; it’s incredibly satisfying. Watching a tiny piece of your favorite plant transform into a new, independent individual is truly magical. Erysimum duriaei can be a tad particular, but with a little know-how, it’s definitely achievable, even for those who are just starting their plant journey.
The Best Time to Start
For Erysimum duriaei, the sweet spot for propagation is generally late spring to early summer. This is when the plant is actively growing, and the stems are firm but not yet woody. Starting during this period gives your cuttings the best chance to develop strong roots before the heat of summer or the chill of autumn sets in. Think of it as giving them a good head start!
Supplies You’ll Need
Gathering your supplies beforehand makes the whole process smoother. Here’s what I usually have on hand:
- Sharp, clean pruning shears or a sharp knife: Essential for making clean cuts that heal well.
- Rooting hormone (optional, but recommended): Helps cuttings establish roots faster. Look for one formulated for softwood cuttings.
- Well-draining potting mix: A good blend for me is equal parts peat-free compost, perlite, and coarse sand. This ensures excellent aeration.
- Small pots or seed trays: Clean ones are a must to prevent disease.
- Plastic bags or a propagator lid: To create a humid environment.
- Labels or markers: To keep track of your projects!
Propagation Methods
Erysimum duriaei is most successfully propagated from stem cuttings. This method allows us to take a piece of a healthy parent plant and encourage it to grow roots of its own.
Stem Cuttings:
- Select your cutting: Look for healthy, non-flowering shoots that are about 3-6 inches long. You want stems that are pliable and bendy rather than stiff and woody.
- Make the cut: Using your clean shears or knife, make a clean cut just below a leaf node (where a leaf attaches to the stem). This is where root hormone is often most potent.
- Prepare the cutting: Gently remove the lower leaves, leaving just a few at the very top. This prevents them from rotting in the soil and encourages the plant to focus its energy on root development. If the leaves are very large, I’ll sometimes snip them in half.
- Apply rooting hormone (optional): Dip the cut end of the stem into your rooting hormone. Tap off any excess; you don’t need a thick coating.
- Plant the cutting: Make a small hole in your prepared potting mix with a pencil or your finger. Insert the cutting so that the leaf nodes where you removed the leaves are buried in the soil. Gently firm the soil around it.
- Water gently: Water the soil thoroughly but gently to settle the mix around the cutting.
- Create humidity: Place the pot and cutting into a plastic bag, sealing it loosely, or cover your tray with a propagator lid. This creates a humid microclimate, which is crucial for cuttings to root.
The “Secret Sauce” (Pro Tips)
Here are a couple of things I’ve learned over the years that can really boost your success rate:
- Don’t let the leaves touch the water (if water propagating, but also good to keep in mind for tray humidity): While I primarily use soil for Erysimum, if you were to try water propagation (which I don’t recommend as much for this particular plant), ensuring no leaves are submerged is key. In the soil medium, it means making sure the remaining top leaves aren’t pressed directly against the sides of the pot or condensation that could encourage rot.
- Use bottom heat: If you have a heated propagator mat, using it can make a big difference. Erysimum duriaei cuttings often root much faster when their base is kept warm. It mimics the warmth of spring soil and really encourages those roots to get moving!
Aftercare & Troubleshooting
Once your cuttings have rooted (you can gently tug to feel resistance, or sometimes see roots peeking out the drainage holes, usually after 4-6 weeks), it’s time to start weaning them off their humid environment.
- Gradually increase ventilation: Start by opening the plastic bag or propagator lid for a few hours each day. Over a week or two, you can remove it entirely.
- Watering: Water when the top inch of soil feels dry. Avoid overwatering, as this is the fastest way to invite trouble.
- Light: Place the newly rooted plant in a bright, indirect light location. Avoid harsh, direct sun, which can scorch young leaves.
- Troubleshooting: The most common issue you’ll face is rot. If a cutting turns black and mushy, it’s likely rotted. This is often due to too much moisture and insufficient drainage. Discard the affected cutting. If you see no signs of growth after several weeks, it might just be taking its time, or it may not have taken. Don’t give up; try again!
A Encouraging Closing
Propagating Erysimum duriaei is a rewarding process that connects you more deeply with your garden. Be patient with your little green charges. Sometimes, they’re a bit slower to get going, but the joy of seeing them thrive and grow into their own plants is absolutely worth the wait. Happy propagating!
Resource:
https://identify.plantnet.org/k-world-flora/species/Erysimum%20duriaei%20Boiss./data