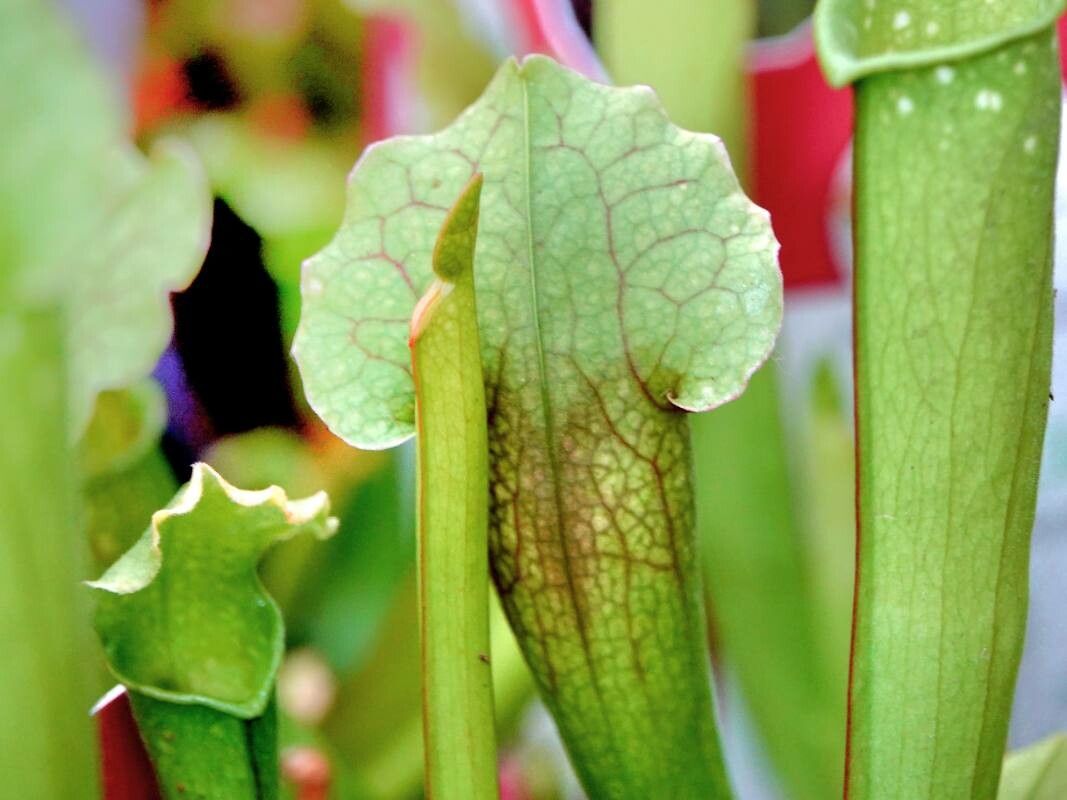
Welcome, fellow plant lovers! Today, we’re diving into the fascinating world of Sarracenia leucophylla, or the White-topped Pitcher Plant. If you’ve ever marveled at those elegant, trumpet-shaped traps, you know why this carnivorous beauty is so captivating. Propagating them is a deeply satisfying way to expand your collection, and I’m here to guide you through it every step of the way. Don’t be intimidated; while they have their quirks, Sarracenia are quite manageable once you understand their needs.
The Best Time to Start
For the highest chance of success with Sarracenia leucophylla, aim for late spring to early summer. This is when the plant is in its most vigorous growth phase. You’ll see lots of new pitchers forming, and the rhizomes are actively producing. Starting during this active period means your cuttings or divisions have the energy they need to establish themselves quickly. Avoid trying to propagate when the plant is dormant in winter.
Supplies You’ll Need
Gathering your supplies beforehand makes the whole process smoother. Here’s what I always have on hand:
- Potting Medium: A mix of sphagnum peat moss and perlite (roughly 50/50) is ideal. Some growers also use long-fibered sphagnum moss. The key is good drainage and moisture retention without becoming waterlogged. Never use garden soil!
- Sharp Pruning Shears or a Clean Knife: For making clean cuts. Sterilize them with rubbing alcohol between cuts to prevent disease.
- Small Pots or Trays: Clean containers for your new propagations.
- Distilled Water or Rainwater: Sarracenia are sensitive to minerals found in tap water.
- Optional: Rooting Hormone: While not strictly necessary for Sarracenia division, it can sometimes give stem cuttings a little boost. Look for a powder designed for herbaceous plants.
- Optional: Small Greenhouse or Humidity Dome: To maintain consistent humidity around your cuttings.
- Optional: Bottom Heat Mat: Can significantly speed up root development for cuttings.
Propagation Methods
Sarracenia leucophylla can be propagated in a couple of wonderful ways.
Division (The Easiest Way)
This is my go-to method for Sarracenia. It’s like giving your plant a natural haircut and getting new plants out of it!
- Timing is Key: As mentioned, late spring or early summer is perfect.
- Gently Excavate: Carefully remove the parent plant from its pot. You want to expose the rhizome, which is the thick, fleshy underground stem. It usually looks like a white or pale green root-like structure.
- Identify Natural Breaks: Look for natural points where the rhizome is branching. Each section should ideally have at least one growing point (the tip where new pitchers emerge) and some healthy roots.
- Make the Cut: Using your sterilized shears or knife, carefully cut the rhizome into sections. Ensure each section has a growing point and roots. Don’t be afraid to be decisive, but try not to tear the rhizome.
- Pot Them Up: Pot each division into its own small pot filled with your peat moss and perlite mix. Plant them so the growing point is just at or slightly above the soil surface.
- Water Thoroughly: Water gently with distilled or rainwater until the pot is saturated.
Stem Cuttings (A Bit More Finesse)
This method involves taking pieces of the pitcher stalks themselves. It’s a bit more challenging but incredibly rewarding when successful.
- Select a Healthy Pitcher: Choose a firm, healthy pitcher stalk that is actively growing but not yet senescing (dying back). Look for one that’s plump and vibrantly colored.
- Make the Cut: Near the base of the pitcher stalk, make a clean cut with your sterilized shears. You want a section that includes the very bottom part of the stalk where it attaches to the rhizome.
- Prepare the Cutting: Remove any lower leaves or tendrils that would be below the soil line. If the pitcher itself is very large, you can trim it down a bit, but leave some of the trap intact.
- Apply Rooting Hormone (Optional): Dip the cut end into rooting hormone, tapping off any excess.
- Plant the Cutting: Insert the cut end about an inch deep into your damp peat moss and perlite mix. You can plant several cuttings in a single tray, ensuring they don’t touch each other.
- Provide High Humidity: This is crucial for stem cuttings. Cover the pot or tray with a humidity dome or plastic bag.
The “Secret Sauce” (Pro Tips)
- Don’t Drown Your Cuttings: For both methods, the key is consistently moist, not waterlogged, soil. If using trays, I like to set them in a shallow tray of distilled water. Let the water wick up from the bottom, and when the surface looks moist, remove the tray to prevent sogginess. This mimics their natural bog environment beautifully.
- Bottom Heat is Your Friend: For stem cuttings, placing the pots on a gentle bottom heat mat (around 70-75°F or 21-24°C) can dramatically speed up root formation. It gives the plant a warm encouragement to get started.
- Mother Nature Knows Best: When dividing, gently tease the rhizome apart with your fingers as much as possible before resorting to cutting. The rhizome is often surprisingly flexible, and you can often find natural separation points.
Aftercare & Troubleshooting
Once you’ve potted up your divisions or cuttings, it’s time for a little TLC.
- Keep Them Moist: Continue to water with distilled or rainwater. Never let the soil dry out completely. In fact, Sarracenia thrive with consistently damp feet.
- Provide Bright Light: Place your new propagations in a bright location, but avoid direct, scorching sun for the first few weeks, especially for cuttings. A bright, indirect light is perfect.
- Patience is a Virtue: It can take anywhere from a few weeks to a couple of months for new growth to appear, especially on stem cuttings. Don’t despair if you don’t see immediate results!
- Watch for Rot: The biggest enemy of young Sarracenia propagations is rot, which is usually caused by overly wet conditions or poor air circulation. If you see a cutting turning mushy and black, it’s likely a goner. Remove it immediately to prevent it from spreading. Ensure your potting mix is free-draining.
A Little Something Extra
Propagating Sarracenia leucophylla is a journey that teaches you so much about their unique needs. It’s a bit like coaxing a shy child out of their shell. Be patient, observe closely, and celebrate every new leaf or pitcher that emerges. The reward of nurturing a new life from an existing one is truly one of gardening’s greatest joys. Happy growing!
Resource:
https://identify.plantnet.org/k-world-flora/species/Sarracenia%20leucophylla%20Raf./data