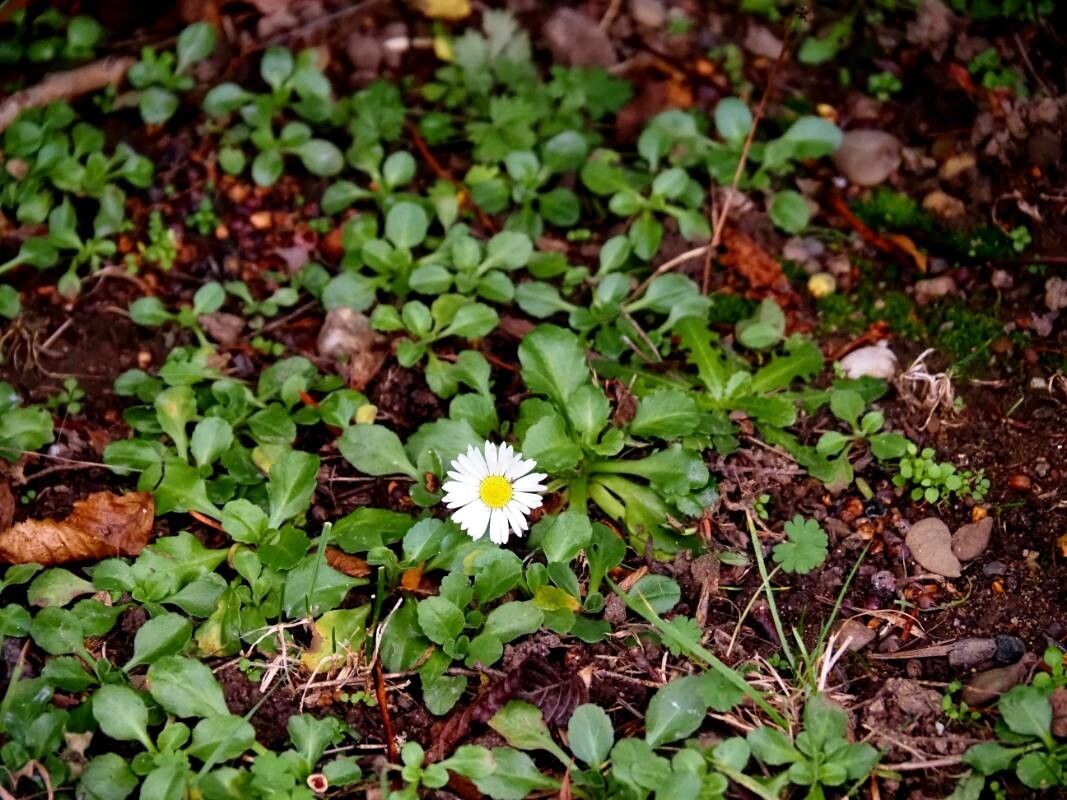
Hey there, fellow garden enthusiasts! I’m so excited to chat with you today about one of my absolute favorite cheerful little flowers: Bellis perennis, more commonly known as the English Daisy. These darling little blooms, with their innocent pom-pom petals, have a way of bringing pure joy to any garden bed or planter. They’re like sunshine in miniature!
Propagating them yourself is incredibly rewarding. It’s a fantastic way to fill your garden with more of these beauties without breaking the bank. And for those of you just dipping your toes into the world of plant propagation? Good news! Bellis perennis is wonderfully beginner-friendly. You’ll likely find great success, and that’s a wonderful confidence booster.
The Best Time to Start
Timing is everything in the garden, and for Bellis perennis, the sweet spot is in the spring. Once the last frost has safely passed and the soil begins to warm up, that’s your cue. You can also have good luck in early autumn, giving the new divisions or seedlings a chance to establish before winter. Look for actively growing plants that are just starting to burst with new buds or have finished their main flush of flowering.
Supplies You’ll Need
Gathering your supplies beforehand makes the whole process so much smoother. Here’s what I keep on hand:
- Sharp pruning shears or a clean knife: For making precise cuts.
- Well-draining potting mix: A good quality seed-starting mix or a blend of
peat moss, perlite, and compost works wonders. - Small pots or seed trays: With drainage holes, of course!
- Labels and a marker: To keep track of what you’ve planted.
- Watering can with a fine rose head: To gently water your new charges.
- Rooting hormone (optional but helpful): Especially if you’re taking cuttings.
- A spray bottle: For misting.
Propagation Methods
Bellis perennis can be propagated in a couple of easy ways. I find division to be the most straightforward for established plants.
Division
This is my go-to method for Bellis perennis. It’s like giving your plant a haircut and a new lease on life!
- Gently dig up the plant: Using your trowel, carefully loosen the soil around the base of your mature English Daisy. Lift the entire plant, roots and all, from the ground.
- Shake off excess soil: Gently brush away most of the soil from the root ball. You want to be able to see the individual crowns (where the leaves emerge from the roots).
- Separate the divisions: Look for natural breaks in the root system. You can often gently pull apart clumps with your hands. If it’s a bit stubborn, use your pruning shears or knife to cut through any tough roots, ensuring each division has at least a few healthy leaves and a good chunk of roots.
- Replant immediately: Dig holes in your prepared garden bed or fill your pots with the potting mix. Plant each division so the top of the root ball is level with the soil surface.
- Water thoroughly: Give your newly divided plants a good, deep watering to help settle the soil and reduce transplant shock.
Seed Propagation
While division is easy, you can also start them from seed.
- Sow the seeds: In early spring, sow Bellis perennis seeds thinly on the surface of a well-draining seed-starting mix. Do not bury them deeply; they need light to germinate.
- Mist gently: Lightly mist the surface of the soil with your spray bottle.
- Cover and keep warm: Cover the seed tray with a clear plastic lid or plastic wrap to maintain humidity. Place it in a warm spot, ideally around 65-70°F (18-21°C).
- Provide light: Once germination begins (usually within 10-20 days), remove the cover and place the tray in a bright location, out of direct sunlight.
- Water carefully: Continue to keep the soil consistently moist, but not soggy.
- Transplant seedlings: When the seedlings are large enough to handle and have a few sets of true leaves, carefully transplant them into individual pots or their final garden location.
The “Secret Sauce” (Pro Tips)
Here are a few little tricks I’ve learned over the years that really make a difference:
- Don’t overwater after division: While you want to keep them moist, soggy soil is the fastest way to invite rot. Let the top layer of soil dry out slightly between waterings. Think of it as giving them a chance to breathe.
- Consider bottom heat for seed starting: If you’re struggling with germination, a heated propagator mat can work wonders, especially in cooler conditions. It provides that gentle warmth to really encourage those seeds to sprout.
- Mulch the divisions: Once your new divisions are happily settled, a light layer of mulch around the base can help retain moisture and suppress weeds, giving your new plants the best start.
Aftercare & Troubleshooting
Once your divided plants are in their new homes, or your seedlings are potted up, keep them consistently moist while they establish their roots. Avoid letting them dry out completely, but also steer clear of waterlogged conditions.
The most common sign of trouble is rot, which usually shows up as wilting, mushy stems, or a generally unhappy, discolored appearance. This is almost always a sign of too much moisture and poor drainage. If you see this, try to improve air circulation and reduce watering. Sometimes, you can rescue a plant by carefully removing the rotten parts and repotting it in fresh, dry soil.
A Encouraging Closing
Don’t be discouraged if not every single plant makes it. Gardening is a journey, and each attempt teaches us something new. Be patient with your new Bellis perennis babies, give them a little TLC, and soon enough, you’ll be enjoying a carpet of their cheerful faces. Happy propagating, and may your gardens bloom beautifully!
Resource:
https://identify.plantnet.org/k-world-flora/species/Bellis%20perennis%20L./data