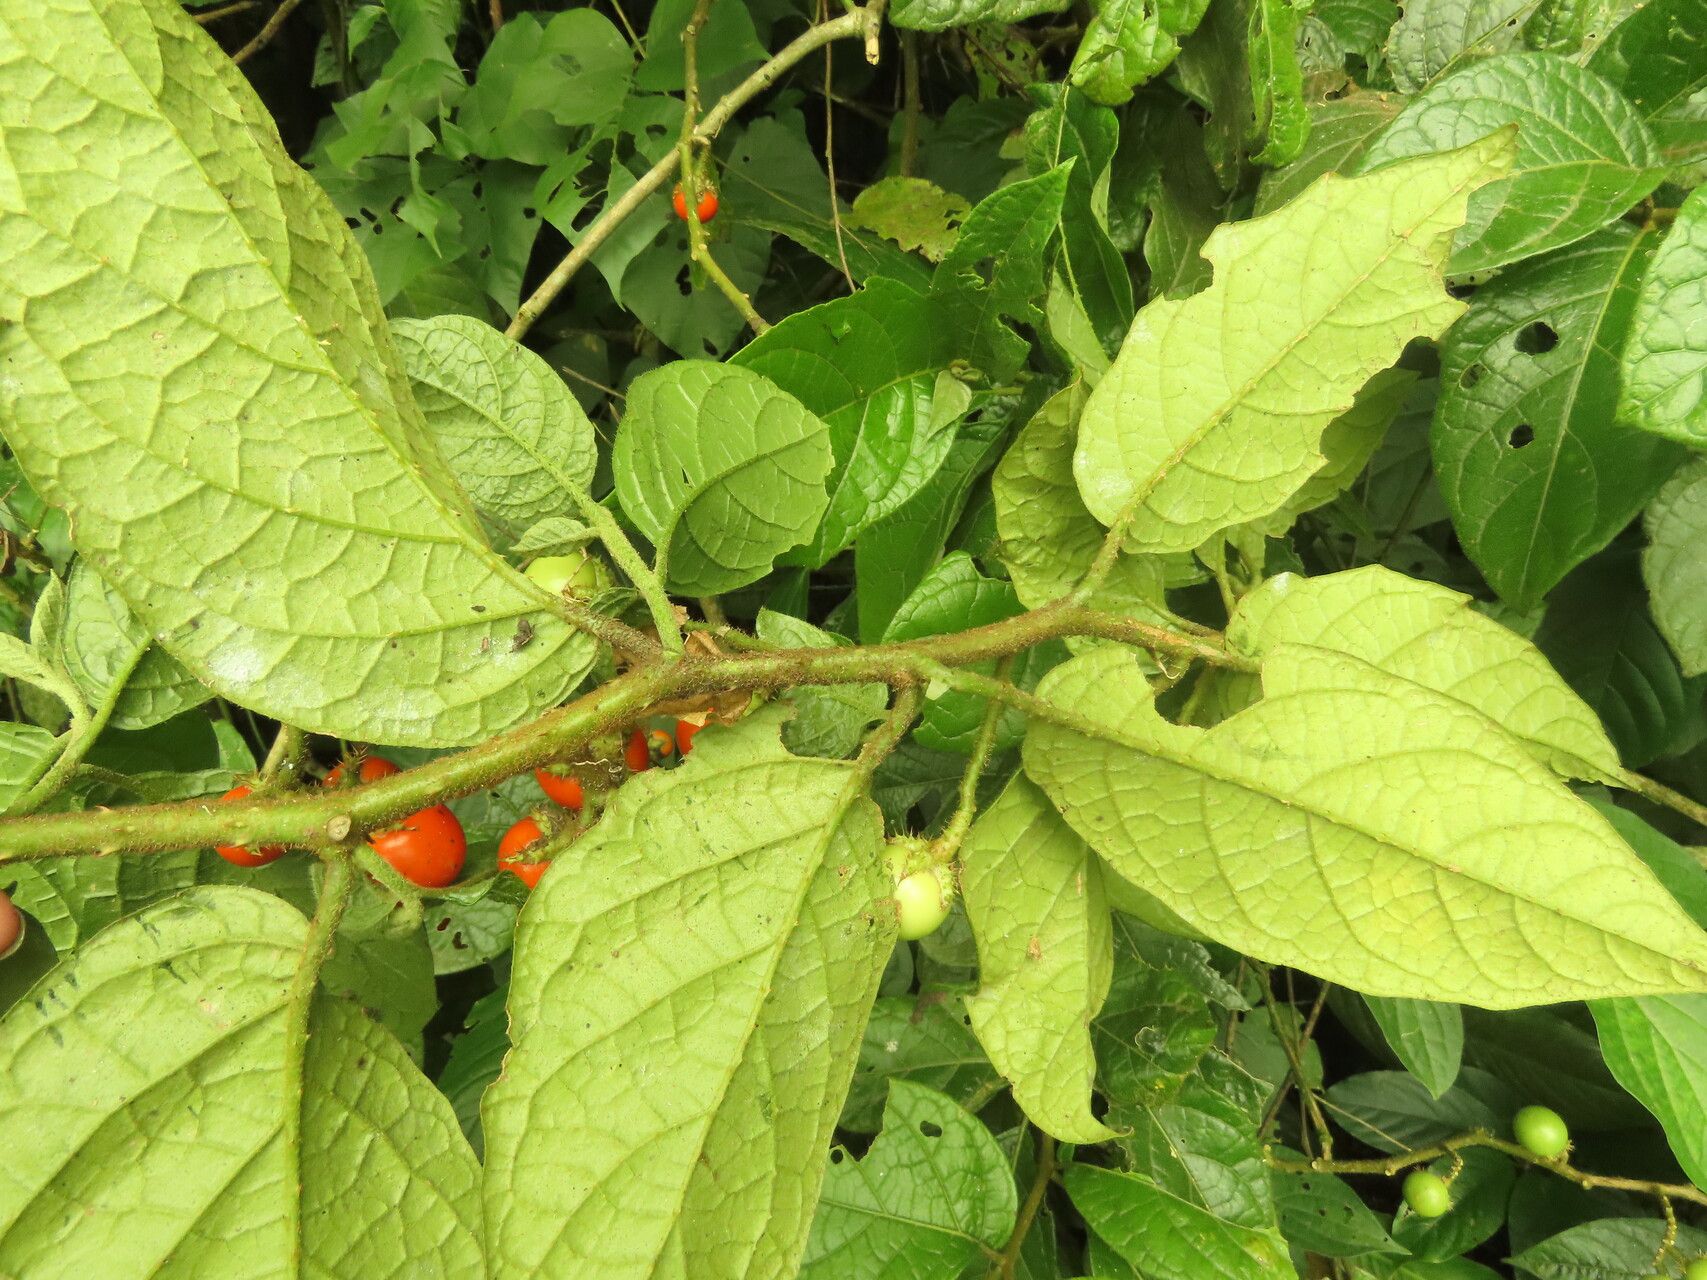
Ah, Solanum aturense! You’ve got your eye on a real beauty. I can see why. This plant, with its luscious foliage and often spiky allure, brings a touch of the exotic to any garden or indoor space. Growing new Solanum aturense from your existing treasures is one of those truly satisfying gardening feats. It’s like creating little plant babies, and trust me, it’s a journey worth taking. For those new to the propagation scene, I’d say Solanum aturense falls into the “moderately achievable” category. A little patience and attention, and you’ll be rewarded.
The Best Time to Start
My favorite time to get stuck into propagating Solanum aturense is during its active growing season. Think late spring through early summer. The plant is bursting with energy then, and the cuttings are more likely to take root quickly. You can certainly try it at other times, but you might find things move a bit slower.
Supplies You’ll Need
Here’s what I always have on hand:
- Sharp pruning shears or a clean knife: For making clean cuts.
- Rooting hormone powder or gel: Optional, but it can give your cuttings a significant boost. I find the powder is easiest for this type of plant.
- Potting mix: A well-draining mix is crucial. I like to use a blend of peat moss, perlite, and a little bit of compost. Some folks swear by a coco coir base too.
- Small pots or seedling trays: Clean ones, of course! Drainage holes are non-negotiable.
- A clear plastic bag or propagator lid: To create a humid environment for your cuttings.
- Watering can or spray bottle: For gentle watering.
- Labels and a marker: To keep track of what you’ve planted and when.
Propagation Methods
Let’s get our hands dirty! For Solanum aturense, stem cuttings are usually my go-to method.
Stem Cuttings:
- Choose your parent plant: Find a healthy, vigorous Solanum aturense. We want to take cuttings from stems that are not flowering, but also not too young and floppy. Look for stems that are somewhat woody but still flexible.
- Take the cuttings: Using your sharp shears or knife, take cuttings about 4-6 inches long. Make the cut just below a leaf node (where a leaf attaches to the stem). This is where the magic happens with rooting.
- Prepare the cuttings: Gently remove the lower leaves from the cutting, leaving just the top couple of leaves. If the remaining leaves are very large, you can even cut them in half to reduce water loss.
- Apply rooting hormone (optional): Dip the cut end of the stem into your rooting hormone powder or gel. Tap off any excess.
- Plant the cuttings: Fill your pots or trays with your prepared, moistened potting mix. Make a small hole with your finger or a pencil, and insert the cutting. Gently firm the soil around it.
- Create a humid environment: Water the soil gently after planting. Then, place the pot inside a clear plastic bag, securing it with a twist tie, or cover it with a propagator lid. Make sure the leaves aren’t pressing against the plastic. This traps moisture, which is vital for rooting.
- Provide light and warmth: Place the pot in a bright spot with indirect sunlight. A windowsill is usually perfect. If you have a heat mat, placing the pot on it can really speed things up – that’s the “bottom heat” I’ll talk about later!
Water Propagation (An Easier Option):
If you’re feeling a bit shy about soil just yet, water propagation is a fun alternative for some Solanum species, and it can work for S. aturense.
- Take cuttings as described above.
- Prepare the cuttings: Remove the lower leaves.
- Place in water: Put the cuttings in a clean jar or vase filled with fresh water. Make sure no leaves will be submerged in the water; this is a recipe for rot!
- Change water regularly: Change the water every few days to keep it fresh and oxygenated.
- Position: Place the jar in a location with bright, indirect light.
- Plant when rooted: Once you see healthy roots that are an inch or two long, you can carefully transplant them into your potting mix. Be gentle; those new roots are delicate!
The “Secret Sauce” (Pro Tips)
Here are a couple of little tricks I’ve picked up over the years that make a big difference:
- The ‘Almost Woody’ Stem: Don’t just grab the brand-new, bright green growth. Those soft tips can rot before they root. Look for stems that have started to firm up a bit, with a slight stiffness. They’re usually a more reliable bet.
- Bottom Heat is Your Friend: Seriously, if you can swing it, a gentle bottom heat from a seedling heat mat under your pots makes a world of difference. It encourages root development from below, giving your cuttings a real head start and significantly improving success rates, especially in cooler rooms.
- Don’t Over-Water the Soil: While humidity is key, soggy soil is the enemy. You want the potting mix to be consistently moist, but not waterlogged. If you can feel water seeping out the bottom of the pot when you gently squeeze it, it’s too wet.
Aftercare & Troubleshooting
Once you see new leaf growth, that’s a great sign! It means your cuttings have rooted.
- Gradual Acclimation: If you’ve been using a plastic bag, slowly start to introduce your new plants to drier air. Open the bag for a few hours each day, gradually increasing the time.
- Potting Up: Once the new plants have a good set of roots and are showing healthy top growth, you can pot them up into slightly larger pots with fresh potting mix.
- Watch for Rot: The most common problem is stem rot. This happens when the cutting is too wet, not enough air circulation, or if leaves are sitting in water. If you notice your cutting turning mushy and black, it’s usually a goner. You can try to recut above the rotted section if it hasn’t spread too far, but often, it’s best to start again with fresh material.
- Legginess: If your plants are stretching towards the light and looking thin and pale, they’re not getting enough light. Move them to a brighter spot, but still avoid direct midday sun.
A Encouraging Closing
Propagating plants is a wonderful way to connect with nature and expand your green collection. Be patient with your Solanum aturense cuttings. Some will take off right away, others might take their sweet time. Don’t get discouraged if a few don’t make it – it’s all part of the learning process. Enjoy the journey of nurturing these new life forms, and soon you’ll have a whole new batch of gorgeous Solanum aturense to share or admire! Happy gardening!
Resource: