Hello lovely gardeners!
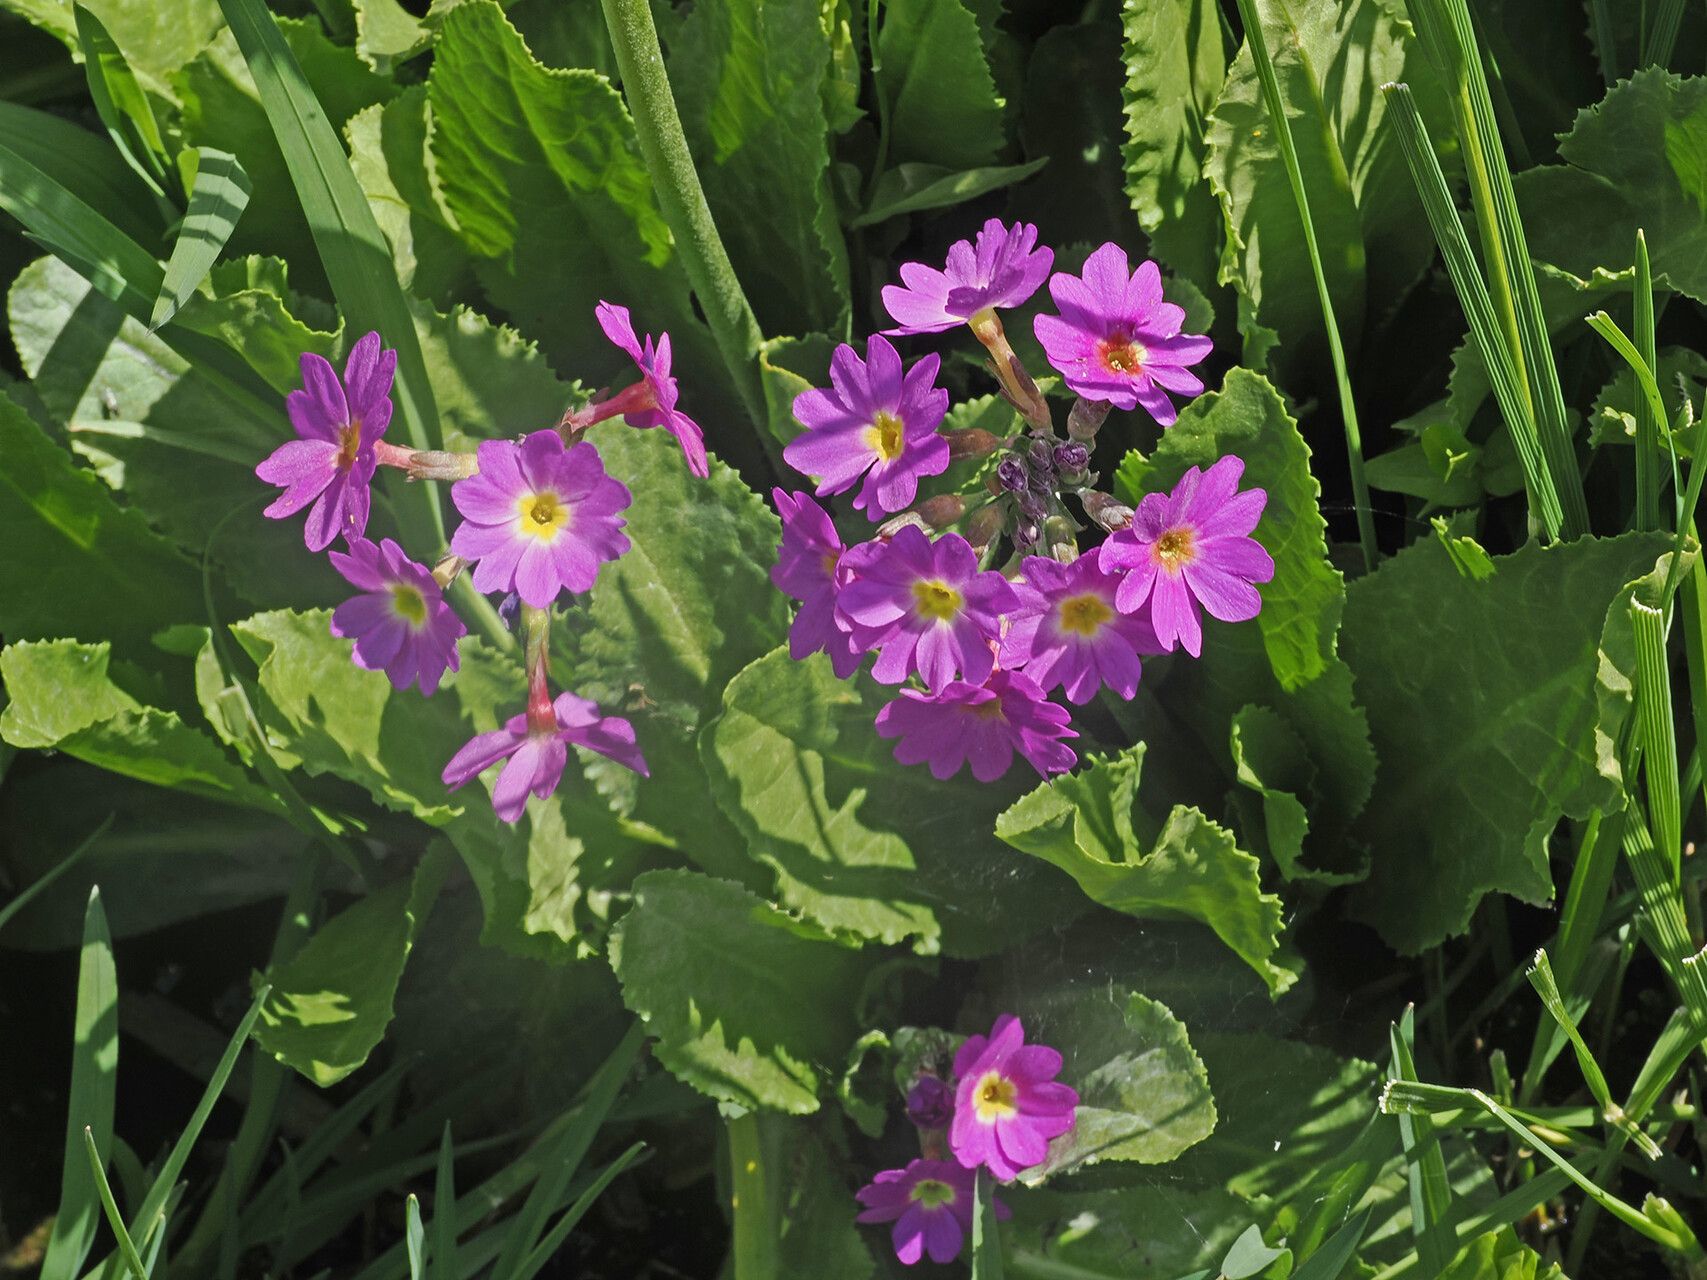
Isn’t it just the most delightful thing when you find a plant that truly speaks to your soul? For me, those enchanting Primula auriculata, with their captivating blooms and often sweet fragrance, are exactly that. They bring such a cheerful splash of color to the garden or even a sunny windowsill, and the thought of creating more of these charmers fills me with joy. If you’ve ever admired their delicate beauty, you’ll be happy to know that propagating them is a wonderfully rewarding pursuit, though I’ll be honest, they can be a tad finicky for complete beginners. But don’t let that deter you! With a little patience and the right approach, you’ll soon be surrounded by even more of these gems.
The Best Time to Start
When it comes to Primula auriculata, timing is really key. The sweet spot for propagating them is immediately after they finish flowering. You’ll see the main bloom show wind down, and the plant will start to think about its next growth phase. This is when they’re full of potential and ready to channel their energy into putting down new roots. Catching them at this precise moment gives you the best chance of success. Think late spring or early summer, depending on your climate.
Supplies You’ll Need
To get your propagation station set up, here’s what you’ll want to have on hand:
- Sharp, clean pruning shears or a sharp knife: Essential for making clean cuts.
- A well-draining potting mix: I like a blend of peat moss or coir, perlite, and a bit of sand. You can also find specialized seed-starting or propagation mixes.
- Small pots or trays: Clean yogurt cups with drainage holes poked in the bottom work in a pinch!
- Optional: Rooting hormone: This can give your cuttings a little boost, but it’s not always strictly necessary for Primula auriculata.
- Watering can with a fine rose or a spray bottle: To water gently without disturbing your new propagations.
- Labels or plant markers: So you don’t forget what you planted where!
Propagation Methods
For Primula auriculata, division is hands-down my favorite and most reliable method.
Division: Sharing the wealth!
This is where you gently break apart an established plant into smaller sections, each with its own roots and shoots.
- Dig up your mature plant: Carefully excavate the Primula auriculata from its pot or garden bed. Try to keep as much of the root ball intact as possible.
- Identify the divisions: Gently tease apart the soil from the roots. You’ll be looking for natural breaks where the plant has formed separate clumps, each with its own crown (where the leaves emerge from the roots) and root system.
- Make your cuts: Using your clean pruning shears or knife, carefully separate the clumps. Make sure each division has at least a few healthy leaves and a decent amount of root. Don’t be afraid to get a bit firm with this step, but also be gentle enough not to tear the roots excessively.
- Pot them up: Plant each division into its own small pot filled with your prepared potting mix. Ensure the crown sits at soil level.
- Water gently: Water thoroughly until water drains from the bottom.
The “Secret Sauce” (Pro Tips)
Here are a few little tricks I’ve learned over the years that can really help your Primula auriculata propagations thrive:
- Don’t overwater initially: After dividing, your new plants haven’t established their roots yet. They need moisture, but sitting in soggy soil can quickly lead to rot. Aim for consistently moist, not waterlogged, conditions. A light misting can be beneficial in dry environments.
- Provide a humid microclimate: New divisions are often happy when tucked away in a slightly more humid environment. You can achieve this by placing the pots inside a plastic bag or a clear propagator lid, ensuring the leaves aren’t touching the plastic itself. Just open it up for a bit of fresh air each day.
- Resist the urge to fertilize too soon: Let your divisions settle in and start producing new growth before you think about feeding them. Wait until you see clear signs of new leaves emerging – that’s their cue that they’re ready for a little boost.
Aftercare & Troubleshooting
Once your Primula auriculata divisions are potted up, keep them in a bright, indirect light location. Avoid direct, hot sun, which can scorch their delicate leaves. Continue to water them regularly, allowing the soil surface to dry out slightly between waterings. With good care, you should start to see new leaf growth appearing within a few weeks.
Now, what if things don’t go as planned? The most common issue you’ll encounter is rot. This usually happens from overwatering or poor drainage, causing the base of the plant to turn mushy and dark. If you see this, unfortunately, that particular division has likely been lost. The best approach is to learn from it: check your watering habits and ensure your potting mix is free-draining. Sometimes, leaves might yellow and drop – this is often a sign of transplant shock. As long as the crown and roots look healthy, give them time.
So there you have it! Propagating Primula auriculata might take a little care, but the joy of multiplying these beauties is truly immense. Be patient with yourself and with your plants, and enjoy the process of bringing more enchanting blooms into your life. Happy gardening!
Resource:
https://identify.plantnet.org/k-world-flora/species/Primula%20auriculata%20Lam./data