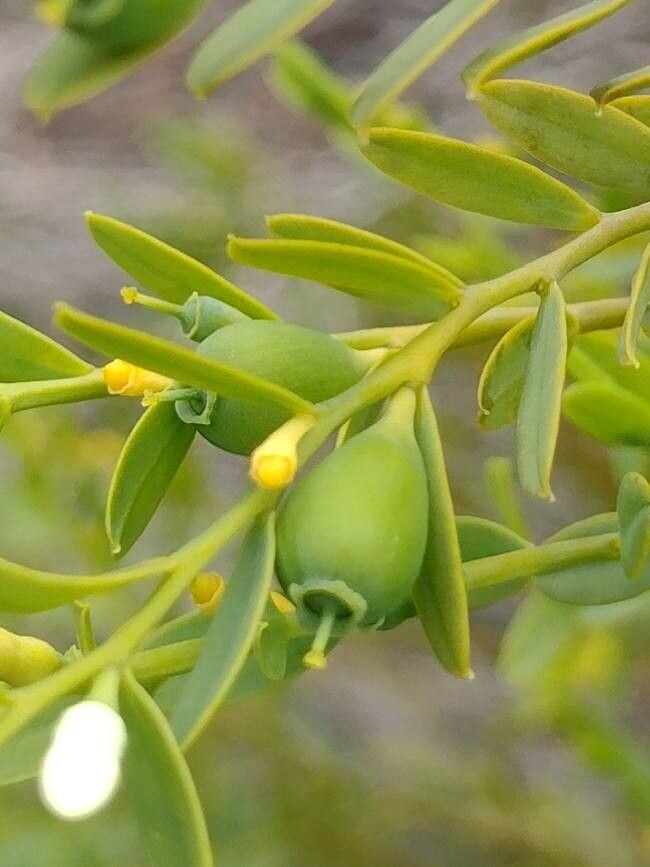
Well hello there, fellow garden enthusiast! Today, we’re diving into something truly special: propagating Olax stricta. If you’ve ever admired its elegant, upright growth and those delicate, often fragrant blooms, then you’re in for a treat. Bringing a new Olax stricta into your garden from a parent plant is incredibly rewarding. It’s like a little bit of magic you can create yourself! And guess what? While it might sound a bit daunting, I find Olax stricta to be quite approachable, even for those of you just starting your propagation journey.
Let’s talk about timing. The best time to start propagating Olax stricta is during its active growing season, typically in late spring or early summer. This is when the plant has plenty of energy to put into producing new roots. You’re looking for healthy, non-flowering shoots that are a bit firm, not too soft and floppy. Think of it as striking when the plant is feeling vigorous and full of life!
Before we get our hands dirty, let’s gather our tools. You won’t need a whole lot, but having the right bits and bobs makes all the difference:
- Sharp pruning shears or a clean knife: For making those all-important cuts. Cleanliness is key to preventing disease!
- A good quality potting mix: I usually opt for a well-draining mix. A blend of peat moss, perlite, and some coarse sand works wonders. You can also buy specific propagation mixes.
- Rooting hormone (optional, but helpful): This isn’t strictly necessary for Olax stricta, but it can give your cuttings a little extra boost. Look for one with IBA (indole-3-butyric acid).
- Small pots or trays: Clean ones, of course! Anything that can hold your cuttings and some soil will do.
- A clear plastic bag or propagator: To create a humid environment for your cuttings.
- Water: For misting and keeping things moist.
- A spray bottle: For gentle watering.
Now, let’s get down to the business of making new plants! For Olax stricta, stem cuttings are generally the most successful and straightforward method.
- Take Your Cuttings: Find a healthy stem on your mature plant. Using your clean shears or knife, take cuttings that are about 4-6 inches long. Make a clean cut just below a leaf node (where a leaf attaches to the stem). This is where the magic of root development often starts.
- Prepare the Cuttings: Gently remove the lower leaves from the cutting. You want to leave just a few sets of leaves at the top. If the leaves are quite large, I sometimes even snip them in half to reduce water loss.
- Apply Rooting Hormone (If Using): Dip the cut end of the stem into your rooting hormone powder, tapping off any excess.
- Plant Your Cuttings: Fill your small pots or trays with your prepared potting mix. Make a small hole in the center of the soil with your finger or a pencil. Insert the cut end of the Olax stricta cutting into the hole, ensuring it’s nestled in firmly. Gently firm the soil around the base of the cutting.
- Create a Humid Environment: Water the soil gently so it’s moist but not waterlogged. Then, carefully cover the pot or tray with a clear plastic bag or place it in a propagator. You want to trap humidity around the cuttings. Make sure the leaves don’t touch the plastic, as this can lead to rot. You can use a stick or two to prop up the bag.
- Place in Ideal Conditions: Position your cuttings in a bright spot, but out of direct sunlight. A warm location is best.
Here’s where my years in the garden have taught me a thing or two!
- Bottom Heat is Your Friend: If you have a propagation mat or can place your pots on top of a warm appliance (like a fridge, but not too hot!), providing a little gentle bottom heat can significantly speed up root formation. It mimics the warmth of the soil and encourages those roots to get adventurous.
- Don’t Drown Them: While humidity is essential, overwatering at the root level is a death sentence. The soil should feel consistently moist, like a wrung-out sponge, not soggy. I often check by gently poking my finger into the soil.
- The “Wiggle Test”: Don’t be tempted to yank on your cuttings to see if they have roots! A much gentler, more telling sign is a slight resistance when you gently nudge the cutting. If it feels like it’s anchoring itself, chances are good that roots have formed.
Once you see new leaf growth or the “wiggle test” passes, you’re well on your way! Gradually acclimatize your new plants to normal room humidity by slowly introducing more air. Poke a few holes in the plastic bag, then open it for longer periods each day. Water them from the bottom when the soil begins to dry out.
Now, what if things don’t go as planned? The most common culprit for cuttings failing is rot. This usually happens when the soil is too wet and there isn’t enough air circulation. If you see a cutting turning black and mushy, it’s best to discard it to prevent it from affecting others. Don’t be discouraged! Sometimes it takes a few tries to get it just right.
So, there you have it! Your guide to propagating Olax stricta. Be patient with your little green charges. Gardening is a journey, and propagation is one of its most delightful adventures. Enjoy the process, celebrate every tiny success, and soon you’ll have a whole collection of these beautiful plants to admire! Happy growing!
Resource:
https://identify.plantnet.org/k-world-flora/species/Olax%20stricta%20R.Br./data