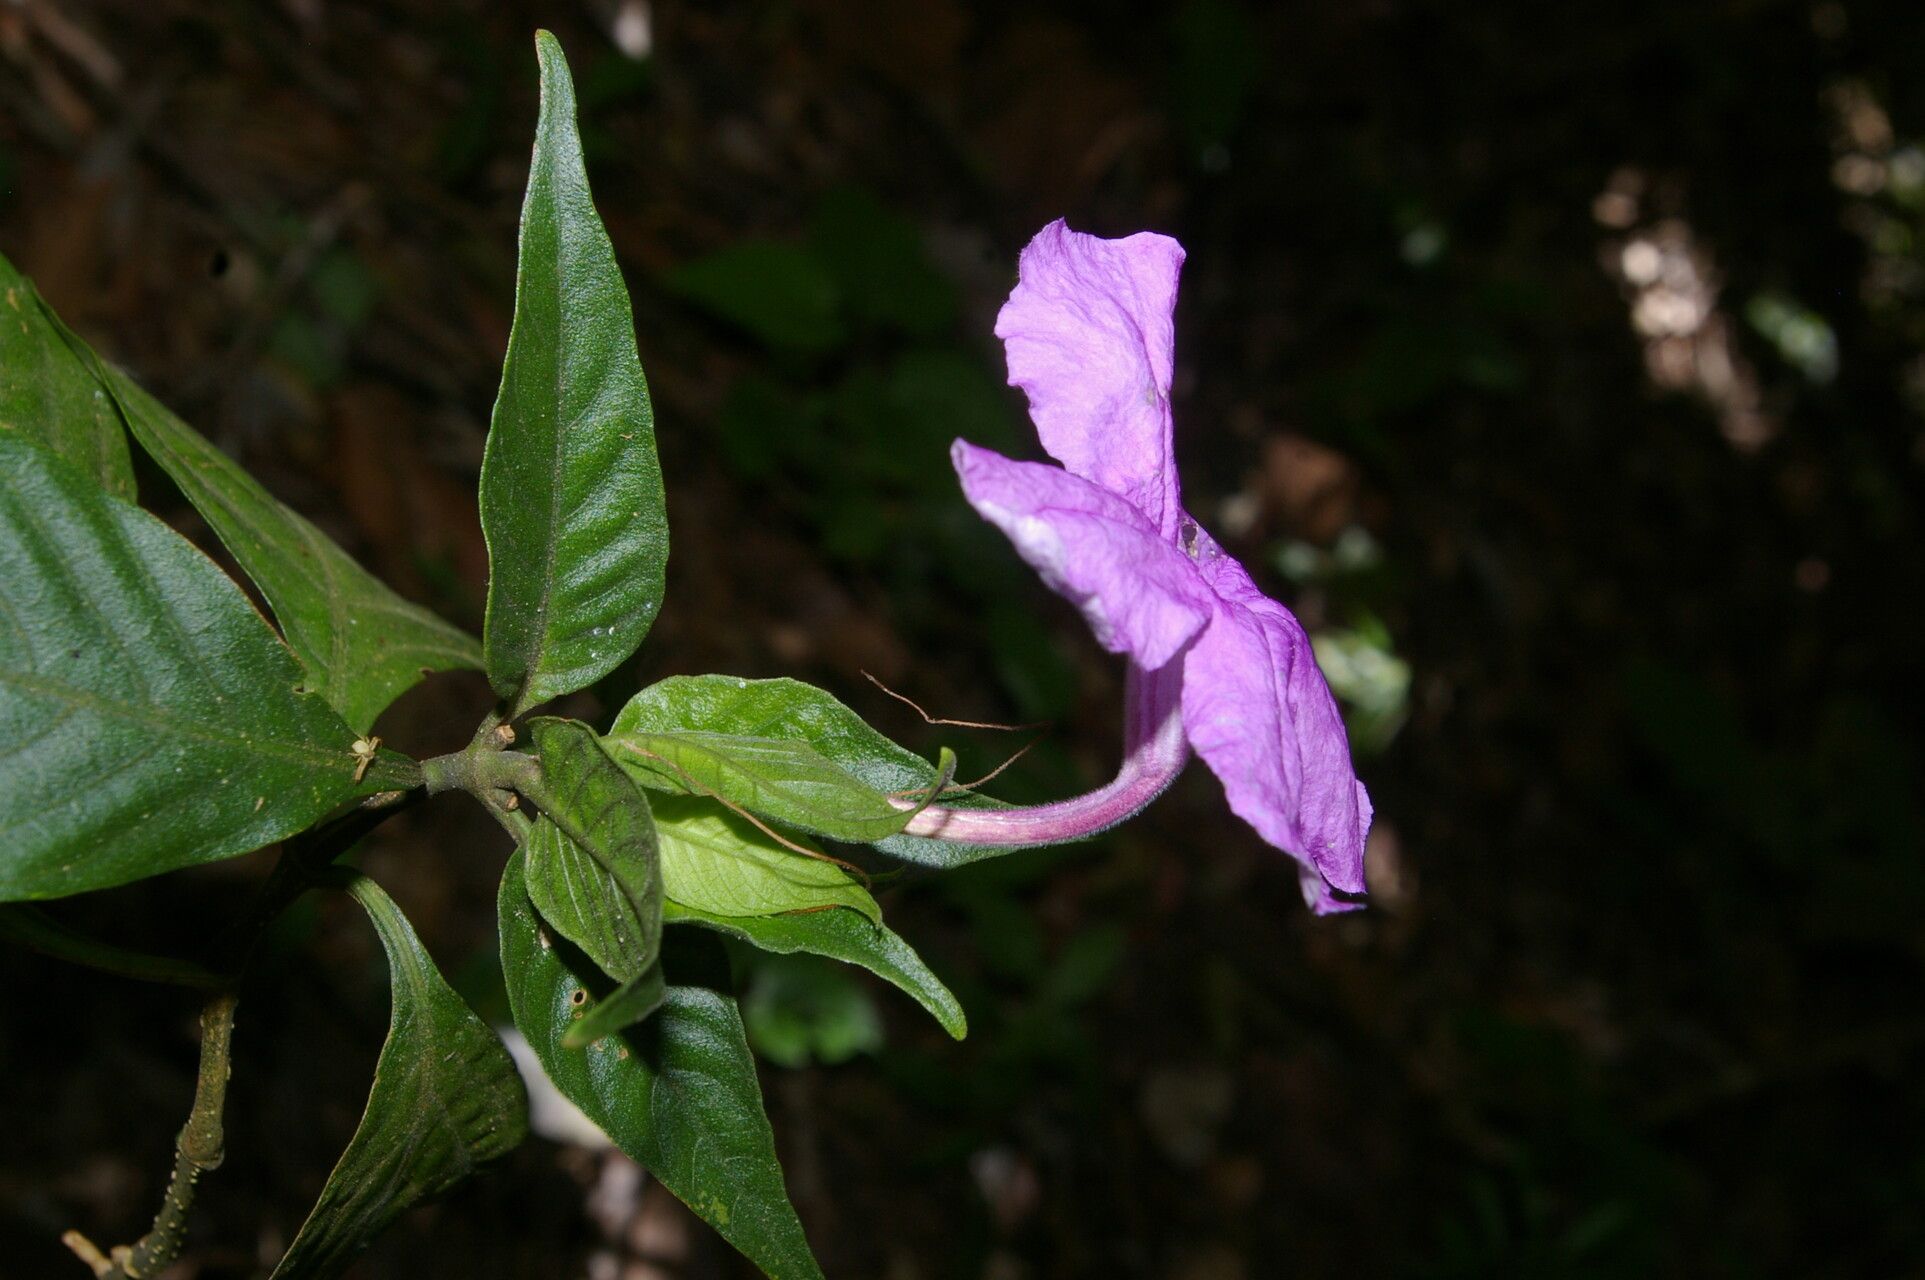
Oh, hello there! Come on in and grab a mug. Today, we’re diving into the wonderful world of Ruellia matagalpae, one of my absolute garden joys. You know, those lovely plants with the delicate, trumpet-shaped flowers that just keep on giving throughout the summer? They have this wonderful way of brightening up any corner of the garden. And the best part? They’re surprisingly easy to multiply! Propagating them is a wonderfully rewarding experience, like giving the gift of beauty to yourself and friends. For beginners? Absolutely! Ruellia matagalpae is quite forgiving, making it a fantastic plant to start your propagation journey with.
The Best Time to Start
Honestly, late spring through early summer is usually my go-to window for propagating Ruellia matagalpae. The plant is in full swing with its growth, bursting with energy. This means it’s ready to put that energy into making roots. You’ll want to look for new growth that’s still a bit soft and pliable, but not so young that it’s floppy. Think of it like a sturdy young sprout, not a brand new seedling.
Supplies You’ll Need
Before we get our hands dirty, let’s gather our tools. Here’s what I always have on hand:
- Sharp Pruning Shears or a Clean Knife: For taking clean cuts.
- Rooting Hormone (Optional, but helpful): A powder or gel can give your cuttings a little boost.
- Well-Draining Potting Mix: I love a mix of peat moss, perlite, and a little bit of good quality potting soil. You can also buy pre-made “seed starting” or “cutting” mixes.
- Small Pots or Trays: Clean containers are key to preventing disease.
- Plastic Bags or a Clear Cover: To create a mini greenhouse effect.
- Watering Can with a Fine Rose: For gentle watering.
- Labels and a Marker: Don’t forget to label your creations!
Propagation Methods
Ruellia matagalpae is a champion of propagation, and I’ve had great success with a couple of methods. Let’s break them down.
1. Stem Cuttings: My Favorite Approach
This is my go-to, and it’s incredibly effective.
- Step 1: Select Your Cuttings. Look for healthy, non-flowering stems that are about 4-6 inches long. Find a spot on the stem just below a leaf node (where a leaf attaches to the stem).
- Step 2: Make the Cut. Using your sharp shears or knife, make a clean cut just below that leaf node. This is where the roots will be most eager to emerge.
- Step 3: Prepare Your Cuttings. Gently remove the lower leaves, leaving about two leaves at the top. This prevents them from rotting in the soil and reduces water loss. If the top leaves are very large, you can even cut them in half horizontally – this helps the cutting use its energy for rooting, not leaf production.
- Step 4: Dip in Rooting Hormone (Optional). If you’re using rooting hormone, lightly moisten the cut end of the stem and dip it into the powder or gel. Tap off any excess.
- Step 5: Plant Your Cuttings. Fill your clean pots with your well-draining potting mix. Make small holes in the soil with your finger or a pencil. Gently insert the cuttings into the holes, making sure the leaf nodes are below the soil surface.
- Step 6: Water and Cover. Water gently to settle the soil around the cuttings. Then, cover the pots with a plastic bag or a clear dome to keep humidity high. You can prop the bag up with a few small stakes so it doesn’t touch the leaves. Place the pots in a bright, indirect light location.
2. Water Propagation: A Watchful Eye
This method is a bit more visual, and it’s fun to see those tiny roots appear!
- Step 1: Take Your Cuttings. Follow the same steps as above for selecting and cutting your stems.
- Step 2: Prepare for the Water. Remove all the lower leaves. You want the stem to be submerged, but the remaining leaves to stay dry.
- Step 3: Place in Water. Place your cuttings in a clean jar or vase filled with fresh water. Make sure the leaf nodes are submerged.
- Step 4: Find a Spot. Place the jar in a bright spot with indirect light.
- Step 5: Change the Water. Change the water every few days to keep it fresh and prevent bacterial growth.
The “Secret Sauce” (Pro Tips)
Here are a few tricks I’ve learned over the years that make a big difference:
- Don’t Let the Leaves Touch the Water (in water propagation): This is crucial for preventing rot. Any leaves submerged in water are an invitation for disease. Make sure only the stem is in contact with the water.
- Bottom Heat Works Wonders: If you have a seedling heat mat, placing your pots on it can really speed up rooting. The consistent warmth encourages those roots to form much faster. It’s like giving them a warm hug!
- Humidity is Your Best Friend: Ruellia cuttings, especially those in soil, love high humidity. That plastic bag or dome is not just for show! Keep it on until you see good new growth.
Aftercare & Troubleshooting
Once you see new roots emerging (you can gently tug on a cutting to feel resistance, or check if you can see roots through the drainage holes, especially with water propagation), it’s time for a little more attention.
If you propagated in water, carefully transplant your rooted cuttings into small pots filled with your well-draining potting mix. Water them well and keep them in that humid environment for a week or two.
For cuttings planted directly in soil, once you see signs of new growth – tiny leaves unfurling at the top – it’s a good indicator that roots have formed. You can gradually remove the plastic cover over a few days to acclimate them to normal humidity. Water them gently, allowing the soil to dry out slightly between waterings.
Troubleshooting: The most common issue you’ll face is rot. If your cuttings turn brown and mushy, or develop black spots, it’s usually due to too much moisture and poor air circulation. Ensure your soil is well-draining and your environment isn’t constantly soggy. If you’re propagating in water, remember to change it frequently.
A Little Patience Goes a Long Way
So there you have it! Propagating Ruellia matagalpae is a truly satisfying endeavor. Don’t get discouraged if your first few attempts aren’t perfect. Gardening is always a learning process, and with these lovely plants, the rewards are plentiful. Keep an eye on your cuttings, offer them a little warmth and humidity, and before you know it, you’ll have a whole army of beautiful Ruellia to fill your garden or share with loved ones. Happy propagating!
Resource:
https://identify.plantnet.org/k-world-flora/species/Ruellia%20matagalpae%20Lindau/data