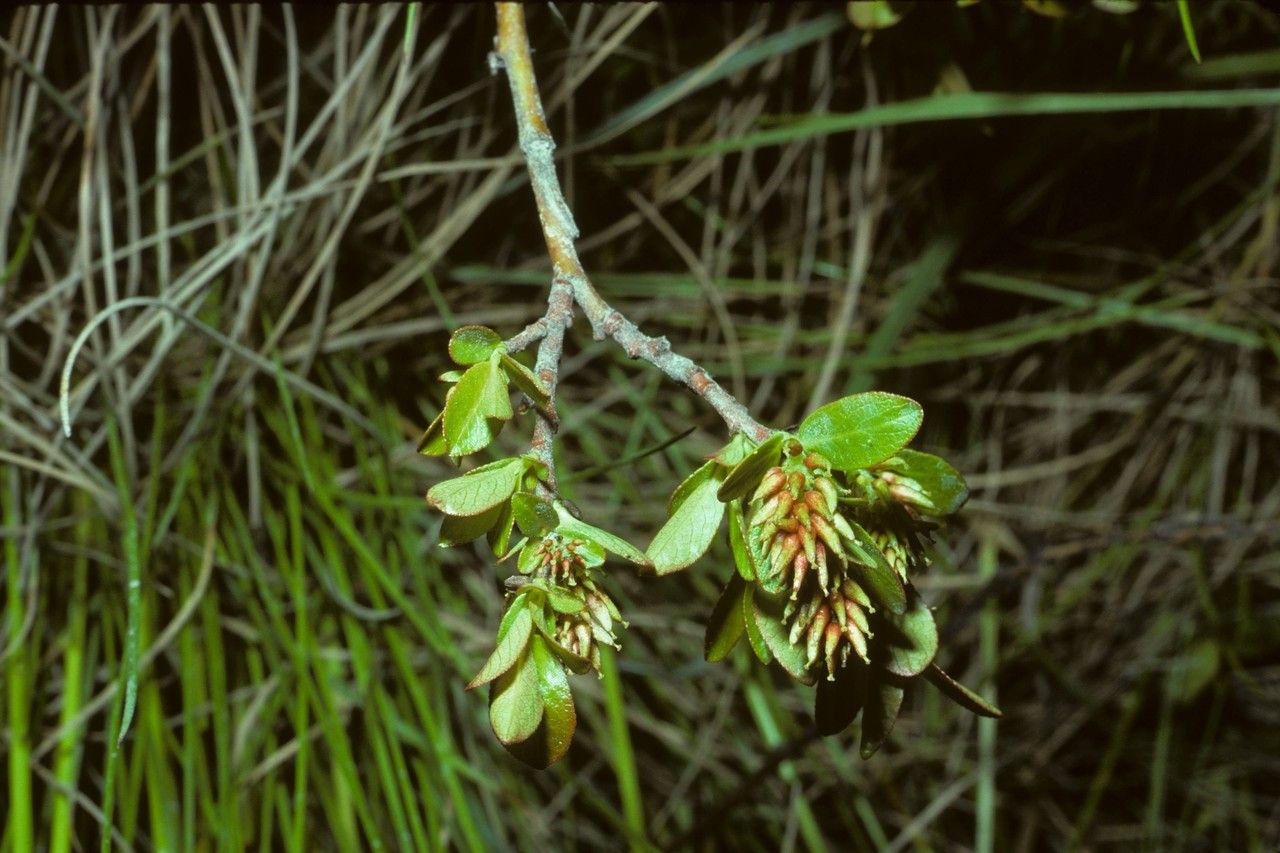
Oh, hello there! Come on in, grab a mug. I’ve been meaning to chat with you about Salix boothii. If you’re anything like me, you probably fell for its graceful branches and the soft shimmer of its leaves. It’s a beauty, isn’t it? And the best part? You can absolutely bring more of that magic into your own garden by propagating it yourself. It’s a remarkably rewarding process, and I’m here to make it as simple as can be for you. For beginners, I’d say Salix boothii is a wonderfully welcoming plant to start with.
When is the Perfect Moment to Propagate?
Timing is everything, and with our friend Salix boothii, late spring to early summer is your golden window. I like to wait until the plant has finished its initial vigorous spring growth spurt. You’re looking for healthy, well-established stems that are no longer super soft and floppy, but not yet woody and stiff either. Think of it as the “just right” stage – firm but flexible.
What You’ll Need for Your Propagation Adventure:
Gathering your tools beforehand makes the whole process much smoother. Here’s what I recommend:
- Sharp Pruning Shears or a Knife: Cleanliness is key to preventing disease.
- Rooting Hormone: While not strictly essential for Salix boothii (they’re pretty eager rooters!), it can give your cuttings an extra boost. Look for a powdered or gel form.
- Potting Mix: A well-draining mix is crucial. I often use a blend of equal parts peat moss or coir, perlite, and a little bit of compost.
- Small Pots or Trays: Clean containers are a must.
- Plastic Bags or a Propagation Dome: To create a humid environment.
- Water: For misting and, if you choose, water propagation.
- Gloves: Optional, but can keep your hands clean.
Let’s Get Those Cuttings Rooting!
There are a couple of methods that work beautifully for Salix boothii. I find stem cuttings to be the most reliable and straightforward for this particular willow.
Method 1: Stem Cuttings (My Favorite for Ease!)
- Select Your Cuttings: Find healthy, current-season stems that are about pencil-thick. Cut sections that are 6 to 12 inches long.
- Prepare the Cuttings: Using your sharp shears, make a clean cut just below a leaf node (the little bump where a leaf attaches). Remove all but the top few leaves from your cutting. If the remaining leaves are very large, you can even snip them in half to reduce water loss.
- Apply Rooting Hormone (Optional but Recommended): Dip the bottom inch of your cutting into the rooting hormone, tap off any excess.
- Plant Your Cuttings: Fill your pots with your well-draining potting mix. Make a hole with your finger or a pencil. Insert the cut end of your willow cutting into the hole, ensuring at least two leaf nodes are buried in the soil. Gently firm the soil around the stem.
- Water and Cover: Water your cuttings well, allowing excess to drain away. Then, cover the pot with a plastic bag, holding it up with stakes if needed so it doesn’t touch the leaves, or place the pots inside a propagation tray with a dome. This creates a mini-greenhouse effect.
Method 2: Water Propagation (A Watchful Eye!)
- Prepare Cuttings: Follow steps 1 and 2 from the stem cutting method.
- Place in Water: Fill a clean jar or vase with lukewarm water. Submerge the bottom portion of your cuttings, making sure no leaves are below the waterline.
- Positioning: Place the jar in a bright spot, but out of direct, scorching sunlight.
- Change Water Regularly: This is important! Aim to change the water every few days to keep it fresh and prevent rot.
My Little “Secret Sauce” for Success:
These are the little things that, from my years in the garden, just seem to make a difference.
- The “Heel” Trick: Sometimes, when I’m taking cuttings from a slightly older branch, I’ll try to include a tiny sliver of the older wood at the base of the cutting. It’s like giving it a little built-in head start.
- Bottom Heat is My Friend: If you have space, placing your pots on a seedling heat mat can significantly speed up root development, especially if your house is a bit cooler. It mimics the warmth of spring soil.
- Don’t Be Afraid of a Mist: Especially with stem cuttings in soil, a light misting of water on the leaves every day or two, while the humidity dome is on, helps keep them plump and happy.
Aftercare and What to Watch For:
Once you start seeing signs of rooting – this could be new leaf growth or a gentle tug on the cutting revealing resistance – you’re on your way!
- Individually Potting: When your cuttings have developed a good root system (you can gently peek at the drainage holes or very carefully lift one), it’s time to move them to their own small pots with fresh potting mix.
- Gradual Acclimation: If you used a humidity dome or plastic bag, gradually open it up over a few days to get your new willow used to normal humidity levels.
- Watering: Water consistently. The soil should be kept moist but not soggy.
- Troubleshooting: The biggest enemy here is rot. If you see your cuttings turning black or mushy at the base, it’s usually a sign of too much moisture or poor drainage. Ensure your pots have good drainage holes and that your soil mix is airy. If leaves yellow and drop seemingly out of nowhere, it might be a sign of too much direct sun or inconsistent watering.
Almost There!
See? Not so daunting, is it? Propagating Salix boothii is a wonderful way to connect with nature, expand your garden, and share the beauty of this plant with others. Be patient with your little cuttings. Sometimes they surprise you, and other times they take their sweet time. Enjoy the process, and soon you’ll have a whole new collection of your own magnificent willows! Happy gardening!
Resource:
https://identify.plantnet.org/k-world-flora/species/Salix%20boothii%20Dorn/data