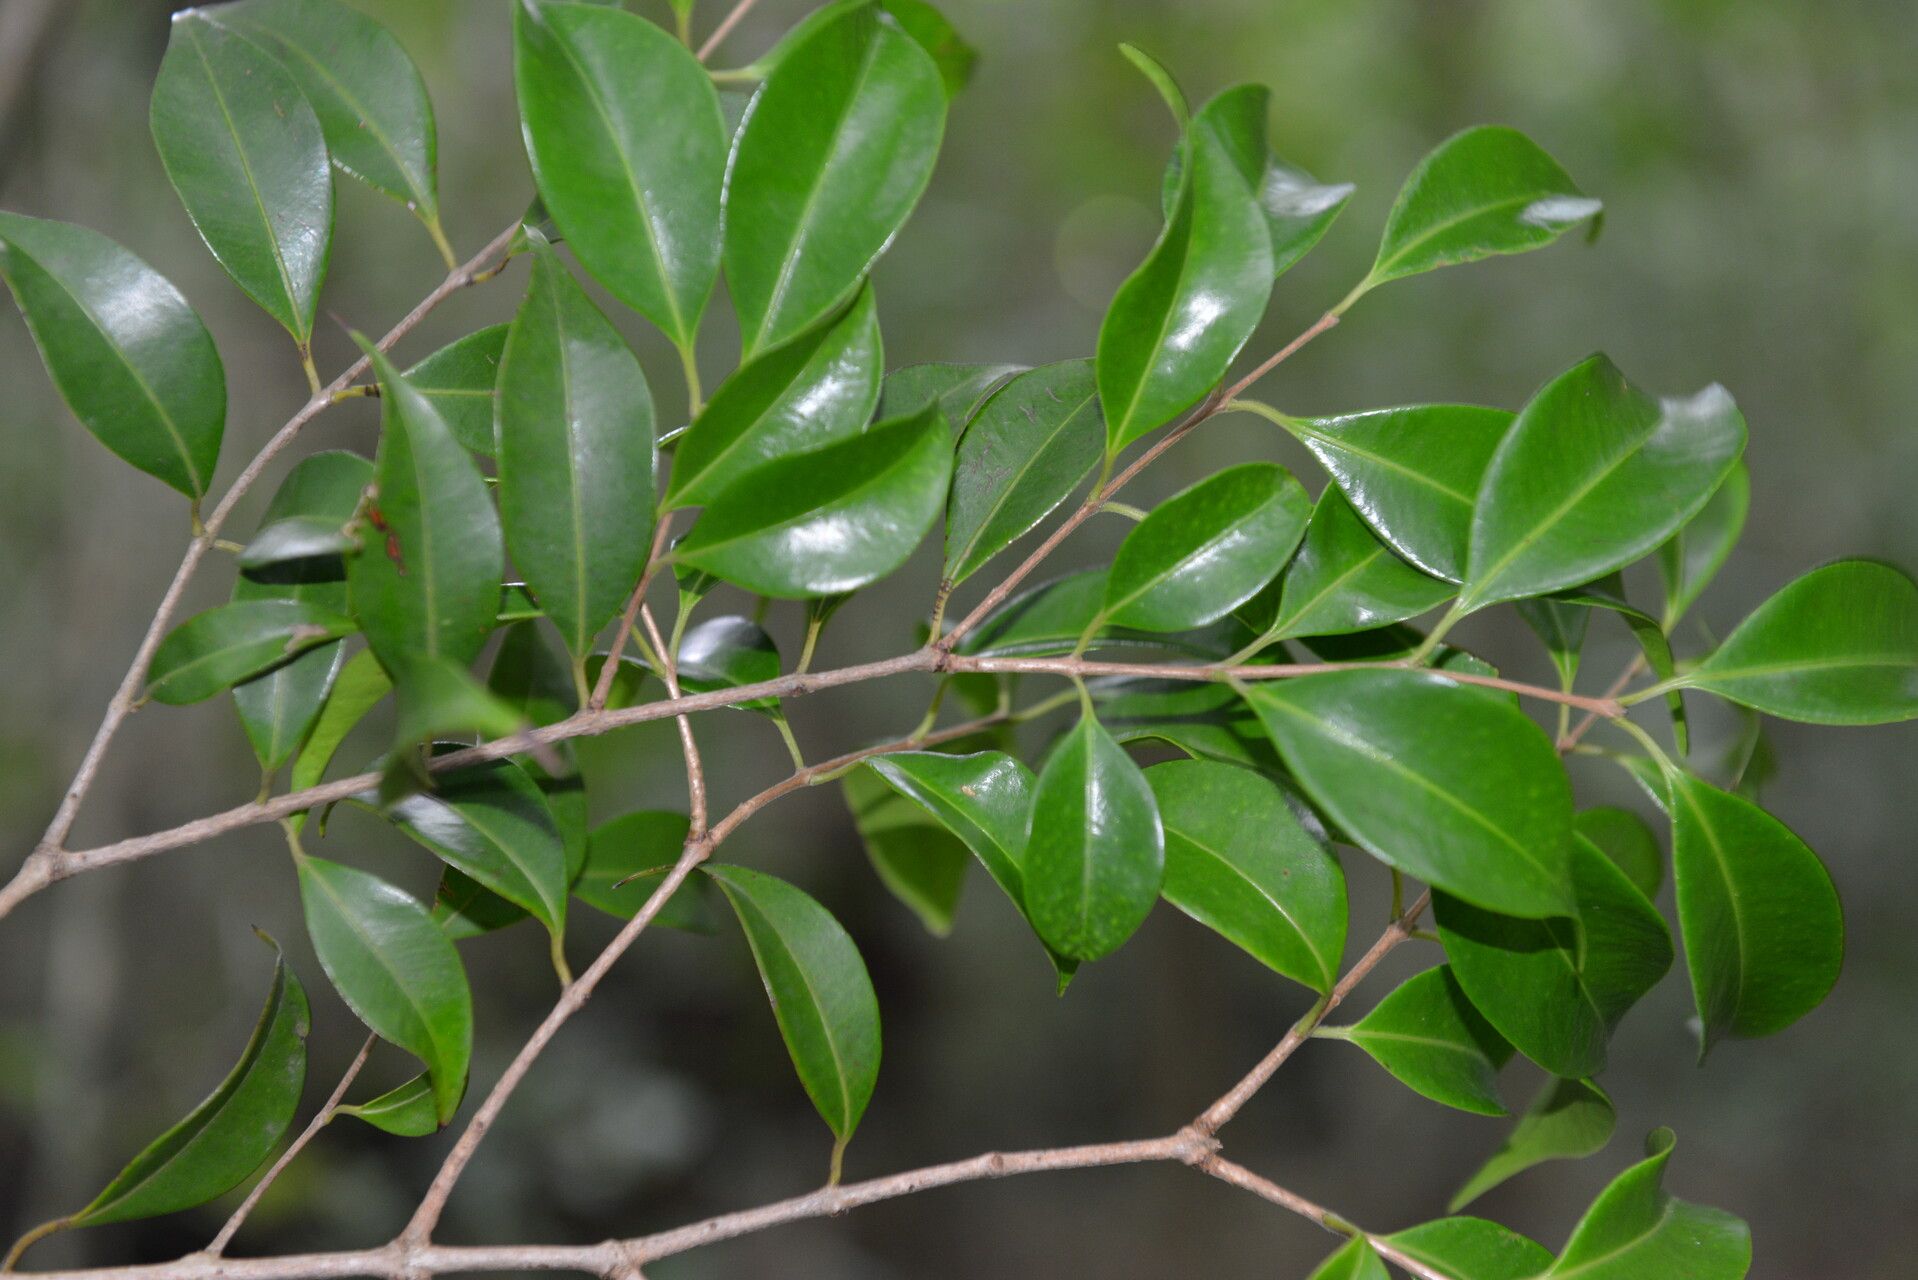
Hello fellow plant lovers! It’s so wonderful to have you here. Today, we’re diving into the delightful world of propagating Eugenia austin-smithii. If you’ve ever admired its glossy leaves and charming, often fragrant, flowers, you know how special it is. And the joy of coaxing a brand new plant into existence from a tiny piece of the parent is truly unmatched.
This particular Eugenia? Let’s just say it’s not the absolute easiest plant for a complete beginner, but with a little care and attention, it’s absolutely achievable and incredibly rewarding. Think of it as a plant that wants to be loved, and it’ll show its appreciation by growing for you!
The Best Time to Start
For Eugenia austin-smithii, timing is key. I’ve found the absolute best time to take cuttings is during the active growing season, typically from late spring through mid-summer. This is when the plant has plenty of energy to put into developing new roots. You’ll want to look for semi-hardwood cuttings. That means stems that are no longer brand new and soft, but not yet old and woody. They should be somewhat pliable and have a bit of a snap to them.
Supplies You’ll Need
Gathering your tools before you begin makes the whole process smoother. Here’s what I always have on hand:
- Sharp Pruning Shears or a Clean Knife: For making clean cuts.
- Rooting Hormone: This isn’t strictly essential for all plants, but for Eugenia austin-smithii, it really gives your cuttings a boost. Look for one with IBA.
- Well-Draining Potting Mix: A good blend of peat moss, perlite, and a bit of coarse sand works wonders. You can also buy a specialized seed-starting mix.
- Small Pots or Propagation Trays: Make sure they have drainage holes.
- Clear Plastic Bags or a Humidity Dome: To create a mini-greenhouse.
- Labeled Stakes or Markers: So you don’t forget what you’ve planted!
- Watering Can or Spray Bottle: For gentle watering.
Propagation Methods
While there are a few ways you might tackle propagation, I almost always go for stem cuttings. It’s straightforward and gives excellent results.
- Take Your Cuttings: Using your sharp shears or knife, select healthy, vigorous shoots from your Eugenia austin-smithii. Aim for cuttings that are about 4-6 inches long. Just below a leaf node (where a leaf attaches to the stem), make a clean cut. Remove the lower leaves, leaving just a couple at the very top. You want to expose that leaf node, as that’s where roots will emerge.
- Apply Rooting Hormone: Dip the cut end of the stem into your rooting hormone powder or gel. Gently tap off any excess. This step is like giving your cutting a little “get started” boost.
- Plant Your Cuttings: Fill your small pots with your well-draining potting mix, moistening it slightly. Make a small hole in the center of each pot with your finger or a pencil. Insert the cut end of your prepared cutting into the hole, ensuring the leaf nodes you exposed are buried in the soil. Gently firm the soil around the stem.
- Create a Humid Environment: Water the soil gently. Then, cover the pot with a clear plastic bag, creating a tent effect, or place it under a humidity dome. This is crucial for preventing the cuttings from drying out.
The “Secret Sauce” (Pro Tips)
Now, for a couple of the little tricks I’ve picked up over the years that can really make a difference:
- Think “Semi-Hardwood”: I can’t stress this enough. Too soft, and the cutting will rot. Too hard, and it might struggle to root. That middle ground, the “snap” in the stem, is gold.
- Bottom Heat is Your Friend: If you have a seedling heat mat, now’s the time to use it! Placing your pots on a gentle heat source helps to encourage root development from the bottom up. It’s like giving them a warm little hug.
- Don’t Forget Air Exchange: While we want humidity, we don’t want stagnant, overly wet conditions. If you’re using a plastic bag, open it up for a few minutes each day to let in fresh air and prevent fungal issues.
Aftercare & Troubleshooting
Once your cuttings are planted and happily covered, keep them in a bright spot with indirect light. Avoid direct sun, which can scorch the young leaves. Keep the soil consistently moist, but not waterlogged. Check for moisture by gently touching the surface of the soil.
You’re looking for signs of new growth, usually within 4-8 weeks. You might see new leaves emerging at the top or, if you nudge the cutting very gently, feel a bit of resistance from developing roots. If you see wilting that doesn’t improve after watering, or a mushy stem base, that’s usually a sign of rot. This can happen from too much moisture and not enough air circulation. Don’t be discouraged if a few don’t make it; it’s part of the learning process. Just pull out the rotted ones, clean your pot, and try again.
A Heartfelt Closing
Propagating Eugenia austin-smithii is a journey, not a race. Be patient with your little green babies. Enjoy watching for those first tiny signs of life. It’s a truly magical experience, and the reward of having your own little Eugenia to nurture is absolutely worth the effort. Happy propagating!
Resource:
https://identify.plantnet.org/k-world-flora/species/Eugenia%20austin-smithii%20Standl./data