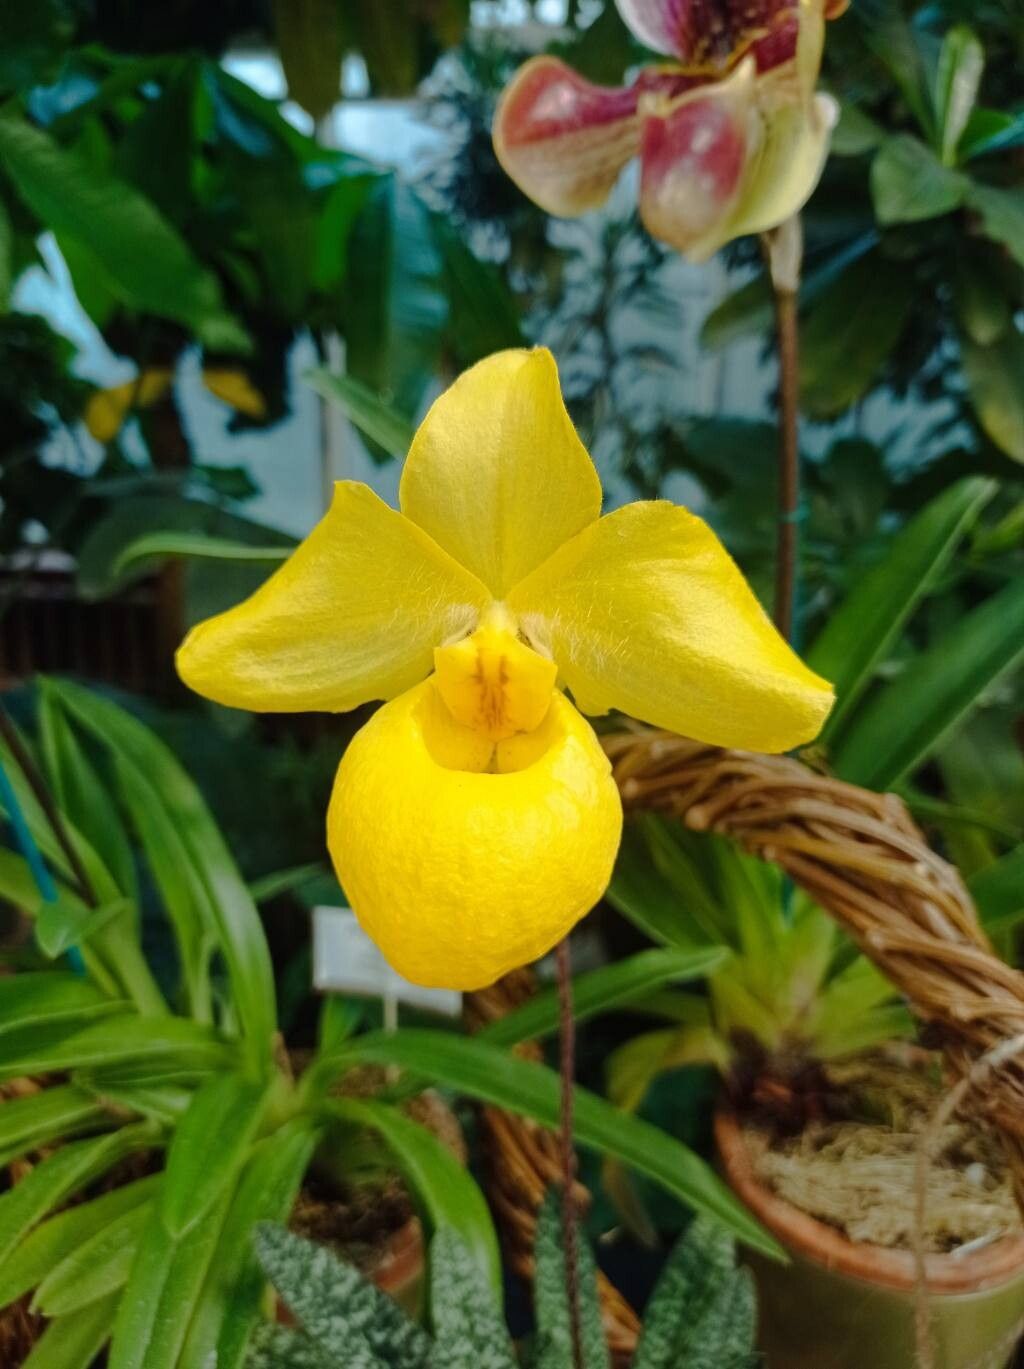
Ah, Paphiopedilum armeniacum! It’s one of those slipper orchids that just steals your heart, isn’t it? That soft, fuzzy pouch and the delicate petals are a true delight. Bringing a new one into the world from your own collection feels like a special kind of magic. Now, I’ll be honest, replicating these beauties isn’t the absolute easiest for a complete beginner, but it’s far from impossible. With a little patience and the right approach, you can absolutely succeed.
When is the Sweet Spot for Starting?
The best time to embark on this propagation journey is during the plant’s active growing season. For most Paphiopedilum species, this generally means spring and early summer. You’ll see new growth emerging, and the plant will have plenty of energy to support developing pups or cuttings. Avoid attempting this during a dormancy period or when the plant is stressed.
What You’ll Need for Success
Gathering your tools beforehand makes the whole process smoother. Here’s what I always have on hand:
- Sharp, sterile pruning shears or a clean knife: For making precise cuts. Sterilize them with rubbing alcohol between cuts.
- Porous orchid potting mix: A blend that drains exceptionally well is crucial. I often use a mixture of bark chips, perlite, and a bit of sphagnum moss.
- Small pots or community trays: Clean pots are a must!
- Rooting hormone (optional but recommended): A powder or gel specifically for orchids can give your cuttings a boost.
- Spray bottle: For misting.
- Labeling tags: To keep track of what’s what and when you started.
- Bottom heat source (optional but beneficial): A seedling heat mat can really speed up root development.
My Favorite Propagation Method: Division
For Paphiopedilum armeniacum, division is generally the most successful and least stressful method. These orchids tend to form clumps over time, and separating these clumps is like giving your mature plant a bit of a spa day while creating new life.
- Gently Remove from Pot: Carefully take your Paphiopedilum out of its current pot. You might need to loosen the edges with a knife if it’s snug.
- Clean the Roots: Gently brush away as much of the old potting mix from the roots as you can. This allows you to clearly see where the plant divides naturally.
- Identify Natural Divisions: Look for where new growths (called “pups” or “leads”) emerge from the base of the mother plant. Ideally, each division should have at least two to three healthy leaves and a good portion of established roots.
- Make the Cut: Using your sterile shears or knife, carefully cut between the divisions. Try to make a clean cut through the rhizome (the underground stem connecting the growths). If possible, try to keep as many roots attached to each division as you can.
- Prepare the New Pups: If there are any damaged leaves or old, dead roots, trim them away. If you’re using rooting hormone, lightly dust the cut surface of the rhizome.
- Pot Them Up: Plant each division in its own small pot with your well-draining orchid mix. The base of the leaves should be just at the surface of the mix.
- Water Lightly: Water them in gently, just enough to settle the mix. Don’t waterlog them.
The “Secret Sauce” for Thriving Pups
Here are a few little tricks that have made a big difference for me:
- The Art of the Dry Start: After dividing and potting, I often resist watering heavily for the first few days. I’ll just lightly mist the leaves once a day. This allows any small cuts on the roots to callous over, reducing the risk of rot.
- Humidity is Your Friend (But Not Soggy Leaves): New divisions need higher humidity to encourage root growth. I’ll often place the pots in a clear plastic bag or a propagation box, but I make sure the leaves aren’t touching the plastic bag. This creates a humid microclimate without encouraging fungal issues on the foliage.
- Embrace the Bottom Heat: If you have a seedling heat mat, place your pots on it. The gentle warmth encourages root initiation significantly. It’s like a cozy incubator for your new orchids!
Aftercare and What to Watch For
Once your divisions are potted, keep them in a bright, indirect light location. Water only when the potting mix is approaching dryness, and always water thoroughly until it drains out the bottom. Avoid letting them sit in soggy conditions, as this is the fastest way to unwelcome rot.
You’ll know your new Paphiopedilum is happy and rooting when you see new leaf growth emerging from the center of the pup, or if you gently tug on the pot, you feel a bit of resistance from developing roots.
If you notice leaves turning yellow and mushy, especially starting from the base, or if the whole pup seems to be collapsing, that’s a sign of rot. Unfortunately, if root rot sets in severely, it can be tough to save. Act quickly: try to clean away the rot, dust with a fungicide, and repot into fresh, dry mix. But honestly, if you follow the “dry start” and humidity tips, rot becomes much less of a concern.
Patience is a Gardener’s Virtue
Growing new orchids from divisions takes time. Don’t expect immediate blooms! Focus on establishing healthy roots and foliage. Enjoy the process of nurturing these little ones. Each success is a testament to your care and a beautiful addition to your orchid family. Happy growing!
Resource: