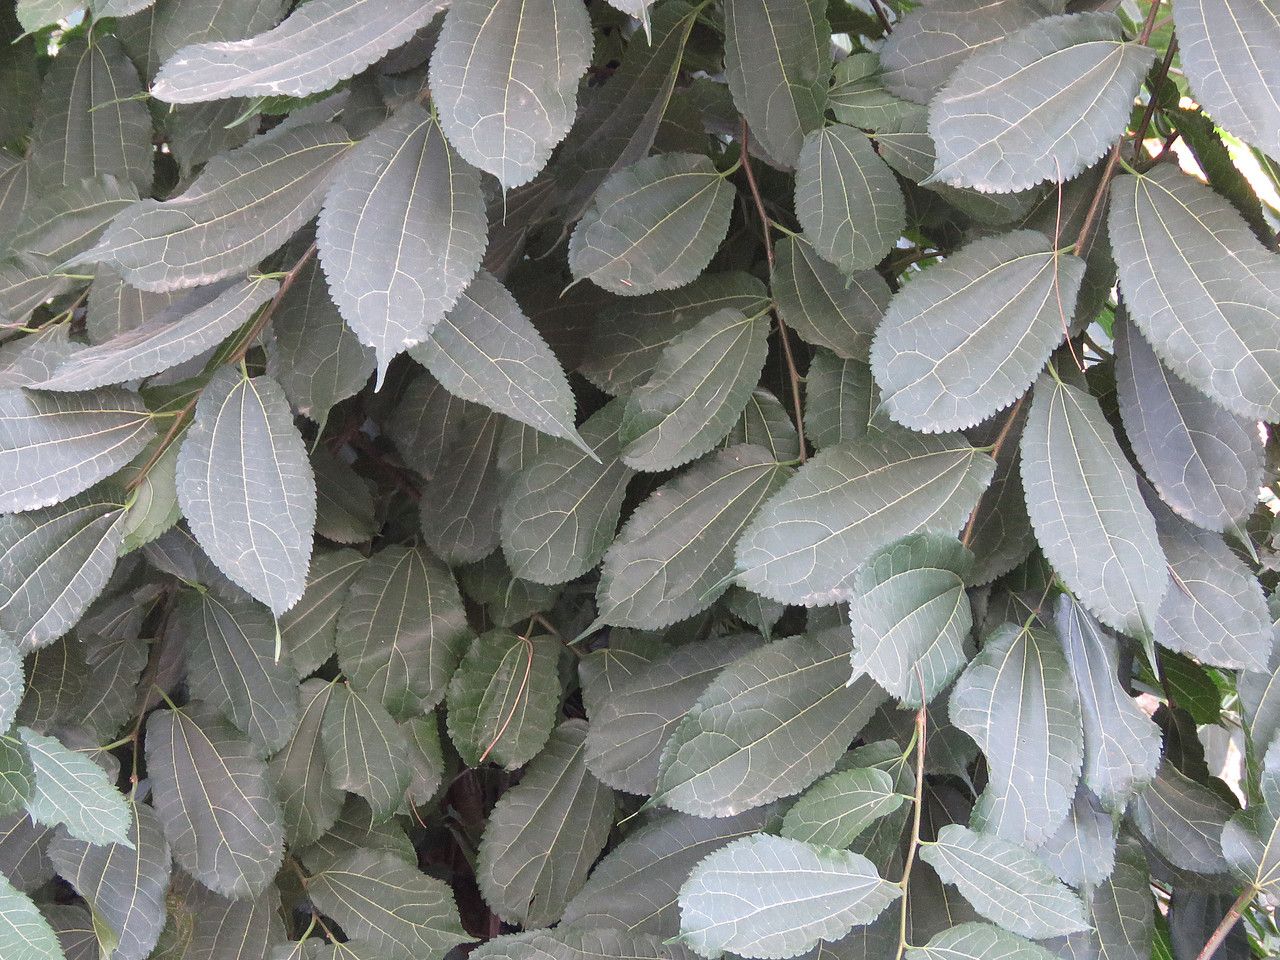
Hey there, fellow garden lovers! I’m so excited to chat with you today about one of my absolute favorite plants: Grewia caffra. If you haven’t had the pleasure, imagine delicate, star-shaped flowers, often a lovely shade of pink or purple, cascading from lovely, textured leaves. It’s a real showstopper, and truthfully, it’s not overly fussy. Best of all, propagating it? It’s incredibly rewarding and, I’m happy to report, quite achievable even for those of you just dipping your toes into the world of plant propagation. Let’s get growing!
The Best Time to Start
For Grewia caffra, the sweet spot for propagation is generally late spring or early summer. This is when the plant is in its active growing phase, meaning it has plenty of energy to put into developing new roots. You’ll want to select stems that are not too young and floppy, but also not old and woody. Look for what we horticulturists call “semi-hardwood” cuttings – stems that are firm but still have a bit of flexibility. It’s that perfect in-between stage.
Supplies You’ll Need
Gathering your supplies beforehand makes the whole process so much smoother. Here’s what I always have on hand:
- Sharp Pruning Shears or a Clean Knife: For making clean cuts, which are crucial for preventing disease.
- Rooting Hormone Powder or Gel: This isn’t strictly essential for Grewia caffra, but it really gives your cuttings a fantastic boost. I highly recommend it.
- Light, Well-Draining Potting Mix: A good blend of peat moss or coir, perlite, and a bit of compost works wonders. Or, you can buy a specialized seed-starting mix.
- Small Pots or Trays: Clean pots with drainage holes are a must. Small ones are perfect for starting out.
- Plastic Bags or a Clear Dome: To create a humid environment around your cuttings.
- Watering Can or Spray Bottle: For gentle watering.
Propagation Methods: Let’s Get Our Hands Dirty!
There are a couple of fantastic ways to multiply your Grewia caffra, but my go-to is almost always using stem cuttings. It’s reliable and gives you a great chance of success.
Stem Cuttings
- Take Your Cuttings: Using your clean shears, select a healthy stem. Cut a piece about 4-6 inches long. Make your cut just below a leaf node (the point where a leaf grows from the stem). This is where the plant is primed to form roots.
- Prepare the Cuttings: Gently remove the leaves from the bottom half of the cutting. You only want to leave a couple of leaves at the very top. This reduces water loss and directs the plant’s energy towards rooting.
- Apply Rooting Hormone: Dip the cut end into your rooting hormone powder or gel. You don’t need a thick coating, just enough to cover the bottom inch or so. Tap off any excess.
- Plant the Cuttings: Fill your small pots with your prepared potting mix. Make a small hole with your finger or a pencil. Insert the cutting into the hole, making sure the leaf nodes on the lower part of the stem are buried. Gently firm the soil around the stem.
- Create Humidity: Water the soil gently until it’s moist but not soggy. Then, cover the pot loosely with a plastic bag or place it under a clear dome. This creates that muggy, greenhouse-like environment that cuttings adore.
- Find a Spot: Place the pots in a bright location that receives indirect sunlight. Direct sun will scorch those tender new cuttings.
Water Propagation (A Fun Alternative!)
While I prefer stem cuttings in soil for long-term success, water propagation can be a fun way to watch the roots develop.
- Prepare the Cuttings: Follow steps 1 and 2 from the stem cuttings method.
- Place in Water: Put the cuttings in a clean glass or jar filled with water. Make sure that the leaf nodes you removed the leaves from are submerged, but don’t let any leaves sit in the water. This can lead to rot.
- Change Water Regularly: Change the water every few days to keep it fresh and prevent bacterial growth.
- Watch and Wait: Keep the jar in bright, indirect light. You should start to see tiny roots emerging from the nodes in a few weeks. Once the roots are about an inch long, carefully transplant them into potting mix, just like you would with soil-propagated cuttings.
The “Secret Sauce” (Pro Tips)
Here are a couple of things I’ve learned over the years that really make a difference:
- Bottom Heat is Your Friend: If you can, place your pots on a heated propagator mat. Grewia caffra absolutely loves a little warmth from below, and it significantly speeds up root formation. It mimics the conditions of spring soil and really encourages those roots to get going.
- Don’t Rush to Transplant: Be patient! It usually takes 4-8 weeks for cuttings to develop a strong root system. You can gently tug on a cutting to feel for resistance, or if you’ve put them in clear pots, you might even be able to see roots through the bottom. Resist the urge to pull them out too early!
Aftercare & Troubleshooting
Once your cuttings have developed a decent root system and you see new growth appearing, it’s time for a little extra care.
- Gradually Acclimate: If you’ve used a plastic bag, gradually open it more over a few days to get the new plant used to less humidity.
- Watering: Water when the top inch of soil feels dry. Overwatering is the most common killer of new plants, so err on the side of letting it dry out a bit.
- First Feeding: Wait a month or so after transplanting before you give your new little Grewia its first light feeding with a balanced liquid fertilizer, diluted to half strength.
What if things don’t go as planned? The most common issues are rot (which is usually caused by overwatering or poor drainage) and cuttings drying out (often from too much direct sun or not enough humidity). If a stem turns black and mushy, it’s unfortunately a sign of rot. If a cutting is limp and wilting, it might have dried out. Don’t get discouraged! Gardening is all about learning. Sometimes you’ll have failures, but those successful propagations are all the sweeter.
A Encouraging Closing
Propagating Grewia caffra is such a rewarding journey. It’s a wonderful way to multiply your collection, share with friends, or simply to marvel at the miracle of new life. Be patient, enjoy the process of watching those roots develop, and celebrate every tiny new leaf that unfurls. Happy gardening, everyone!
Resource:
https://identify.plantnet.org/k-world-flora/species/Grewia%20caffra%20Meisn./data