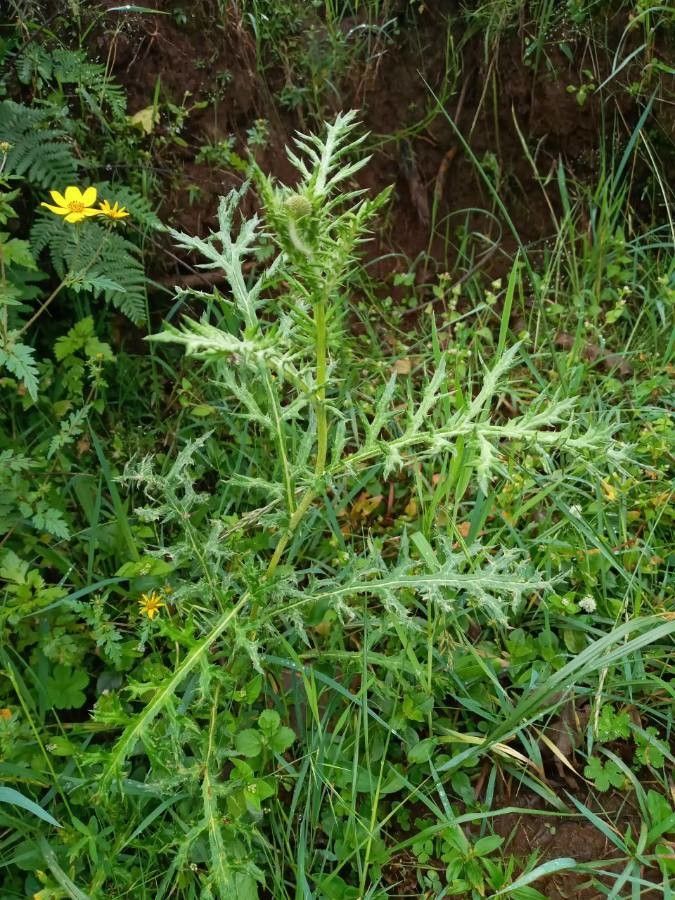
Oh, Echinops kebericho! What a superstar. Those globe-thistle blooms are just magnificent, aren’t they? That ethereal blue, the architectural shape – they add such a unique flair to the garden. And the best part? You can easily multiply these beauties yourself! As someone who’s been coaxing plants to grow for two decades, I can tell you that getting new Echinops from existing ones is a genuinely rewarding journey. For beginners, I’d say it’s moderately easy, especially if you have a bit of patience. It’s not quite as fuss-free as starting basil from seed, but it’s a fantastic way to get your feet wet with propagation.
The Best Time to Start
Honestly, I find the sweet spot for propagating Echinops kebericho to be in late spring or early summer. This is when the plant is actively growing and has plenty of energy to put into new roots. You want to catch it before it gets too woody, but when it’s already moving some serious sap.
Supplies You’ll Need
Here’s what I gather before I get my hands dirty:
- Sharp pruning shears or a clean, sharp knife: Essential for clean cuts to prevent disease.
- Rooting hormone powder (optional but recommended): This really gives those cuttings a helpful boost.
- A light, well-draining potting mix: I usually use a mix of peat moss or coir, perlite, and a little bit of compost. Avoid heavy garden soil.
- Small pots or seed trays: Clean ones are key!
- Clear plastic bags or a propagator lid: To create a humid environment.
- A spray bottle: For misting.
- Water: Clean and room temperature.
Propagation Methods
My go-to method for Echinops kebericho is stem cuttings. It’s reliable and gives you the best chance of success for creating new, identical plants.
- Take Your Cuttings: On a cool, overcast morning (or in the late afternoon), select healthy, non-flowering stems. Look for ones that are firm but not yet tough and woody. Using your sharp shears or knife, cut a piece of stem about 4-6 inches long. Make your cut just below a leaf node – that’s the little bump where a leaf grows from the stem.
- Prepare the Cuttings: Gently remove the lower leaves from the cutting, leaving only a few at the very top. If the remaining leaves are quite large, I sometimes cut them in half to reduce water loss through transpiration.
- Apply Rooting Hormone (Optional): Dip the cut end of the stem into your rooting hormone powder, tapping off any excess. This really helps encourage root development.
- Plant Your Cuttings: Fill your small pots with your prepared potting mix. Make a small hole in the center of the mix with a pencil or your finger. Then, insert the cut end of the Echinops cutting into the hole, gently firming the soil around it.
- Create a Humid Environment: Water the soil lightly until it’s moist but not soggy. Then, cover the pot with a clear plastic bag, securing it around the rim with a rubber band or just draping it over. If you have a propagator, use the lid. This keeps the humidity high, which is crucial for cuttings to root when they can’t yet absorb water through roots.
The “Secret Sauce” (Pro Tips)
As I’ve tinkered in the garden over the years, I’ve picked up a few tricks that seem to make all the difference.
- Bottom Heat is Your Friend: While not strictly essential, placing your pots on a gentle heat mat can really speed up root formation. Echinops likes it a bit warm down below.
- The Cleanliness Rule: I cannot stress this enough: sterilize everything. Your tools, your pots, everything. Rot is the enemy of cuttings, and a clean start prevents so many problems down the line.
- Don’t Disturb Too Soon: Resist the urge to tug on your cuttings to check for roots! It breaks delicate new root hairs. Wait until you see new leaf growth at the top – that’s usually a sure sign roots have formed.
Aftercare & Troubleshooting
Once you see that lovely new growth appearing at the top of your cutting, it’s time to start acclimatizing it to real-world conditions.
- Acclimatize Slowly: Gradually remove the plastic bag or propagator lid for longer periods each day over about a week. This allows the new plant to adjust to less humid air.
- Watering: Continue to keep the soil moist but never waterlogged. Overwatering is a common cause of rot.
- Transplanting: When the new plant has a decent root system (you might see roots peeking out of the drainage holes), you can carefully transplant it into a slightly larger pot.
Now, what if things go wrong? The most common culprits are rot (your cutting looks mushy and dark at the base, often due to too much moisture and not enough air circulation) or drying out (the cutting looks withered and shriveled). If you see rot, unfortunately, that cutting is likely lost. If it’s drying out, check your humidity levels and watering. It’s all part of the learning process!
So there you have it. Don’t be discouraged if your first few attempts aren’t perfect. Gardening is all about observation and a little bit of trial and error. Grab those shears, get your hands in the soil, and enjoy the magical process of creating more of those breathtaking Echinops kebericho for your garden. Happy propagating!
Resource:
https://identify.plantnet.org/k-world-flora/species/Echinops%20kebericho%20Mesfin/data