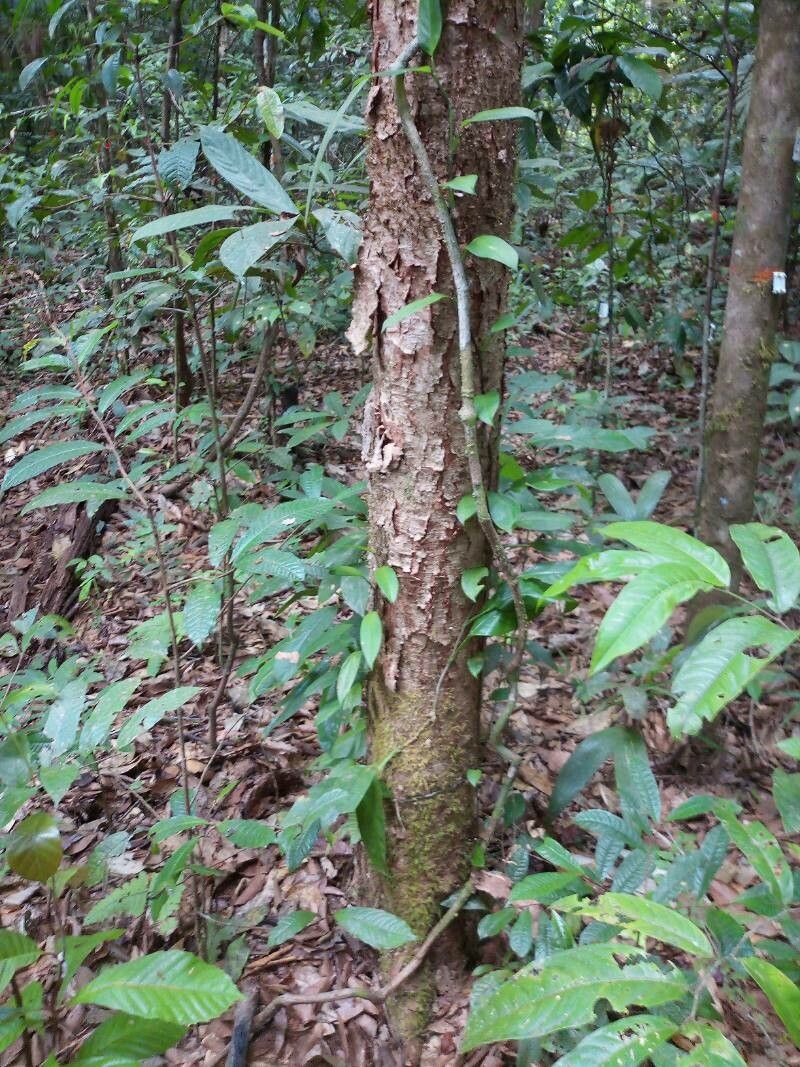
Oh, Vochysia tomentosa! If you’ve ever admired those glorious, golden blooms, you know exactly why this tree is a garden showstopper. Their cascade of sunshine-yellow flowers is simply breathtaking. And guess what? Propagating your own Vochysia tomentosa is a wonderfully rewarding journey. It’s not exactly a beginner’s “set it and forget it” kind of plant, but with a little care and attention, I promise you can coax new life from your existing beauties.
When to Get Your Hands Dirty
The absolute best time to try your hand at propagating Vochysia tomentosa from cuttings is during its active growing season. Think late spring through early to mid-summer. This is when the plant has plenty of energy to put into developing new roots. You want to be looking for semi-hardwood cuttings – that’s wood that’s starting to firm up but isn’t completely woody yet. It should snap cleanly when you try to break it.
Your Propagation Toolkit
Gathering the right supplies makes all the difference! Here’s what I always have on hand:
- Sharp Pruning Shears or a Clean Knife: For making clean cuts.
- A Good Quality Potting Mix: I usually go for a well-draining mix, about 50% potting soil and 50% perlite or coarse sand. This prevents waterlogging.
- Rooting Hormone: This isn’t strictly necessary for all plants, but for a slightly more challenging one like Vochysia, it can significantly boost your success rate. Look for a powder or gel.
- Small Pots or Rooting Trays: Clean ones, of course!
- Plastic Bags or a Mini Greenhouse: To create a humid environment.
- Watering Can with a Fine Rose: For gentle watering.
- Labels and a Marker: To keep track of your projects!
Bringing New Life Forth: My Favorite Methods
I’ve found success with a couple of methods for Vochysia tomentosa, but stem cuttings are my go-to for this beauty.
Stem Cuttings: The Classic Approach
- Select Your Cuttings: As I mentioned, look for those semi-hardwood stems. Aim for cuttings that are about 6-8 inches long. Remove any flowers or flower buds from the stem, as these take energy away from root development.
- Prepare the Cuttings: At the bottom of each cutting, make a clean cut just below a leaf node (where a leaf attaches to the stem). Then, gently strip off the lower leaves, leaving just a couple at the top. This reduces moisture loss and exposes the nodes where roots can form.
- Apply Rooting Hormone: Dip the lower, stripped end of the cutting into your rooting hormone, tapping off any excess.
- Plant Your Cuttings: Fill your clean pots with your well-draining potting mix. Make a small hole in the center with your finger or a pencil and carefully insert the hormone-coated end of the cutting. Firm the soil gently around it. You can plant multiple cuttings in one pot, just give them a little space.
- Create a Humid Environment: Water the soil lightly and then cover the pot with a clear plastic bag (you can use stakes to keep it off the leaves) or place it in a mini greenhouse. This traps humidity, which is crucial for cuttings.
- Find the Right Spot: Place the pots in a bright location, but out of direct sunlight. Too much sun will scorch the young cuttings.
Water Propagation: A Visual Treat (with a caveat)
While I prefer the soil method for Vochysia, you can try water propagation.
- Prepare the Cuttings: Follow steps 1 and 2 as above.
- Place in Water: Put the cuttings in a clean glass jar or vase filled with fresh water. Make sure no leaves are submerged in the water; they will rot.
- Change Water Regularly: Change the water every few days to keep it fresh and prevent bacterial growth.
- Wait for Roots: Keep the jar in a bright spot, out of direct sun. You should start to see tiny roots forming in a few weeks.
- Transplant: Once the roots are about an inch long, carefully transplant them into your well-draining potting mix as described in step 4 of the stem cutting method.
My Little Secrets for Success
Now, let me share a couple of things I’ve learned over the years that really make a difference:
- The Magic of Bottom Heat: For cuttings, providing gentle bottom heat is a game-changer. A seedling heat mat placed under your propagation tray can significantly speed up root development. It mimics the warmth of the soil in a tropical climate and really encourages those roots to start exploring.
- Don’t Rush the Roots: Sometimes, you’ll see a bit of green growth on the cutting, and you’ll be tempted to think it’s ready to transplant. Resist the urge! Patience is key. Wait until you’ve got a good root system, ideally at least 1-2 inches long, before you move your new Vochysia into its own pot.
Aftercare and What to Watch For
Once you see those first signs of healthy root growth – a tug when you gently pull on the cutting, or new leaves starting to unfurl at the top – it’s time for a little extra TLC.
Gently transition your baby Vochysia to a slightly larger pot with the same well-draining mix. Continue to keep it in indirect light and maintain consistent moisture. You can gradually increase the light levels as the plant gets stronger.
The most common problem you’ll encounter is rot. This is usually a sign of overwatering and poor drainage. If a cutting looks mushy or turns black, it’s best to discard it and learn from the experience. Another sign of trouble is if the leaves start to wilt and turn yellow without any signs of rooting. This could be a sign that the cutting has dried out too much or that the rooting hormone didn’t take.
Keep Growing!
Propagating plants is an act of hope and patience. Don’t be discouraged if your first attempt isn’t a roaring success. Every gardener learns through trial and error. Just keep at it, observe your plants, and celebrate every little bit of progress. Soon enough, you’ll have a whole new generation of beautiful Vochysia tomentosa to enjoy! Happy gardening!
Resource:
https://identify.plantnet.org/k-world-flora/species/Vochysia%20tomentosa%20(G.Mey.)%20DC./data