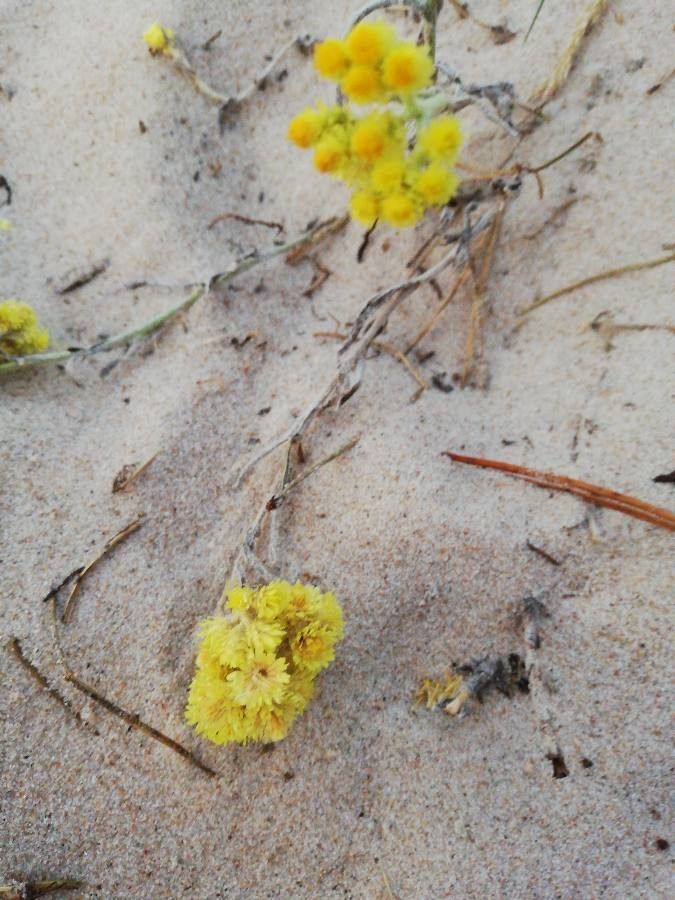
Hello fellow garden enthusiasts! It’s wonderful to connect with you today. I’ve been tending to my plants for two decades now, and there’s a special kind of joy that comes from creating new life. Today, we’re going to delve into the fascinating world of propagating Eriogonum crosbyae, a plant that truly blossoms with unique charm. Its delicate, almost ethereal flowers and lovely foliage make it a standout in any garden.
Propagating Eriogonum crosbyae can be a really rewarding experience. It’s a chance to multiply that beauty and share it with friends or fill more of your own garden space. Now, for the honest truth – Eriogonum crosbyae can be a little bit fussy about propagation, especially for absolute beginners. But don’t let that deter you! With a bit of care and attention, and by following these steps, I’m confident you can have success.
The Best Time to Start
The sweet spot for propagating Eriogonum crosbyae is definitely late spring to early summer. This is when the plant is actively growing, and the stems have started to mature a bit but are still somewhat flexible. You want a stem that isn’t too soft and leafy (that’s too young) or too woody (that’s too old). Think of it as the plant’s most energetic phase.
Supplies You’ll Need
Gathering your materials beforehand makes the whole process much smoother. Here’s what I always have on hand:
- Sharp, clean pruning shears or a sharp knife: A clean cut is crucial to prevent disease.
- Rooting hormone powder or gel: This isn’t strictly required for every plant, but for trickier ones like Eriogonum crosbyae, it can give you a significant boost.
- Well-draining potting mix: A good mix for succulents or cacti works wonderfully. You can also create your own by combining equal parts perlite and peat moss or coco coir.
- Small pots or containers: Make sure they have drainage holes!
- Watering can or spray bottle: For gentle watering.
- Plastic bags or a propagation dome: To create a humid environment.
- Labeling materials: So you don’t forget what’s what!
Propagation Methods
I find stem cuttings to be the most reliable method for Eriogonum crosbyae. It gives you a good chance of success.
Stem Cuttings:
- Take Your Cuttings: On a dry morning, locate healthy, vigorous stems on your established plant. Using your clean pruning shears or knife, make a cut just below a leaf node (where a leaf attaches to the stem). You want cuttings that are about 4-6 inches long. Gently remove the leaves from the bottom half of each cutting.
- Apply Rooting Hormone: Dip the cut end of each cutting into your rooting hormone powder or gel. Tap off any excess.
- Plant the Cuttings: Fill your small pots with the well-draining potting mix. Make a small hole in the center of the soil with your finger or a pencil. Insert the prepared cutting into the hole, ensuring the leaf nodes that were buried are now under the soil. Gently firm the soil around the cutting.
- Water Gently: Water the soil lightly. You want it to be moist but not soggy. A spray bottle is great for this to avoid disturbing the cuttings.
- Create Humidity: Place a plastic bag or propagation dome loosely over the pot. This will trap moisture and create the humid environment the cuttings need to root. Make sure the leaves aren’t touching the plastic if possible – mold can be a problem! You can prop up the bag with small stakes.
The “Secret Sauce” (Pro Tips)
Here are a couple of things I’ve learned over the years that really help with Eriogonum crosbyae:
- Bottom Heat is Your Friend: If you have a heating mat designed for seedlings, place your pots on it. Eriogonum crosbyae loves a little warmth down below to encourage root development. It’s like a cozy blanket for those emerging roots.
- Don’t Overwater, Ever! This is probably the MOST critical tip. Soggy soil is the death knell for these cuttings. Allow the top inch of soil to dry out slightly between waterings. It’s better to err on the side of slightly too dry than too wet. You’ll get a feel for it!
Aftercare & Troubleshooting
Once your cuttings have been in their humid environment for a few weeks, you might see the first signs of rooting! You can gently tug on a cutting – if there’s resistance, roots are forming. You can also carefully pull one out to check.
Once roots have formed, start to gradually acclimate them to drier air. Loosen the plastic bag or dome for a few hours each day, then remove it entirely over a week or two. Keep the soil consistently moist during this transition. Continue to water as needed, always checking that draining is happening properly.
The most common sign of failure is rot. If your cuttings turn mushy, black, or start to fall apart, it’s usually a sign of overwatering and poor drainage. If you see this happening, you might need to discard the affected cutting and try again, paying extra attention to watering and soil mix. Sometimes, a lack of rooting is simply because the conditions weren’t quite right, or the cutting wasn’t viable to begin with – don’t take it personally!
A Encouraging Closing
Growing new plants takes patience, and sometimes a little bit of trial and error. Don’t get discouraged if your first attempt isn’t a roaring success. Each time you try, you learn a little more. The satisfaction of seeing those tiny roots develop and eventually watching a new Eriogonum crosbyae flourish is truly immense. So, gather your supplies, get your hands in the soil, and enjoy the magical process of creation. Happy gardening!
Resource:
https://identify.plantnet.org/k-world-flora/species/Eriogonum%20crosbyae%20Reveal/data