Hey there, fellow garden enthusiast! Today, we’re diving into a plant that brings such vibrant joy to any landscape: Vitex madiensis. If you’ve ever admired its beautiful blooms and lovely fragrance, you’re in for a treat. Propagating it yourself is incredibly rewarding, and I’m excited to share how we can coax new life from this wonderful shrub.
Why Propagate Vitex madiensis?
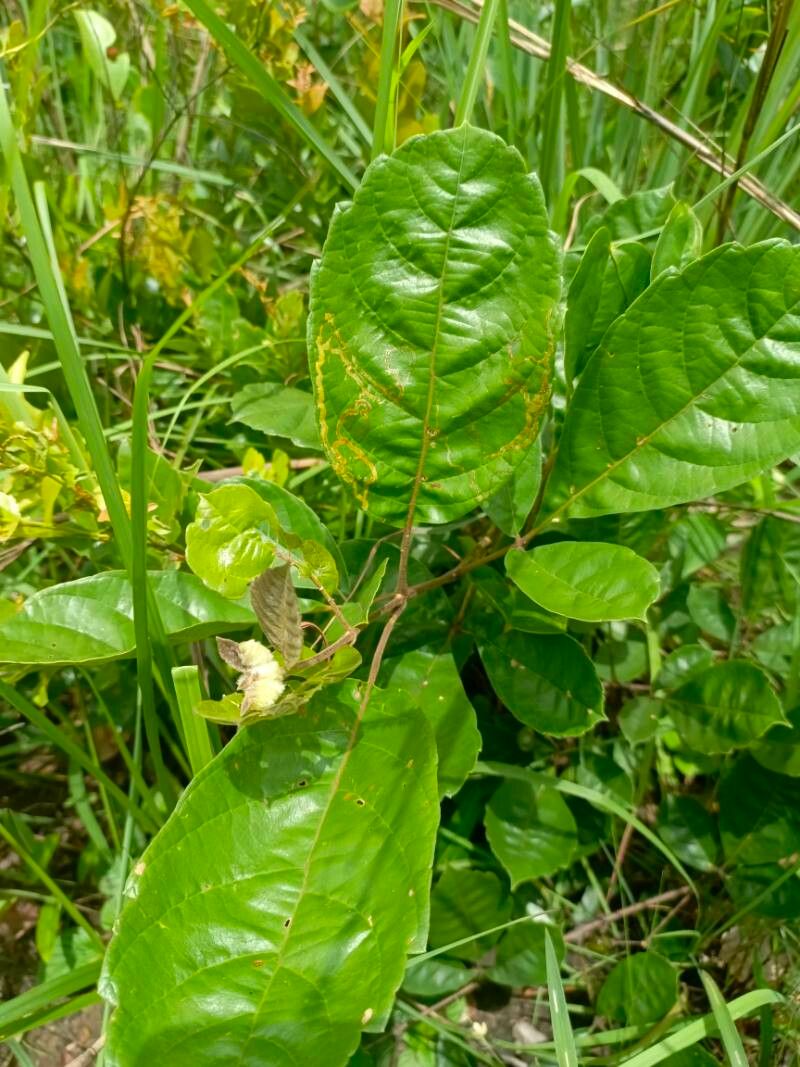
Vitex madiensis, often called the African Chaste Tree or just “Vitex,” is a stunner. Its spires of purple-blue flowers are a magnet for pollinators, and they bloom for a wonderfully long period. The foliage is attractive too, lending a natural, somewhat airy feel to borders and foundations. Growing your own plants from cuttings or divisions is not only economical but also deeply satisfying. It’s a fantastic way to expand your garden without a big outlay. For beginners, I’d say Vitex is moderately easy to propagate. It’s not as tricky as some fussier plants, but a few key steps will definitely boost your success rate.
The Best Time to Start
The sweet spot for propagating Vitex madiensis is generally late spring to early summer. This is when the plant is actively growing, and the stems have had a chance to harden up a bit, becoming what we call “semi-hardwood.” You want stems that are flexible but not so soft they’ll flop over. Starting them while they’re putting on a growth spurt gives them the best energy reserves to develop roots.
Supplies You’ll Need
Gathering your supplies beforehand makes the whole process smoother. Here’s what I usually have on hand:
- Sharp Pruning Shears or a Knife: Clean, sharp tools are crucial for making clean cuts that heal well.
- Rooting Hormone: This isn’t strictly essential for Vitex, but it can give your cuttings a significant edge and speed up root formation. Look for a powder or gel.
- Well-Draining Potting Mix: A good blend for cuttings is key. I like to mix equal parts peat moss or coco coir and perlite or coarse sand. This provides aeration and moisture retention without getting waterlogged.
- Small Pots or Seed Trays: Clean pots are a must to prevent disease.
- Clear Plastic Bags or Domes: To create a humid environment for your cuttings.
- Watering Can with a Fine Rose: For gentle watering.
- Labels and a Marker: To keep track of what you’ve planted!
- Optional: Bottom Heat Mat: This can be a game-changer, especially if your workshop or greenhouse is a bit cool.
Propagation Methods
There are a couple of ways to go about this, but stem cuttings are my go-to for Vitex.
Stem Cuttings: Step-by-Step
- Select Your Stems: On a healthy, established Vitex plant, look for new growth that has begun to firm up. You’re aiming for stems about 6-8 inches long. They should bend slightly without snapping easily.
- Make the Cut: Using your clean pruners or knife, take cuttings from the current season’s growth. Make the cut just below a leaf node (where a leaf attaches to the stem). This is where root hormones are most concentrated.
- Prepare the Cutting: Gently remove the lower leaves, leaving only the top two or three sets. This reduces water loss and prevents leaves from rotting when you place them in the soil. If the remaining leaves are very large, you can cut them in half to further minimize transpiration.
- Apply Rooting Hormone: Dip the cut end of the stem into your rooting hormone, tapping off any excess. If you’re using a gel, follow the product’s instructions.
- Plant the Cuttings: Make a hole in your prepared potting mix with a pencil or your finger. Gently insert the cutting into the hole, ensuring the rooting hormone stays on the cut end. Firm the soil gently around the base of the cutting.
- Water Gently: Water the soil thoroughly but carefully until water drains from the bottom of the pot.
- Create Humidity: Place the pot inside a clear plastic bag, sealing it loosely, or cover it with a clear plastic dome. This traps moisture and creates a mini-greenhouse effect. Make sure the leaves don’t touch the plastic.
- Find a Suitable Spot: Place your pots in a bright location but out of direct sunlight. A shaded windowsill or under grow lights works well. If you have a bottom heat mat, now’s the time to use it! Aim for a soil temperature around 70-75°F (21-24°C).
Water Propagation (Less Common for Vitex, but possible)
While stem cuttings in soil are my preference, some gardeners have success with water. Take similar cuttings as described above. Remove all but the top leaves. Place the cuttings in a clean jar of water, ensuring no leaves are submerged. Change the water every few days. Once you see a good cluster of roots forming, you can carefully transplant them into pots with soil. Be aware that roots grown in water can be more fragile.
The “Secret Sauce” (Pro Tips)
Here are a couple of things I’ve learned over the years that make a difference:
- The “Heel” Trick: Sometimes, when you pull a side shoot off the main stem, it comes away with a small piece of the bark attached – this is called a “heel.” If you can get cuttings with a heel, they often root faster because that bark tissue is already primed for root development.
- Don’t Be Afraid to Air Them Out: Even in their humid little tents, it’s good to lift the plastic bag or dome for a few minutes every day or two. This allows for some air circulation, which helps prevent fungal issues from developing.
Aftercare & Troubleshooting
Patience is key here! It can take anywhere from 4 to 8 weeks, sometimes longer, for your Vitex cuttings to develop enough roots to resist a gentle tug.
- Check for Roots: You can check for roots by carefully giving a cutting a very gentle tug. If you feel resistance, it means roots are starting to form. You can also look for new leaf growth at the top – this is usually a good sign that roots are present.
- Transplanting: Once your cuttings have a good root system, it’s time to transplant them into individual pots filled with a regular potting mix. Continue to keep them in a bright, but not overly sunny, location. Water them consistently, but let the top inch of soil dry out between waterings.
- Watch for Rot: The most common sign of failure is rot. If your cuttings turn black and mushy, or if you see fuzzy white mold on the soil surface or the stems, they’ve likely succumbed to rot. This usually happens due to overwatering or poor air circulation. If you catch it early, you might be able to save a cutting by removing the rotted parts and repotting in fresh, drier soil, but often, it’s a sign they’re lost.
- Wilting: Some initial wilting is normal as the cutting adjusts. However, if they remain consistently wilted and limp, it could indicate no roots have formed, or the soil is too dry or too wet.
A Little Encouragement
Propagating plants is a bit of an art form, and it’s also a science. Don’t get discouraged if your first attempt isn’t a resounding success. Every gardener has lost cuttings! The joy is in the process, in learning what works for your conditions, and in watching those tiny roots begin to unfurl. Keep trying, keep learning, and enjoy the satisfaction of bringing new Vitex madiensis plants into your life. Happy gardening!
Resource:
https://identify.plantnet.org/k-world-flora/species/Vitex%20madiensis%20Oliv./data